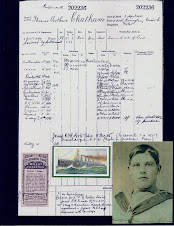
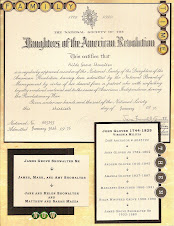
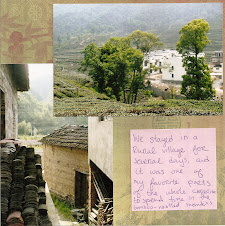
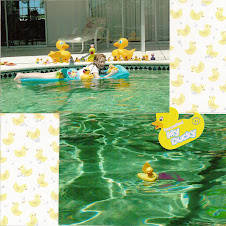
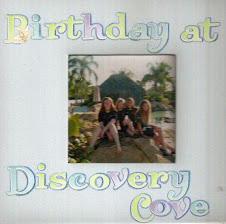
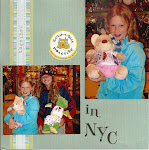
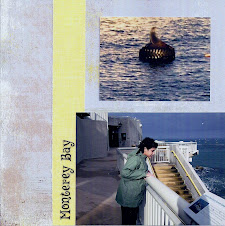
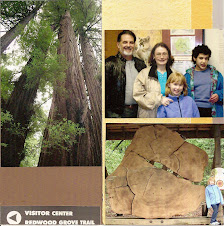
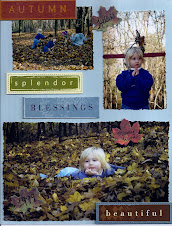
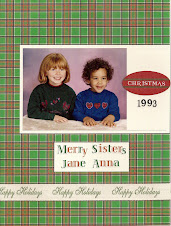
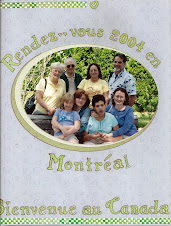
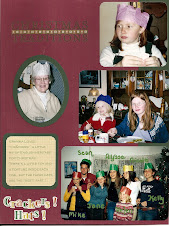
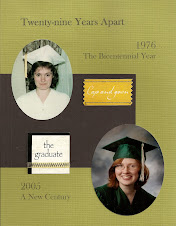
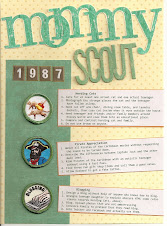
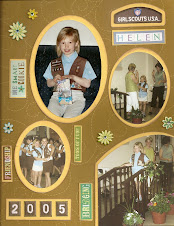
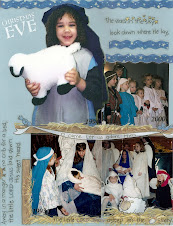
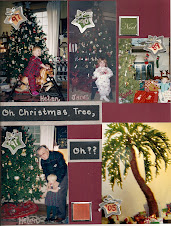
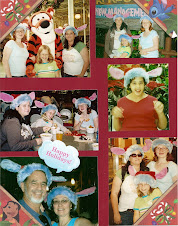
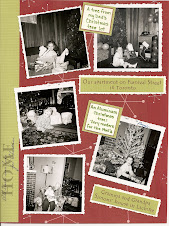
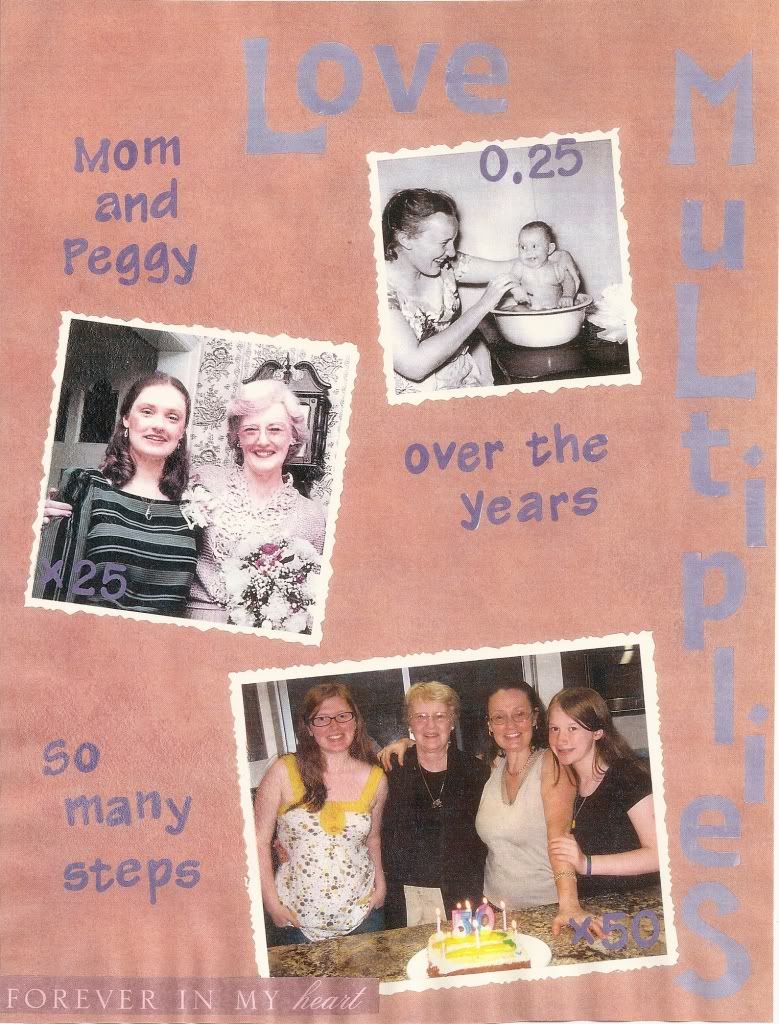
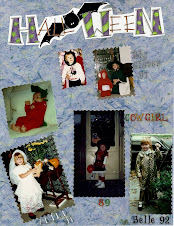
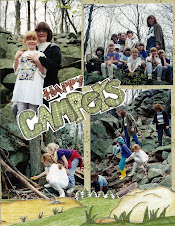
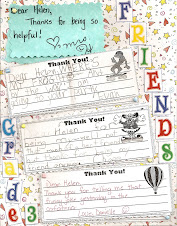
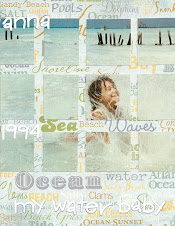
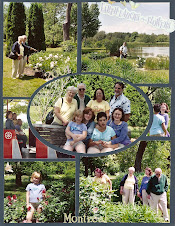
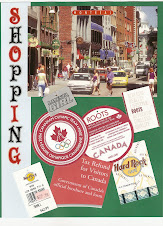
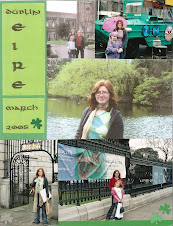
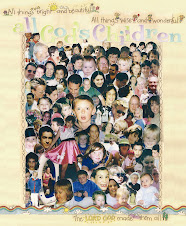
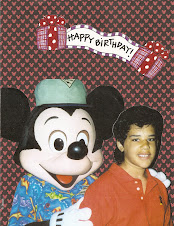
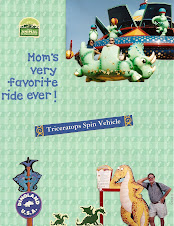
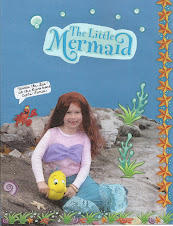
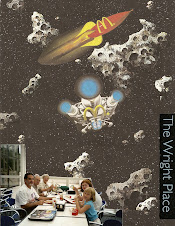
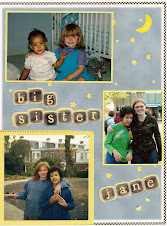
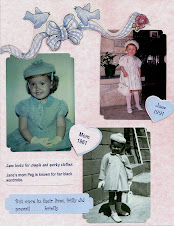
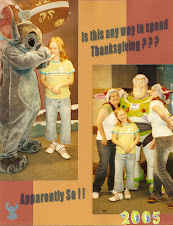
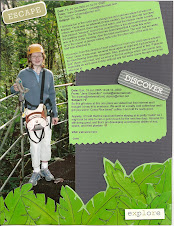
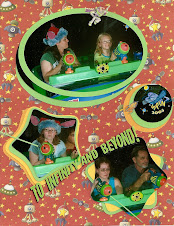
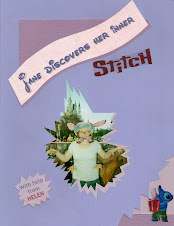
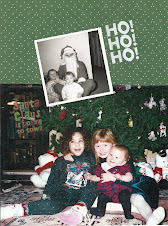
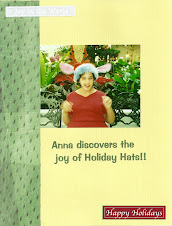
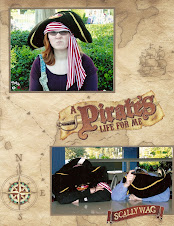
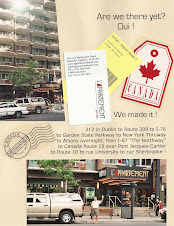
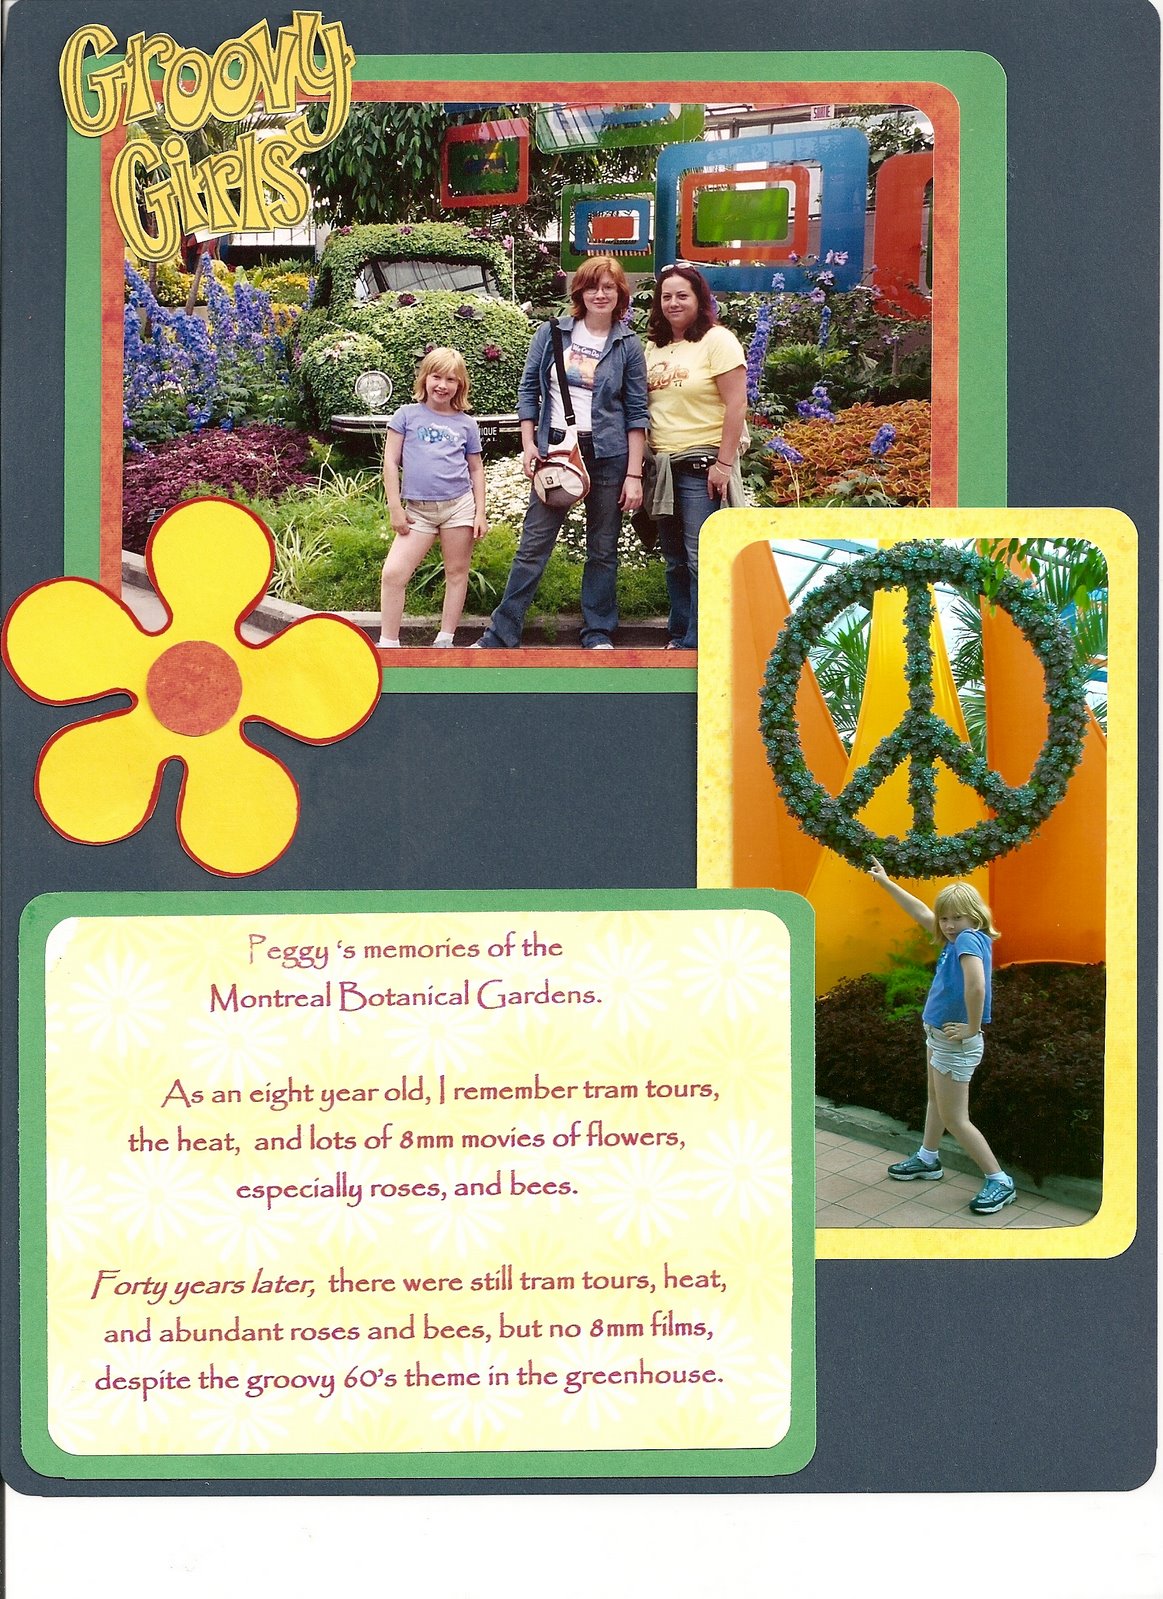
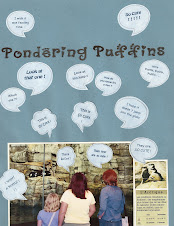
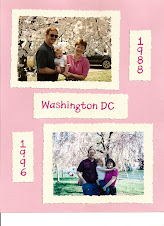
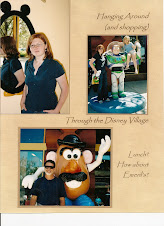
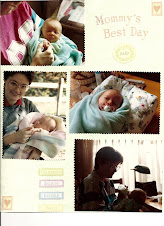
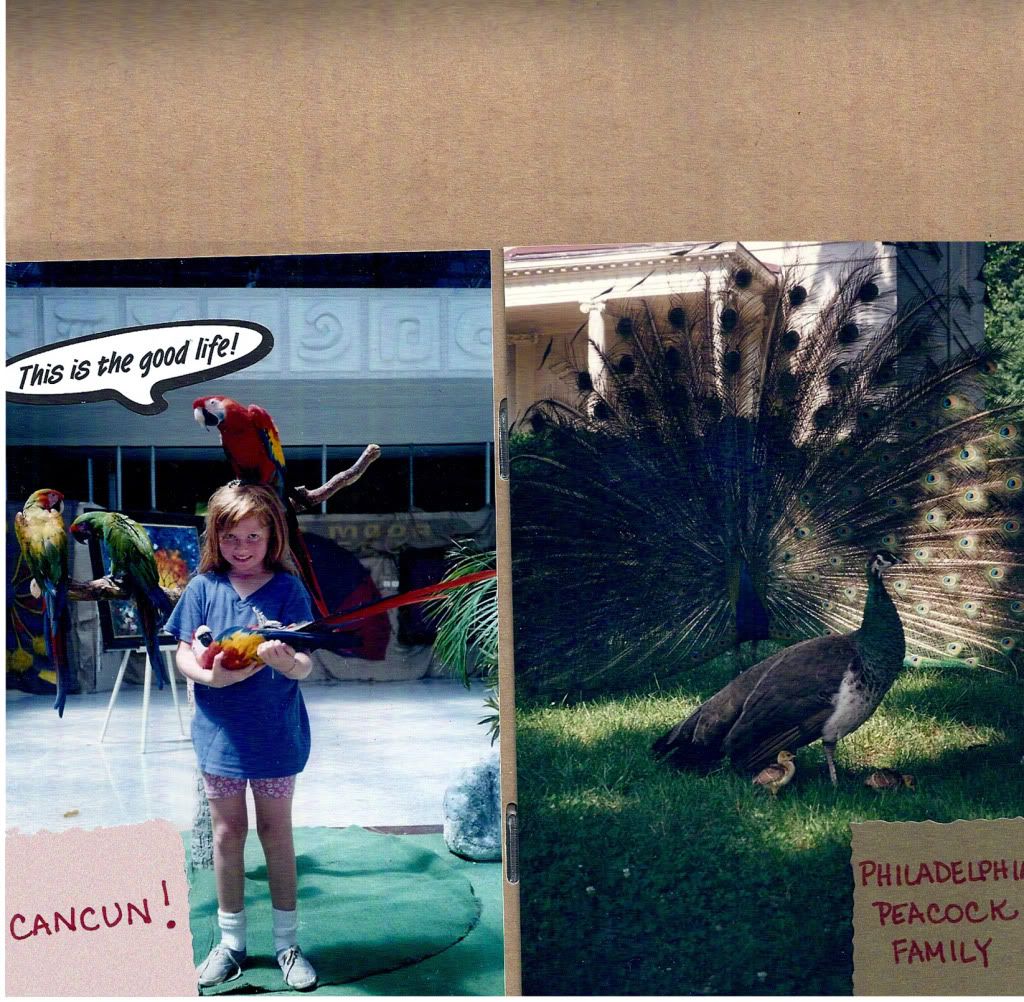
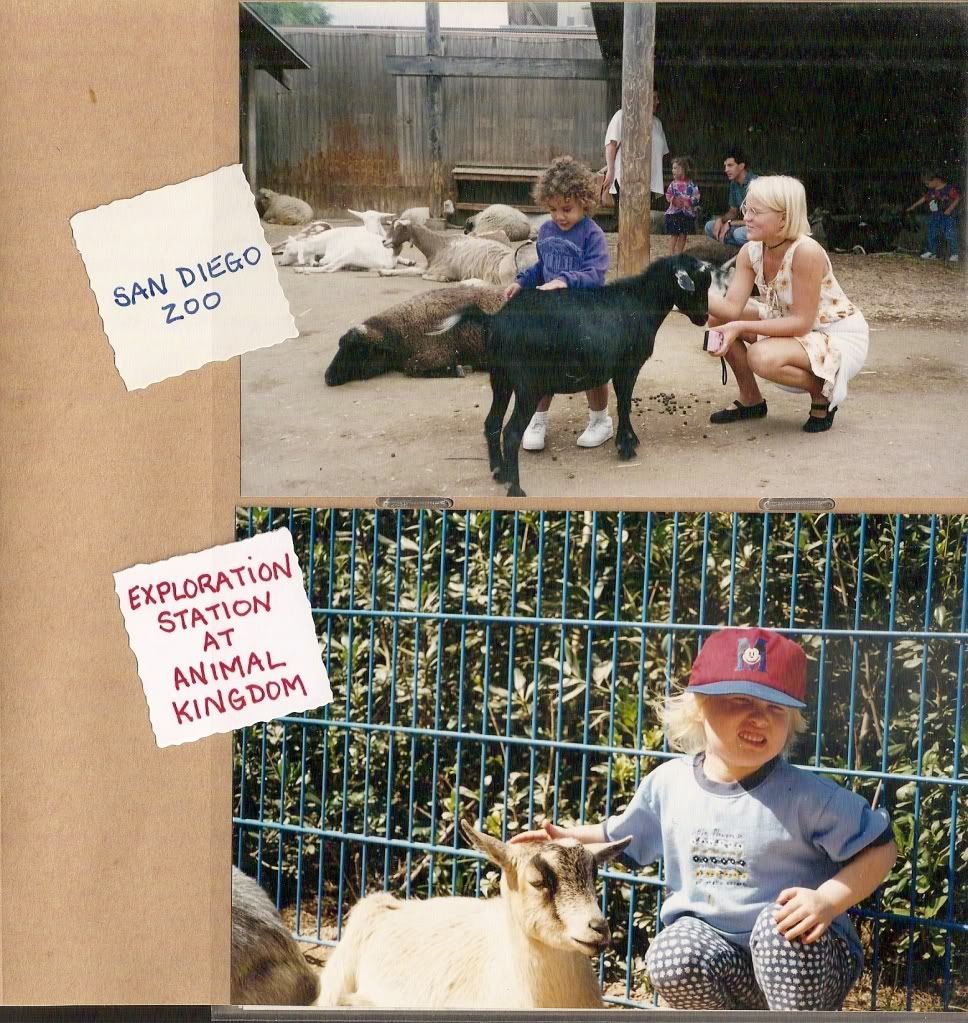
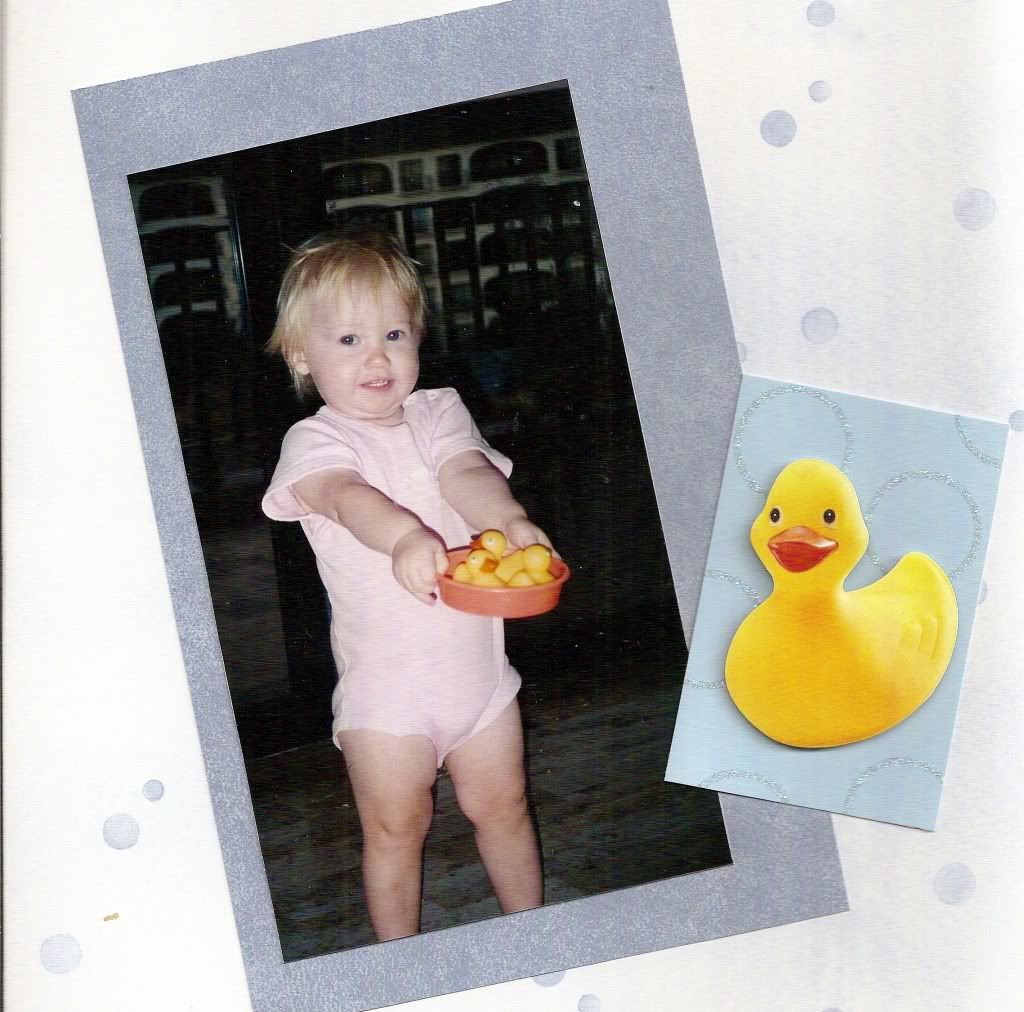
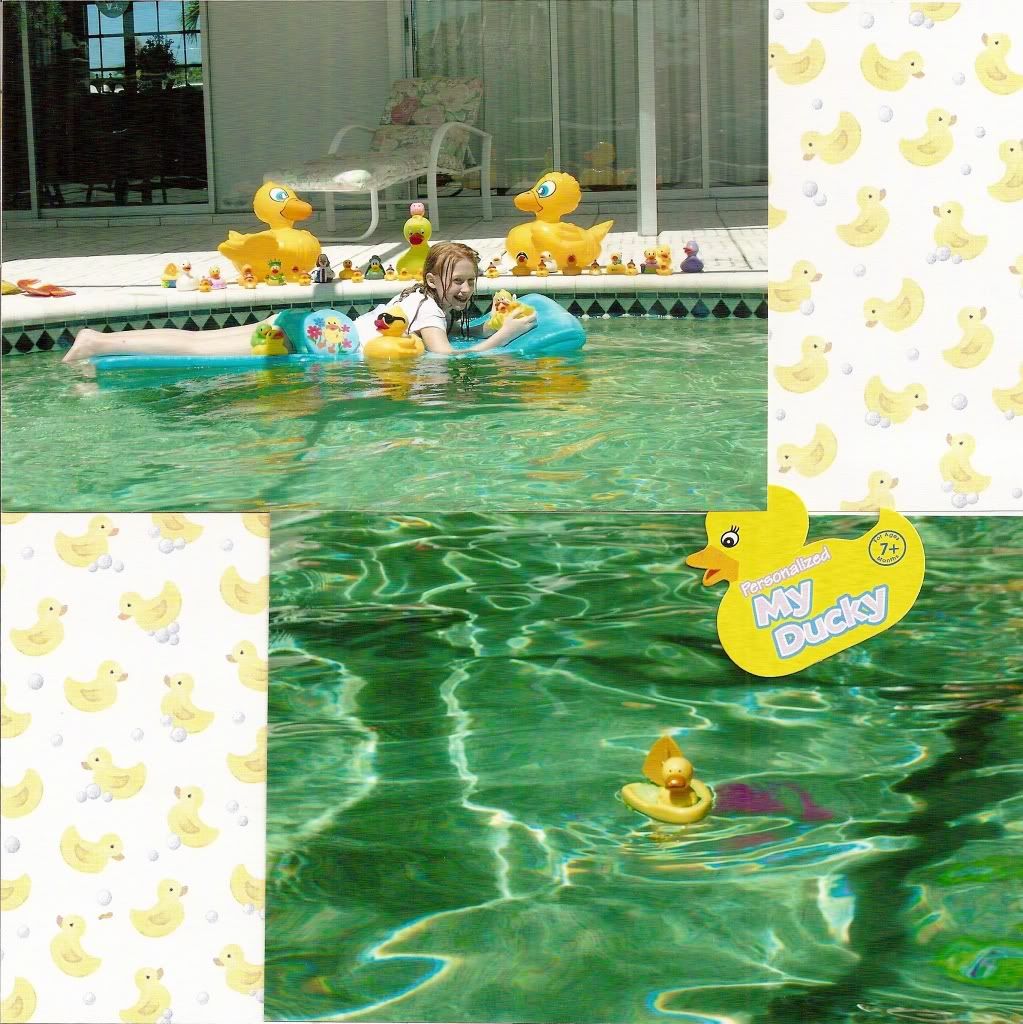
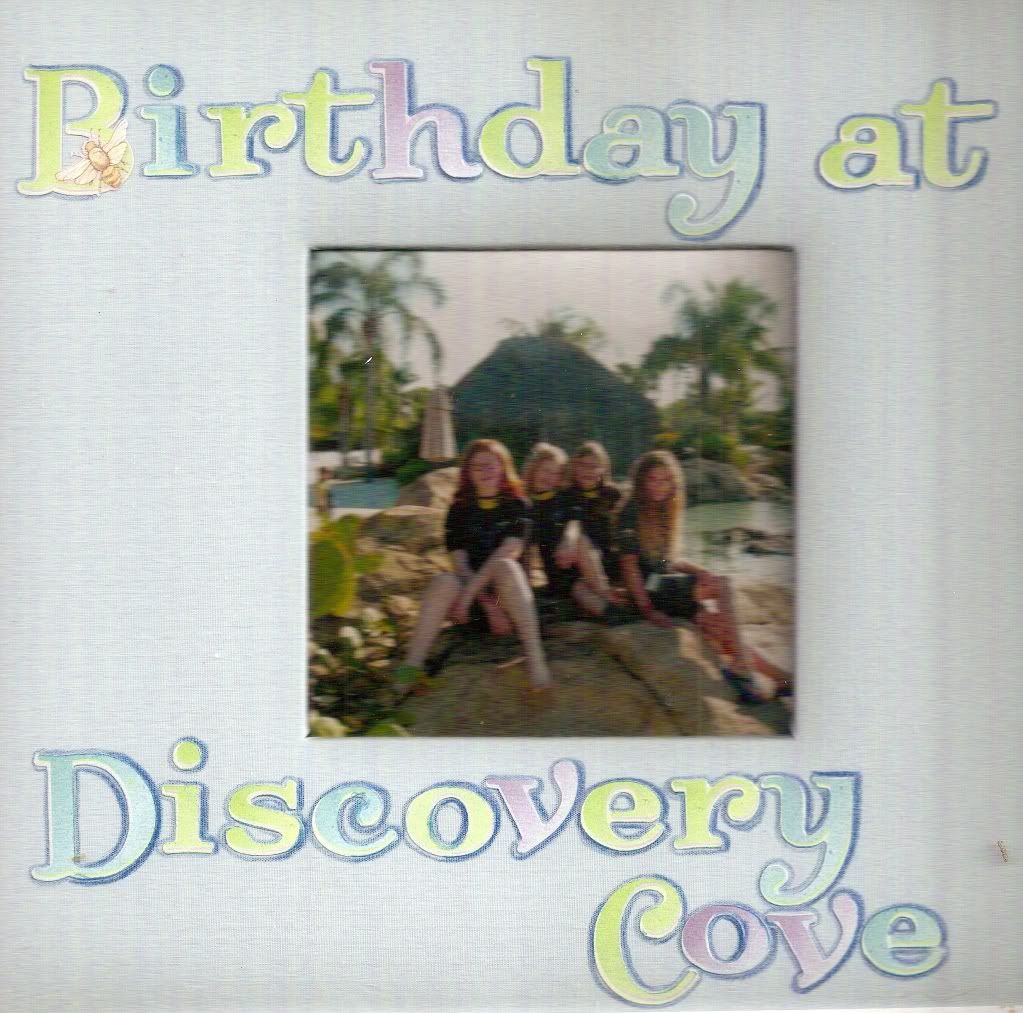
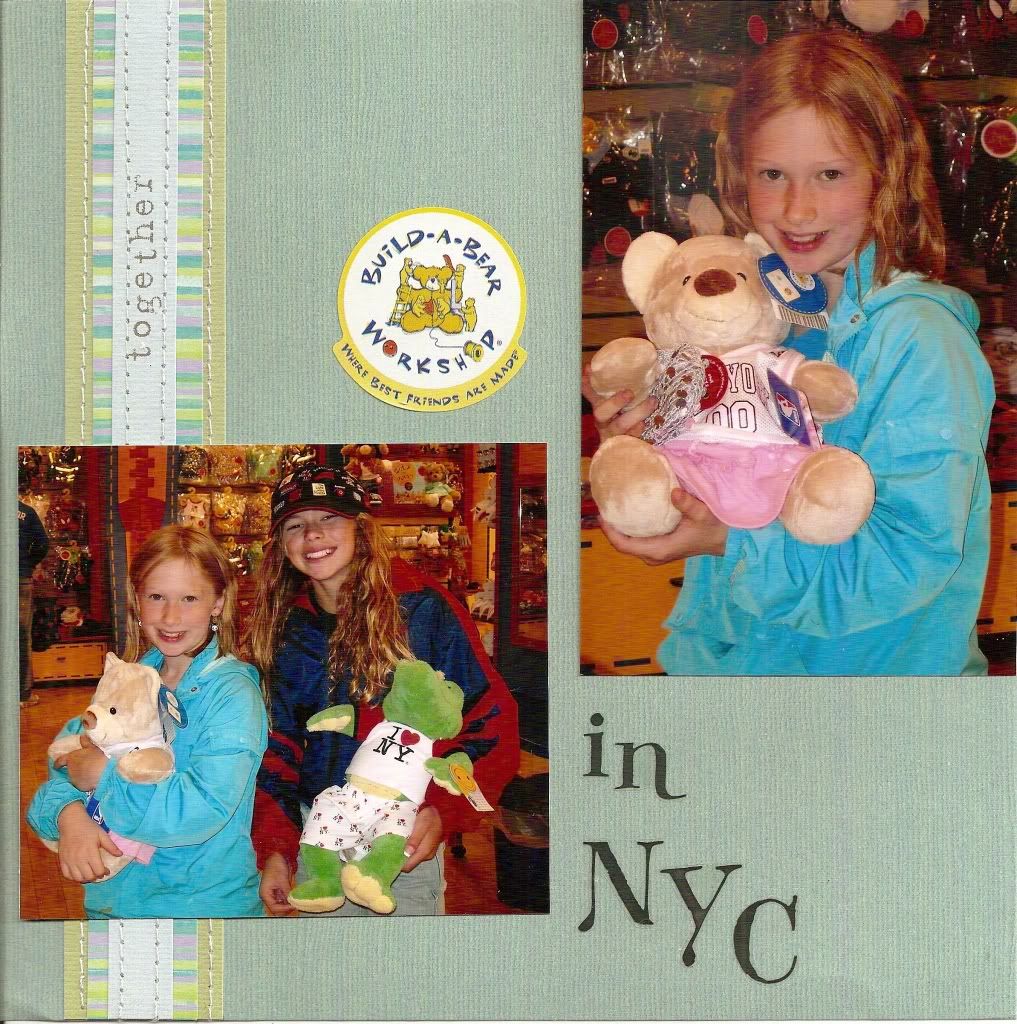
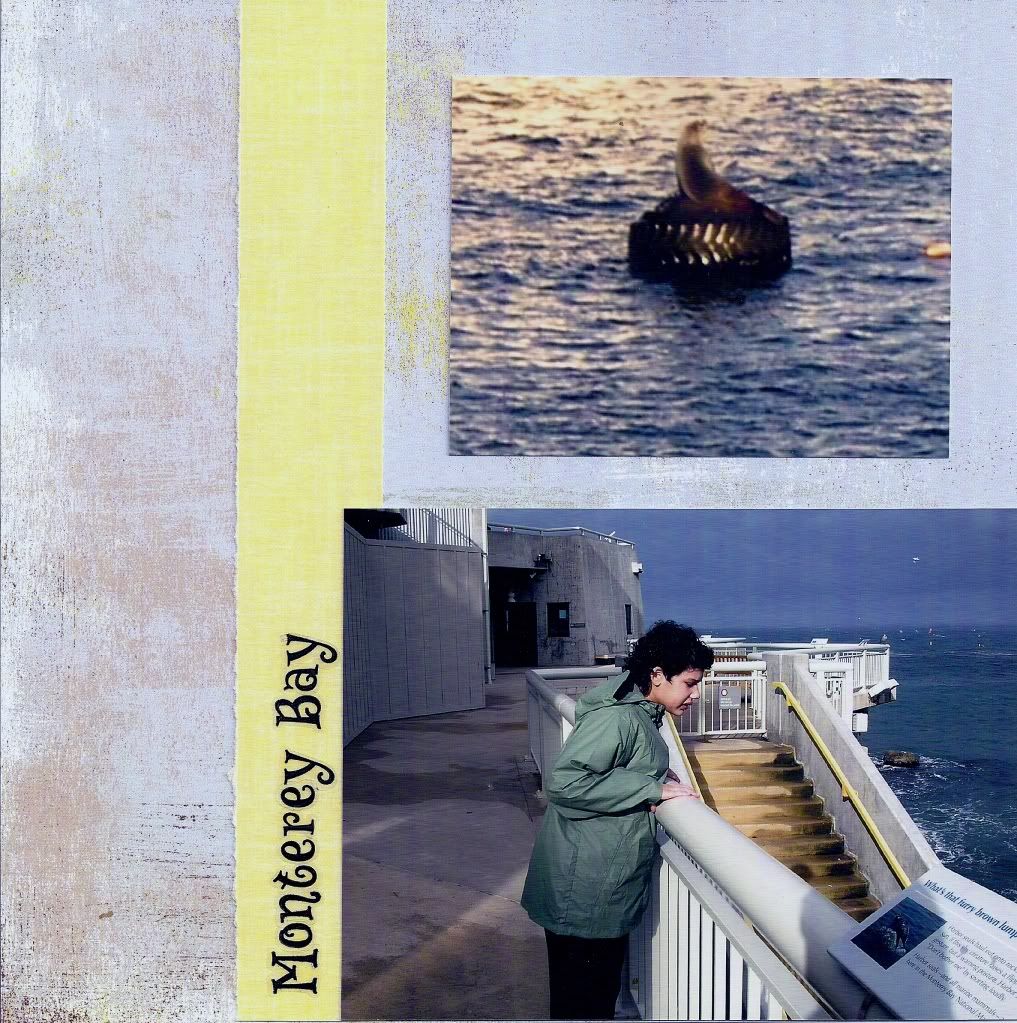
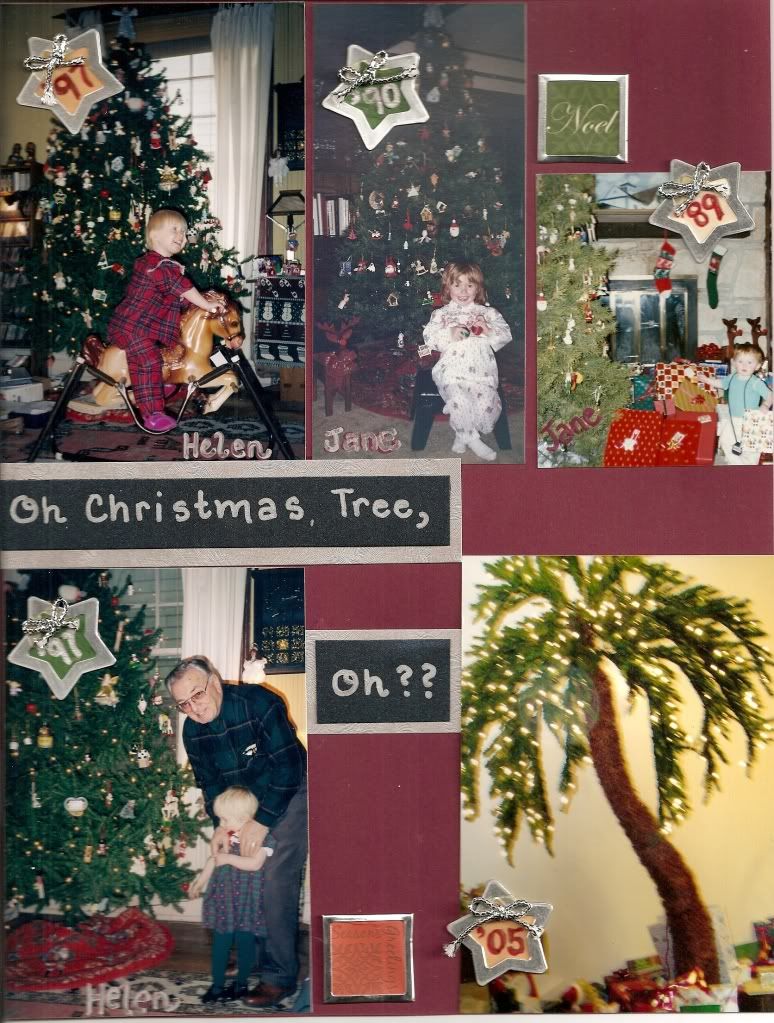
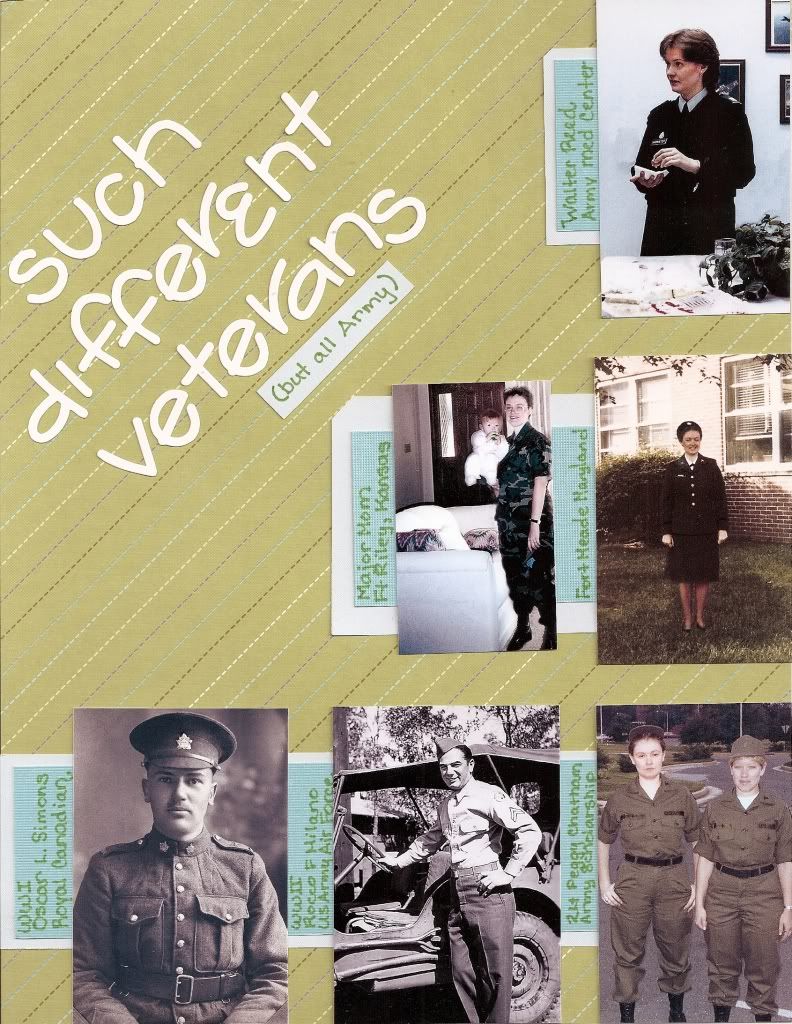
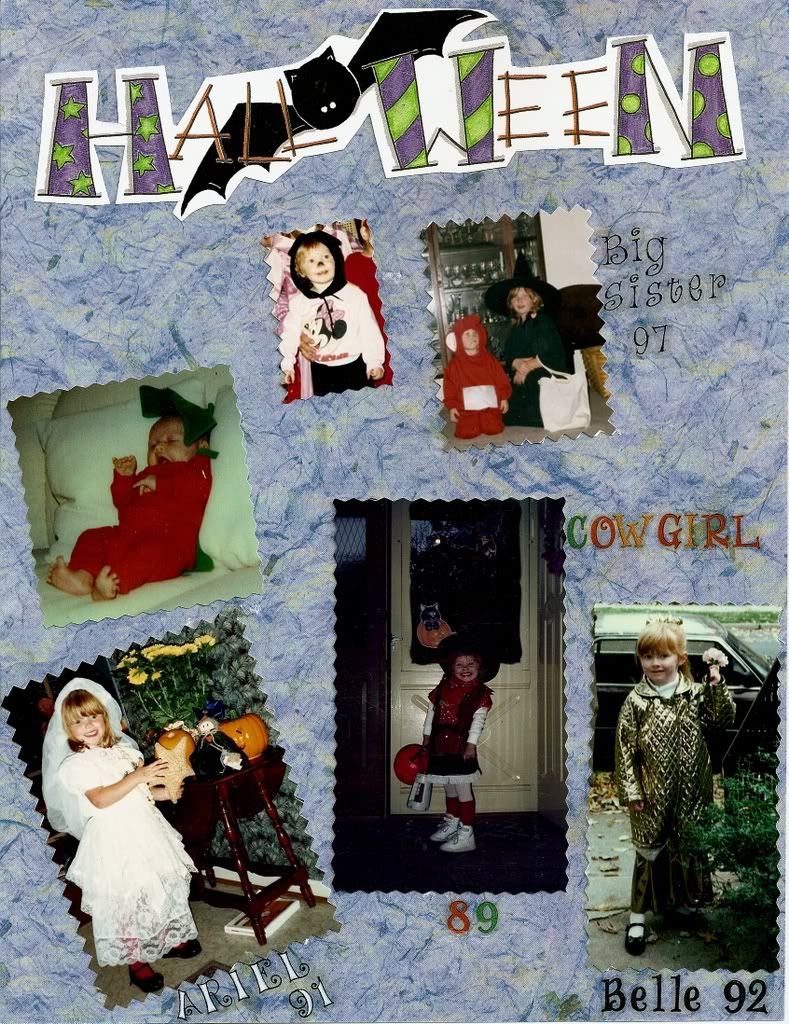
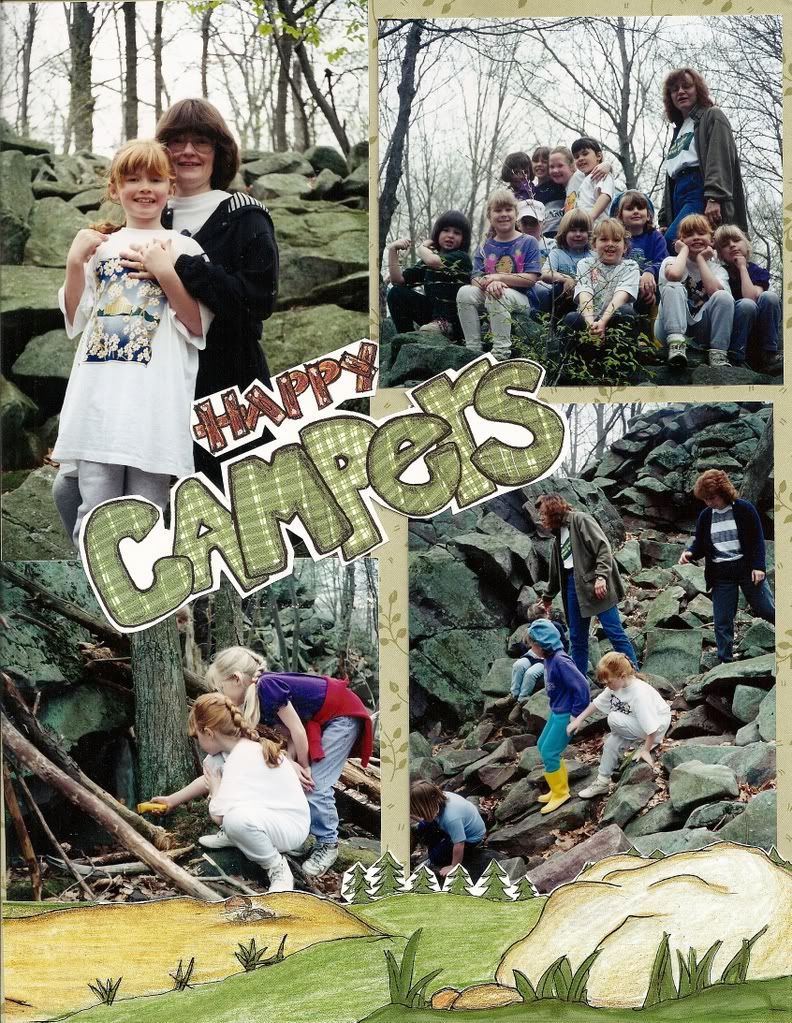
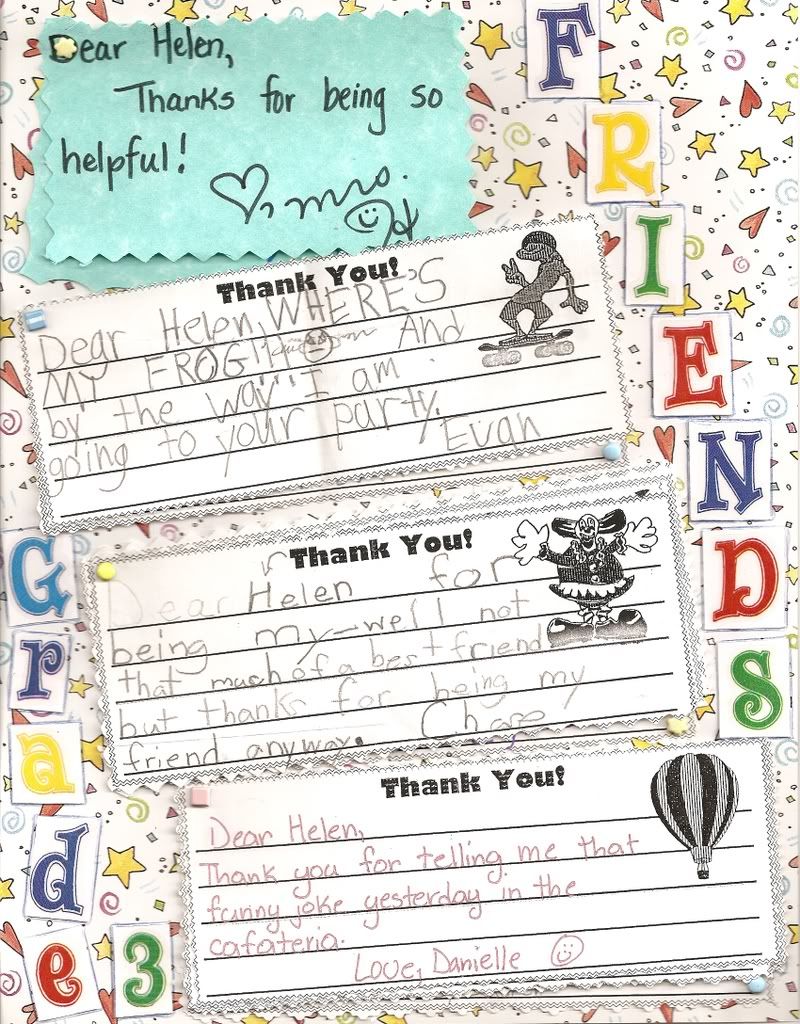
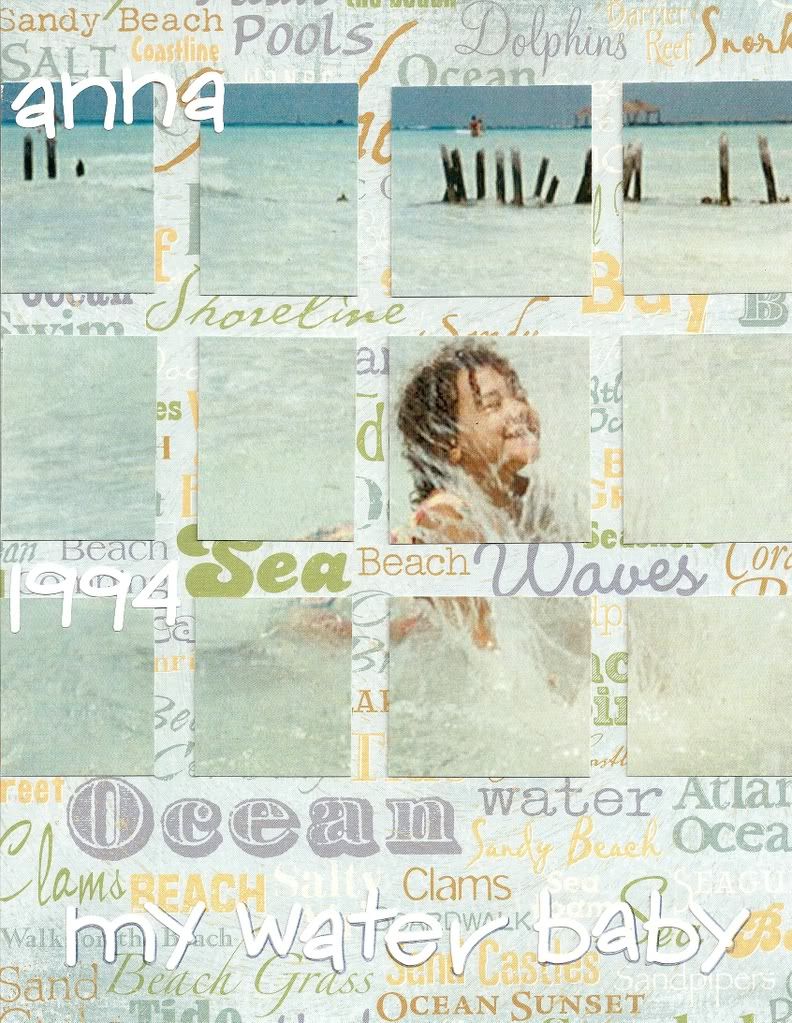
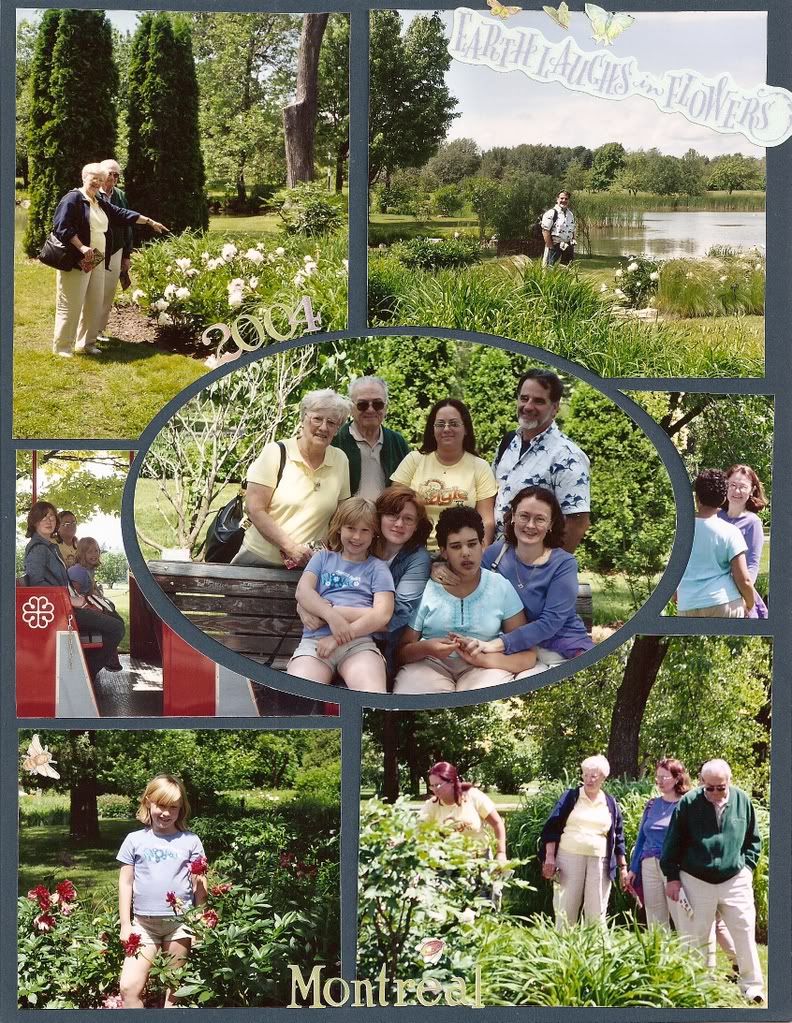
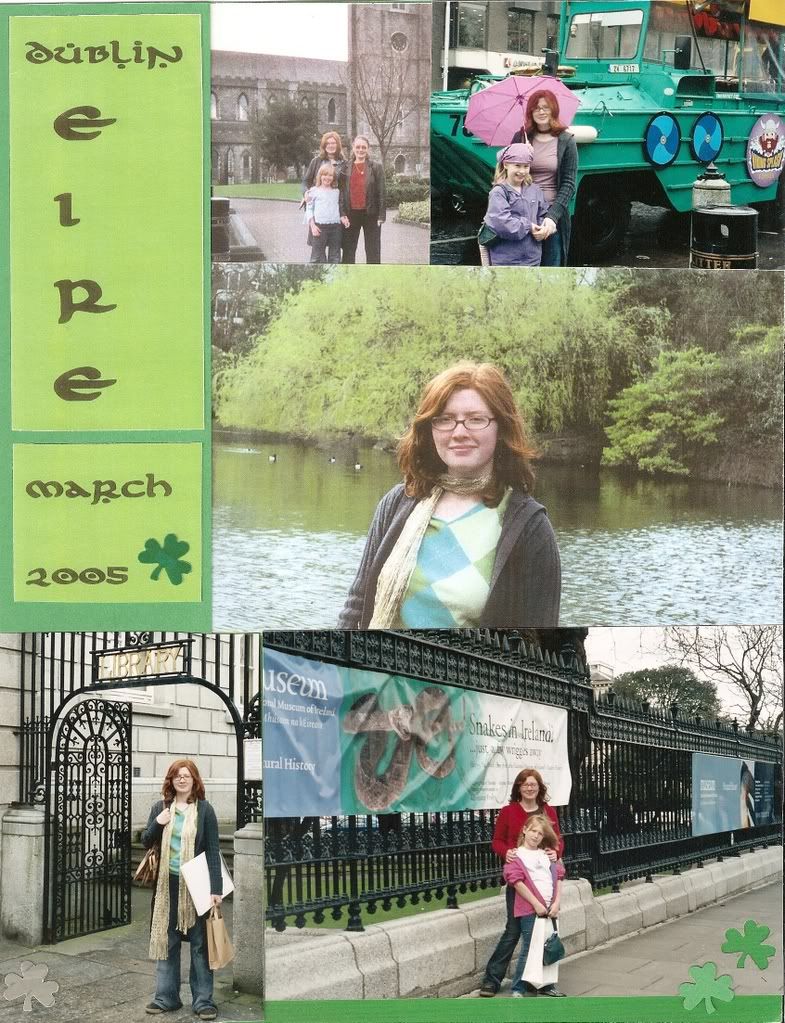
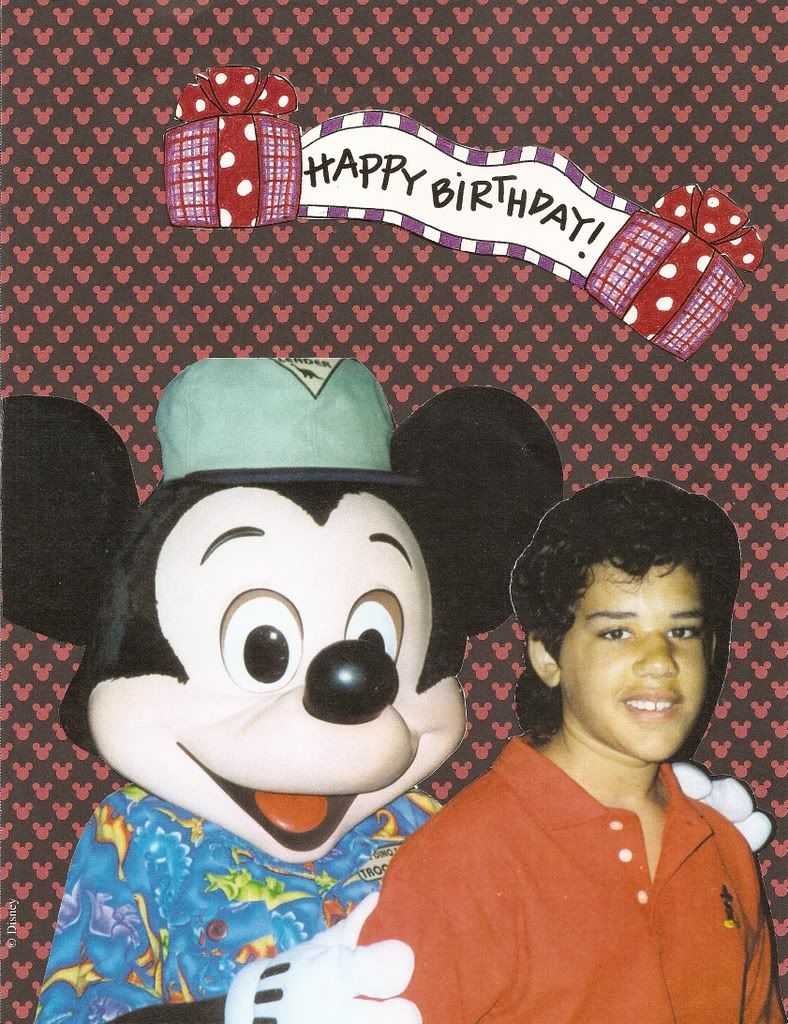
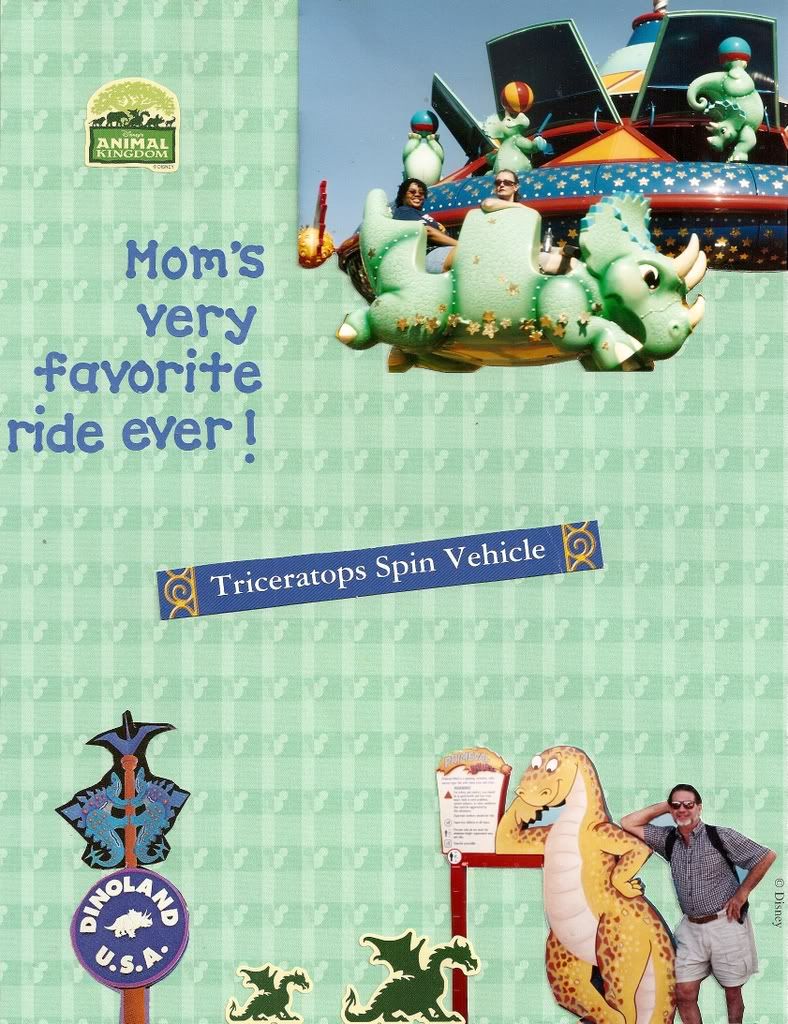
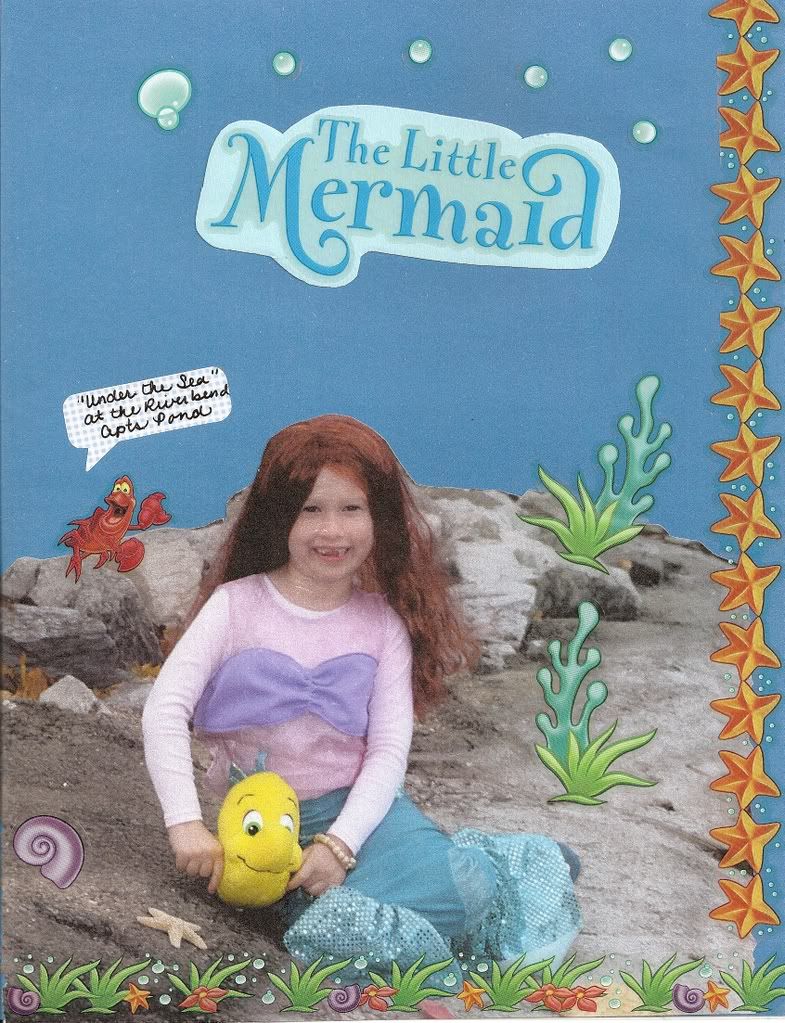
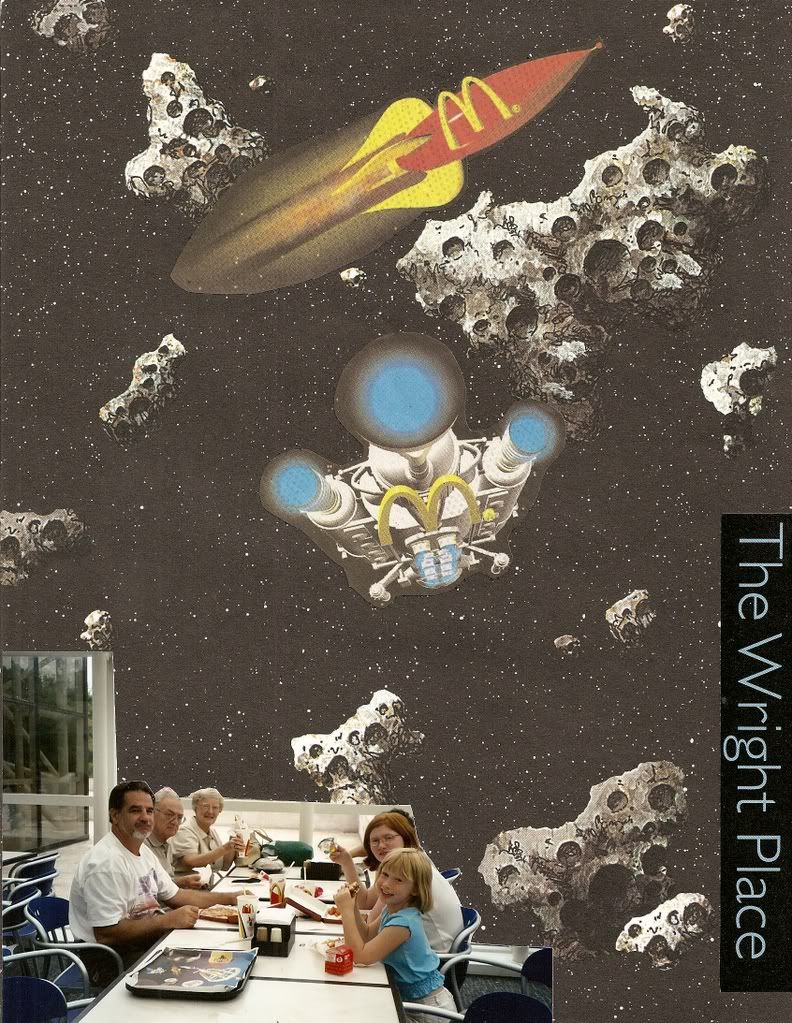
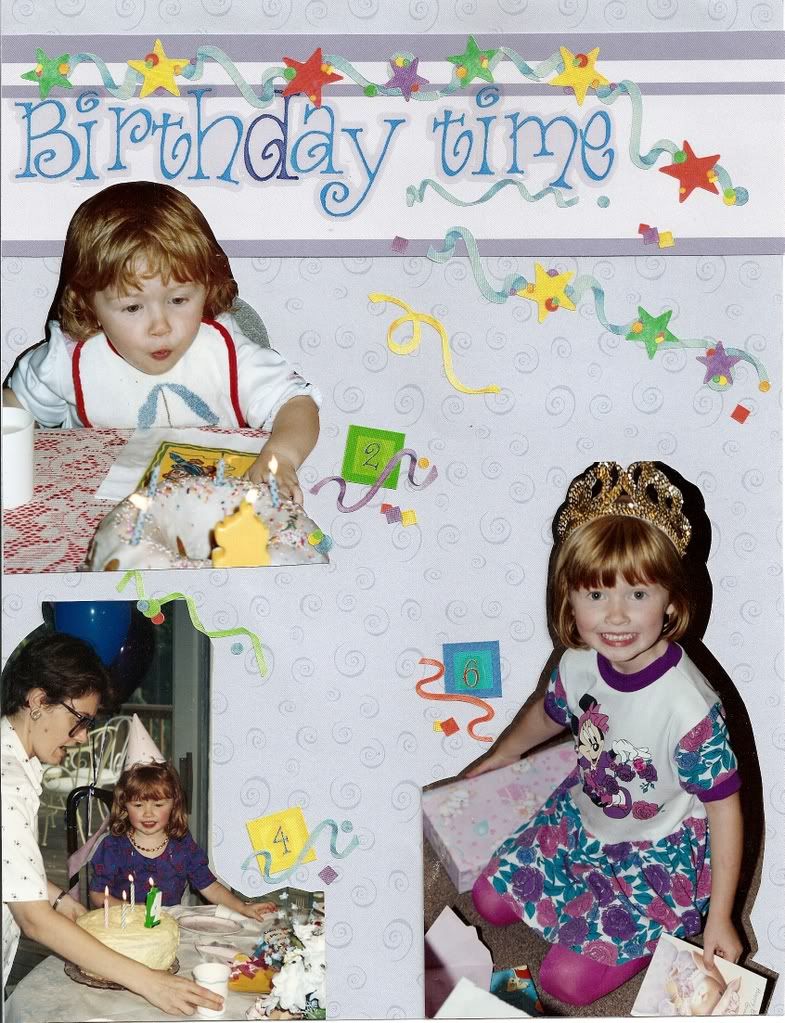
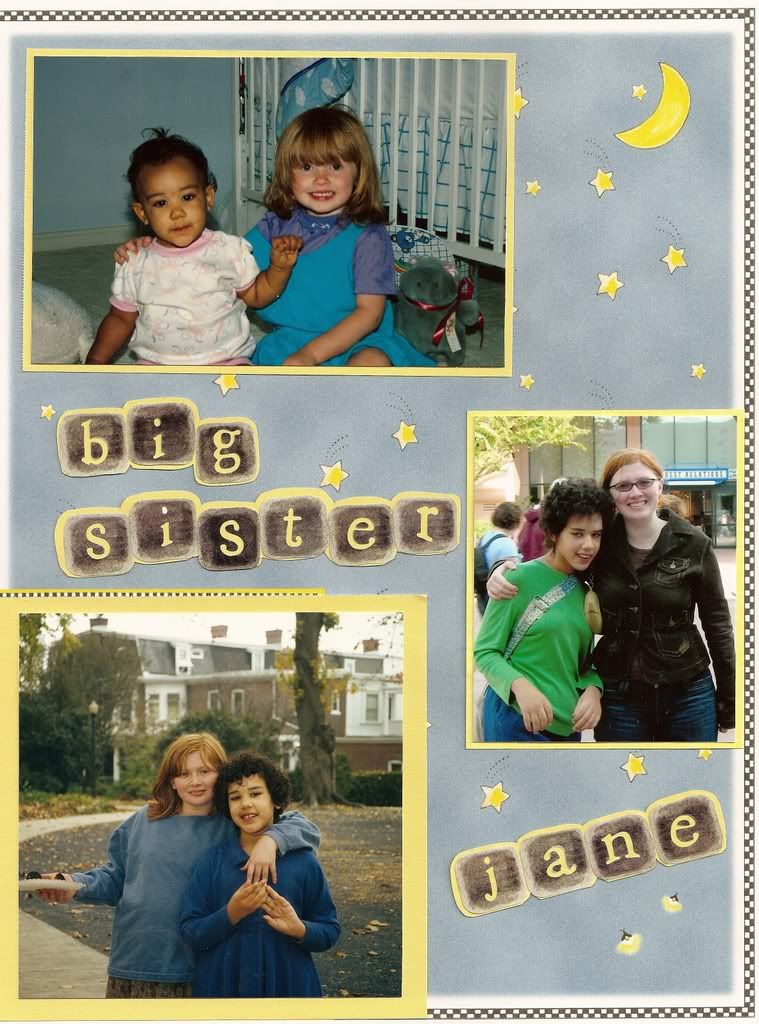
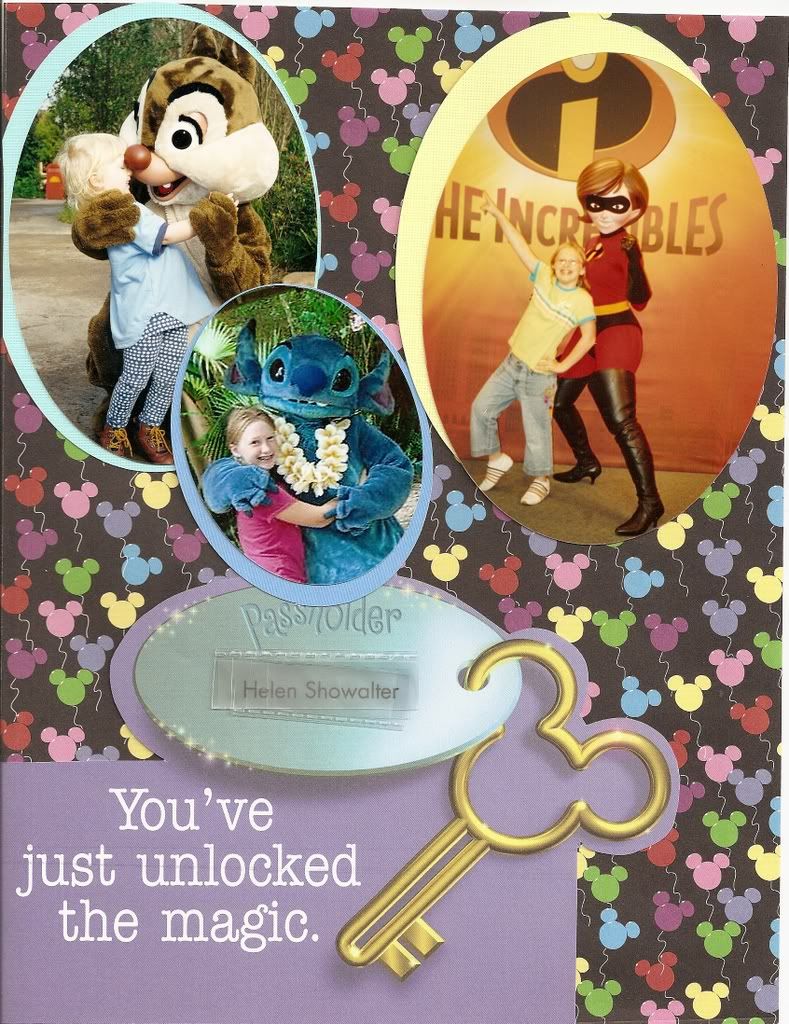
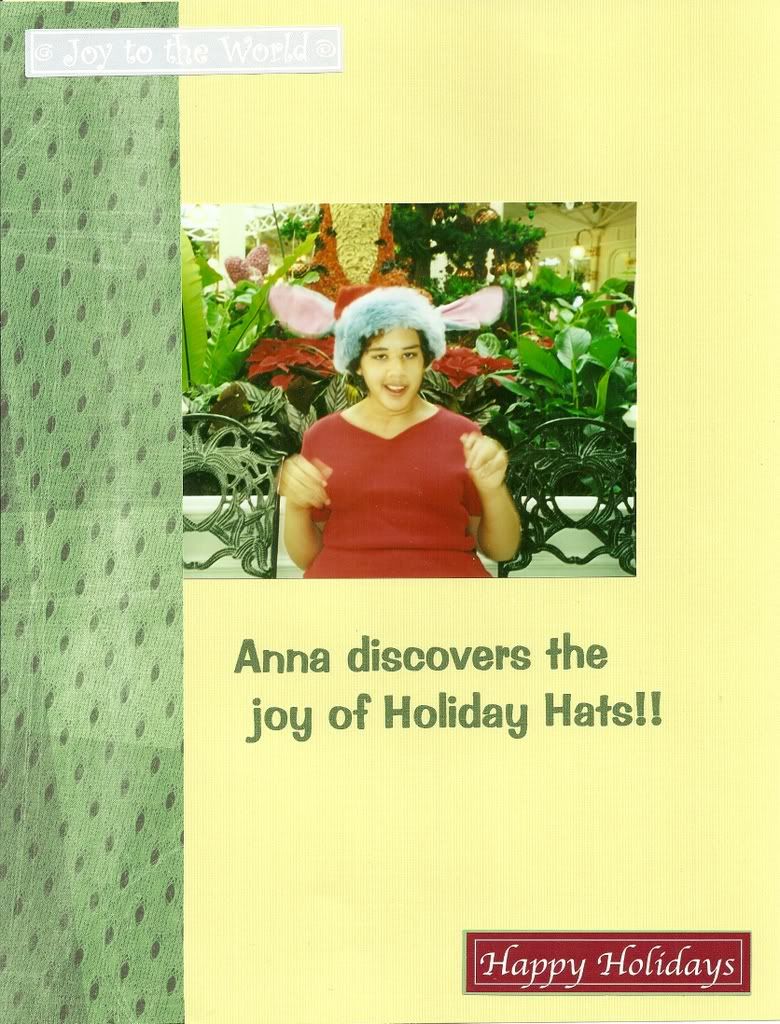
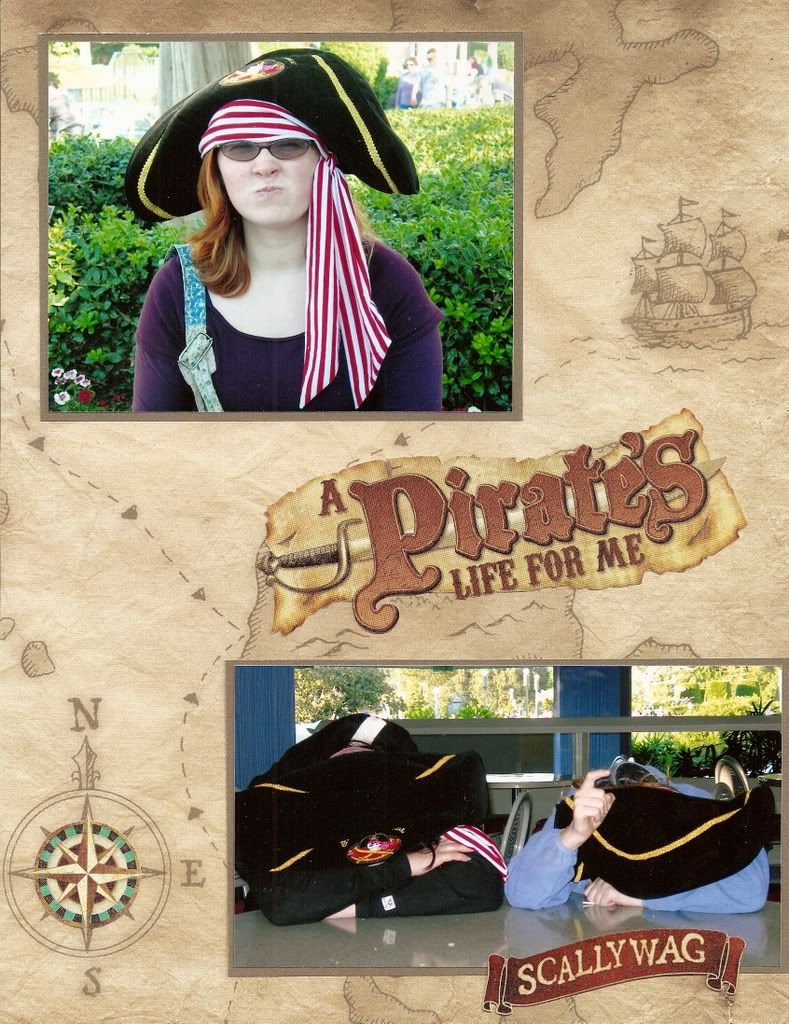
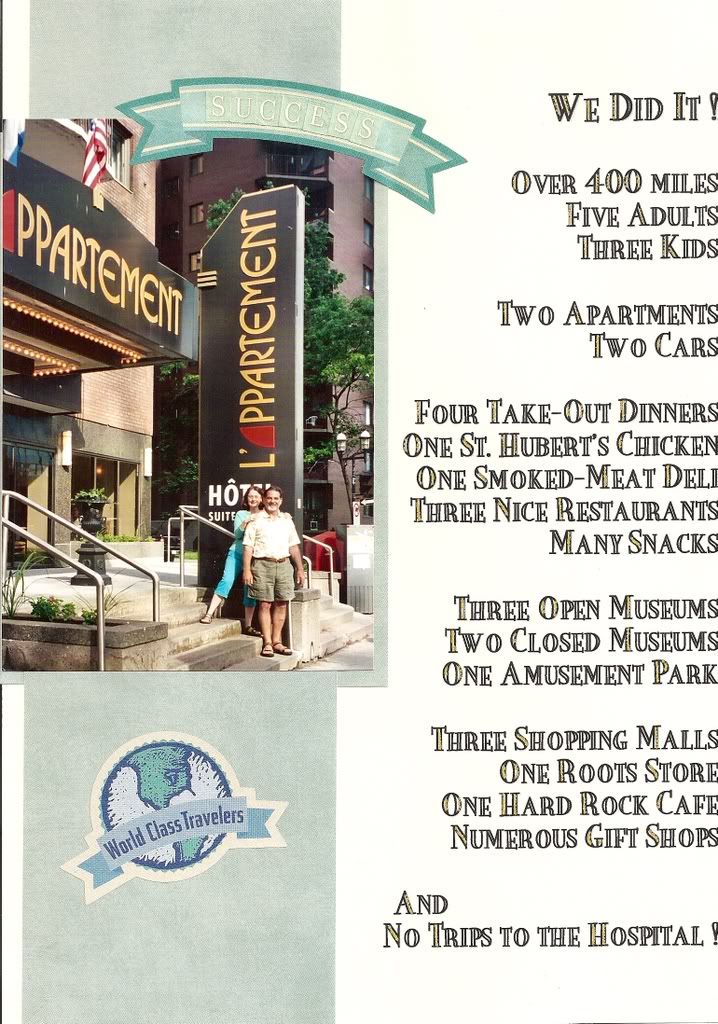
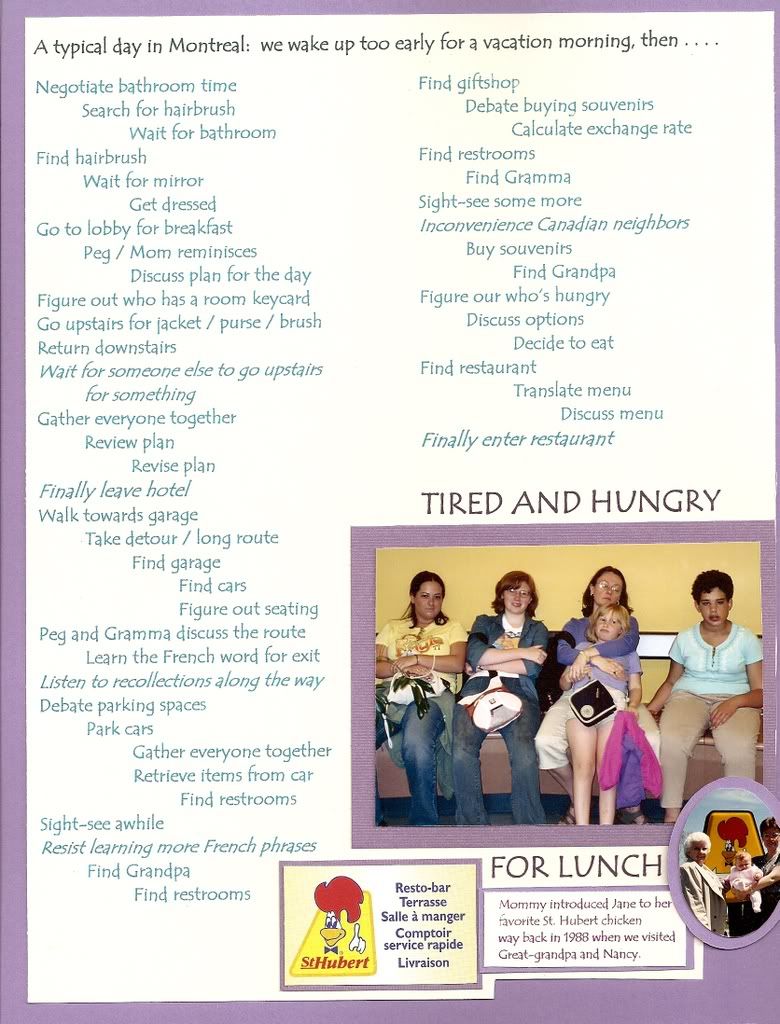
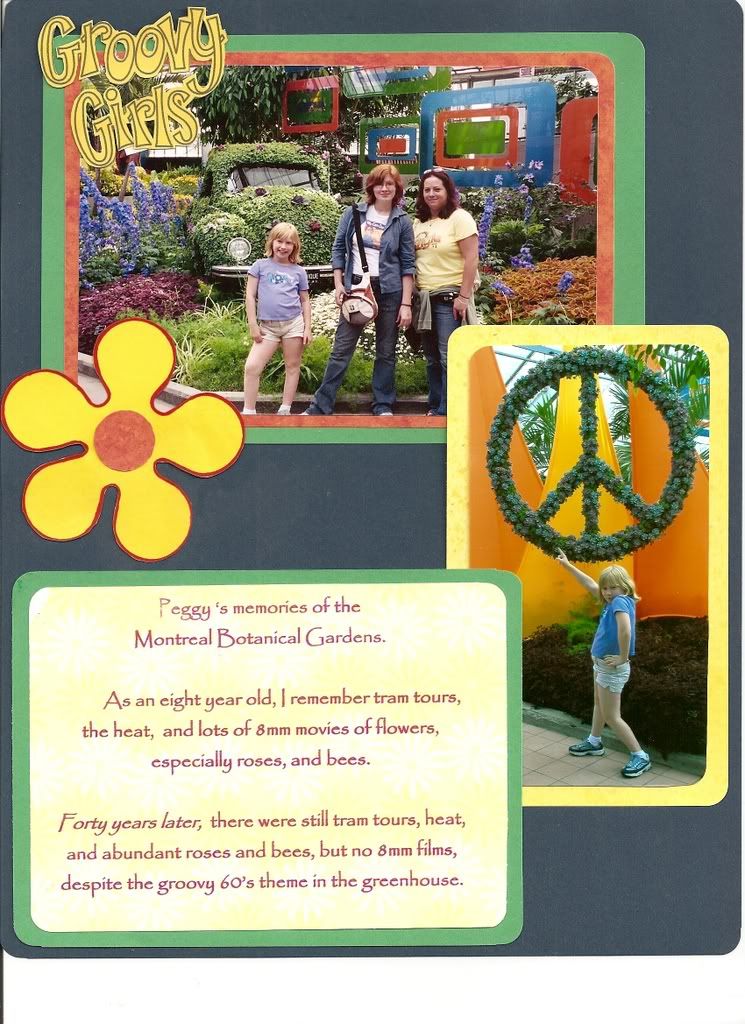
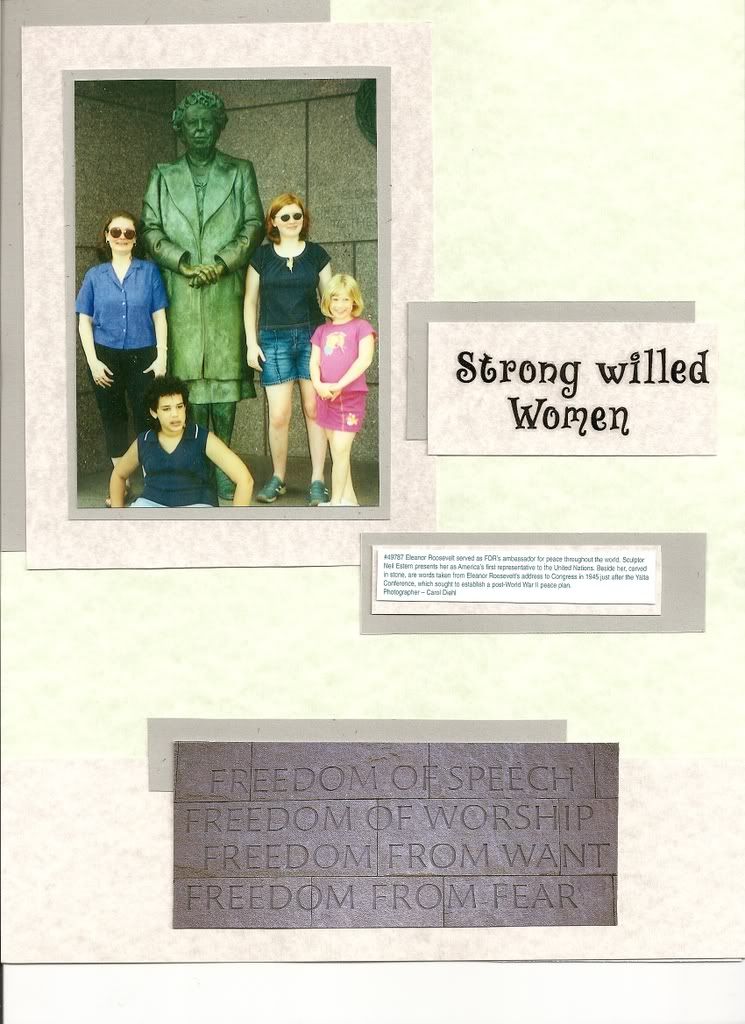
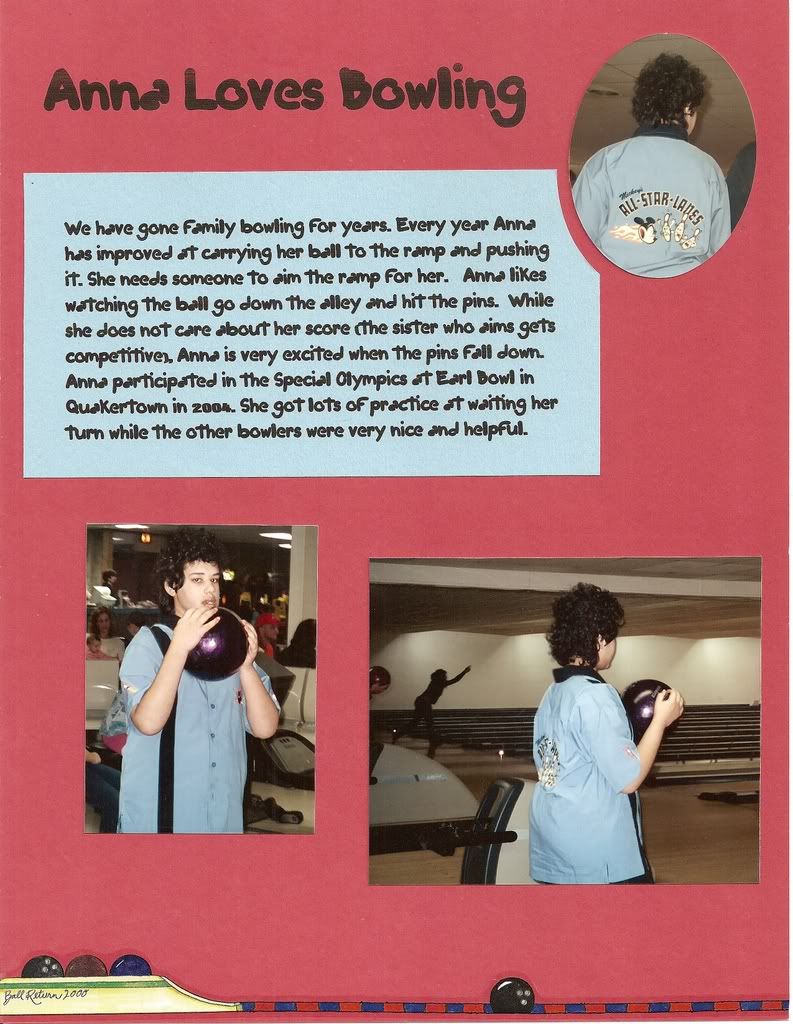
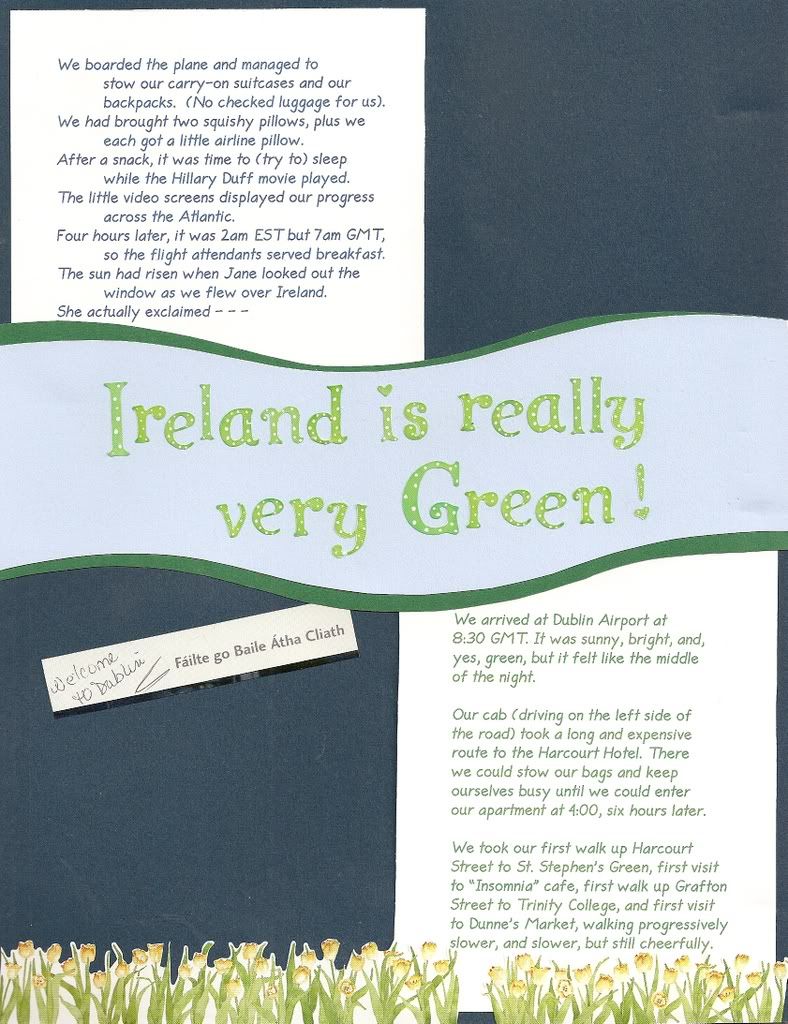
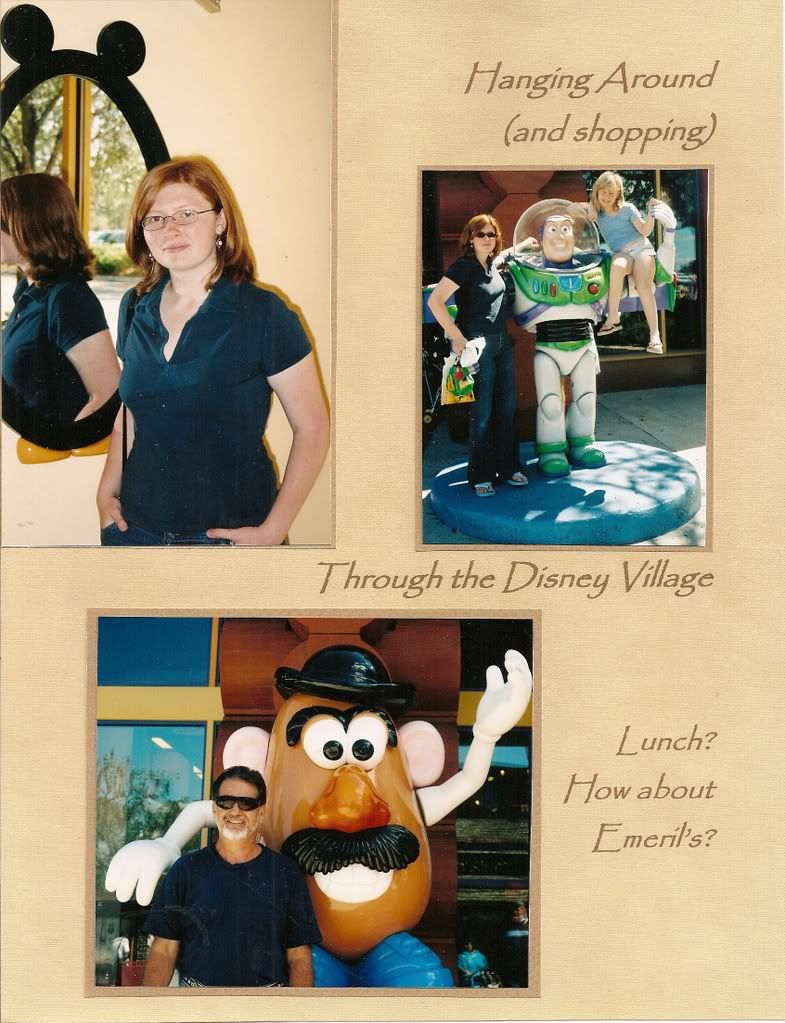
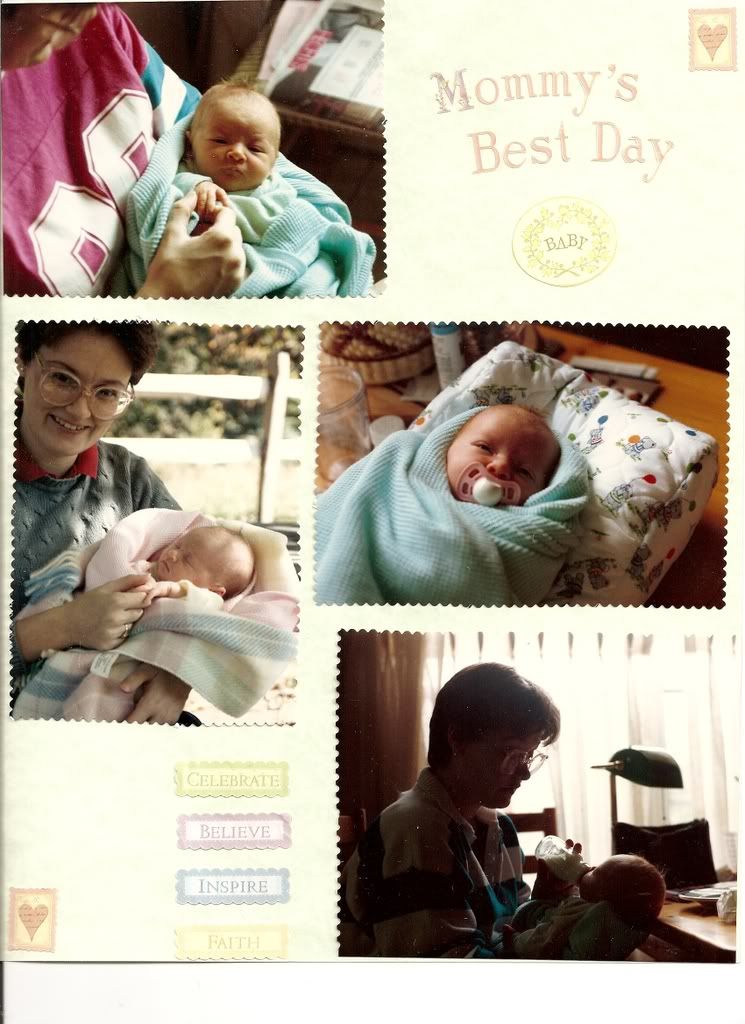
My favorite simple 8 x 8 scrapbook page has two photos, a caption, maybe an embellishment, and not much journaling. Can a scrapbook get so simple that it becomes a photo album ? Perhaps close, but no.
Current photo albums have two or three sections per page to slide in the photos. There's a wide margin to leave blank or add some journaling, stickers, or embellishments. I have one photo album that I filled with decades of random animal photos, one album of my absolute favorite photos, and one album of Disney photos that I somehow didn't scrapbook (yet).
In photo albums, the photos are all the same size, so no cropping, and no layout composition (maybe switching some photos around). There is no selecting or fussing with background pages because the album is totally assembled. And that's the difference. I absolutely love deciding on the layout and composition in my scrapbooks. Making scrapbooks is my hobby. Assembling photo albums is creative organization.
Showing posts with label photos. Show all posts
Showing posts with label photos. Show all posts
8/07/2010
4/10/2010
What did Gramma's House look like ?
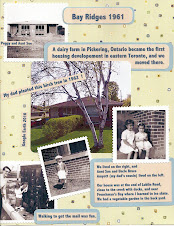
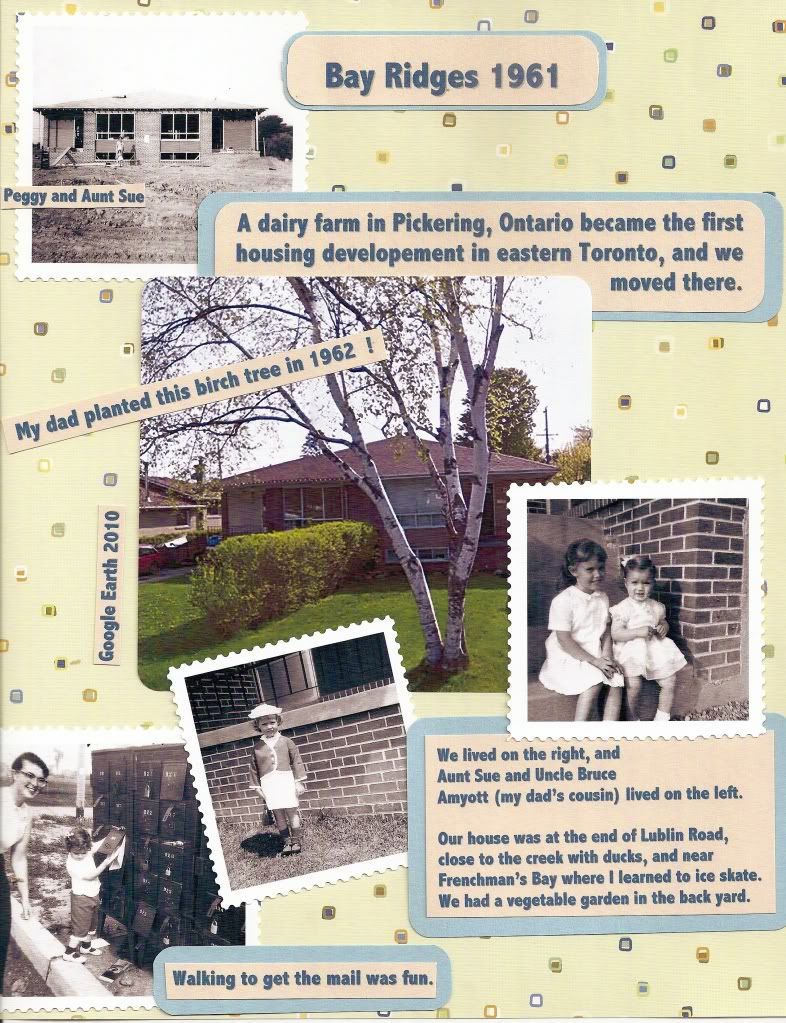
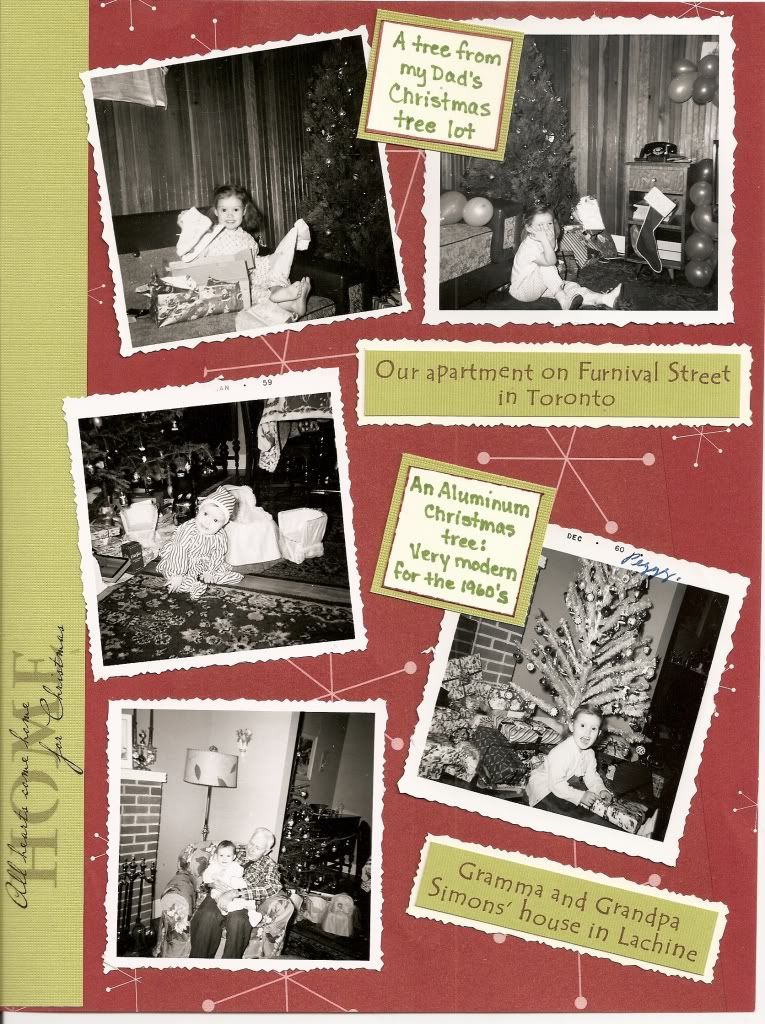
My newest scrapbboking tool (and random time waster) is using Google Maps Street View and Google Earth Panoramio to find current photos of my family's "historic" locations. Some of these locations have no photos to scrapbook, and other locations have old photos that I would like to compare with a current photo for a then/now page (one of my favorite layouts).
Google maps has good instructions but requires some mouse practice to maneuver, and the resolution is good enough. Having a specific address is most helpful; yes, more information to obtain and save, along with those childhood friends' names.
Panoramino just needs a town, park, or church name, but its results are limited to whatever photos have been posted. I have enjoyed many beautiful random photos.
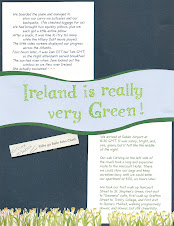
So far I have found photos of my childhood homes in Toronto and Vailsburg, my mother's childhood home in Montreal, my grandparents' home in Lachine Quebec, the cemetary where my mother's original Simons relatives are buried in Ireland Township Quebec, and the church where I was batpized. I am astonded by how little some houses have changed (or a lot == a grandparents' house is now an overpass).
At the moment cruising the world with Google has been more fun than practical (as in producing pages), but isn't a hobby supposed to be fun ?? And who knows what I might be inspired to do !
Google maps has good instructions but requires some mouse practice to maneuver, and the resolution is good enough. Having a specific address is most helpful; yes, more information to obtain and save, along with those childhood friends' names.
Panoramino just needs a town, park, or church name, but its results are limited to whatever photos have been posted. I have enjoyed many beautiful random photos.
So far I have found photos of my childhood homes in Toronto and Vailsburg, my mother's childhood home in Montreal, my grandparents' home in Lachine Quebec, the cemetary where my mother's original Simons relatives are buried in Ireland Township Quebec, and the church where I was batpized. I am astonded by how little some houses have changed (or a lot == a grandparents' house is now an overpass).
At the moment cruising the world with Google has been more fun than practical (as in producing pages), but isn't a hobby supposed to be fun ?? And who knows what I might be inspired to do !


12/03/2009
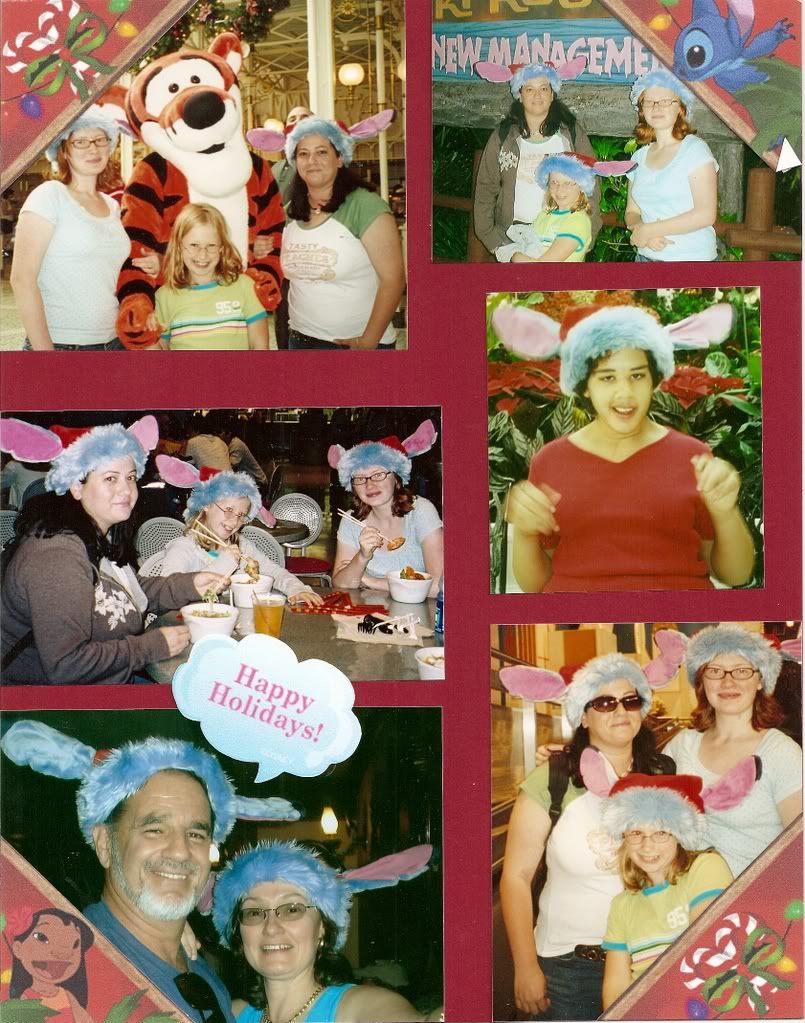
The easiest collages ever !
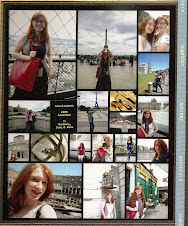
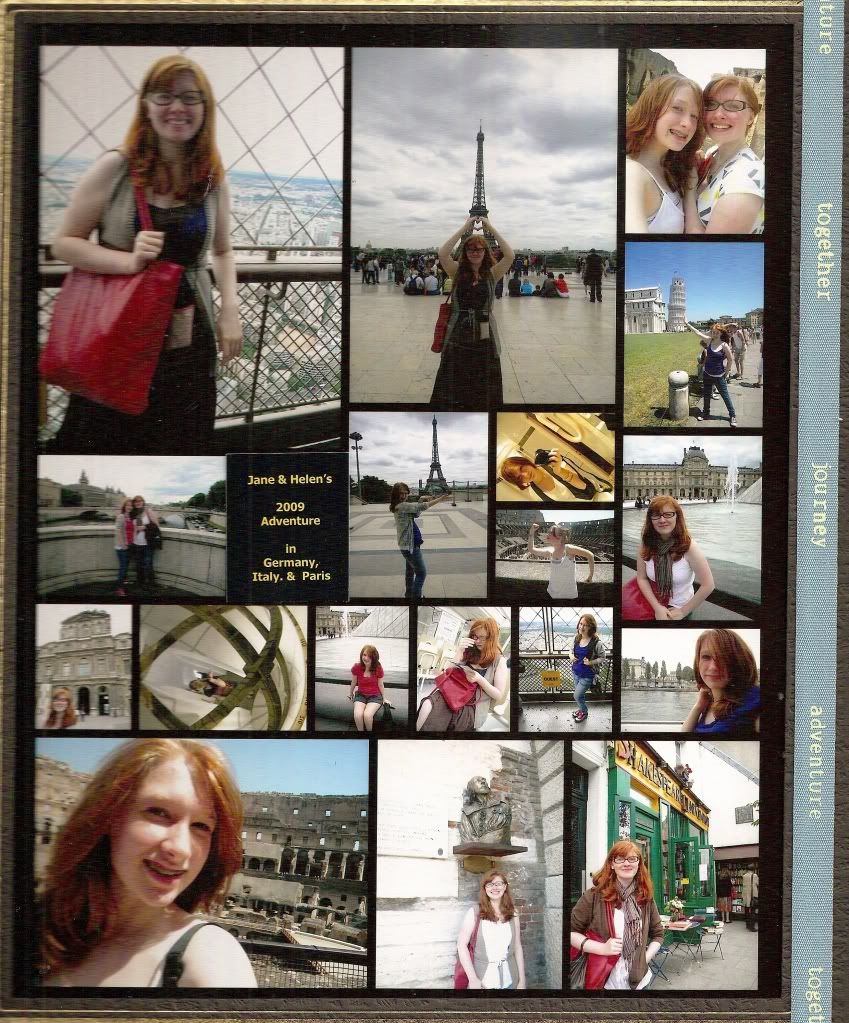
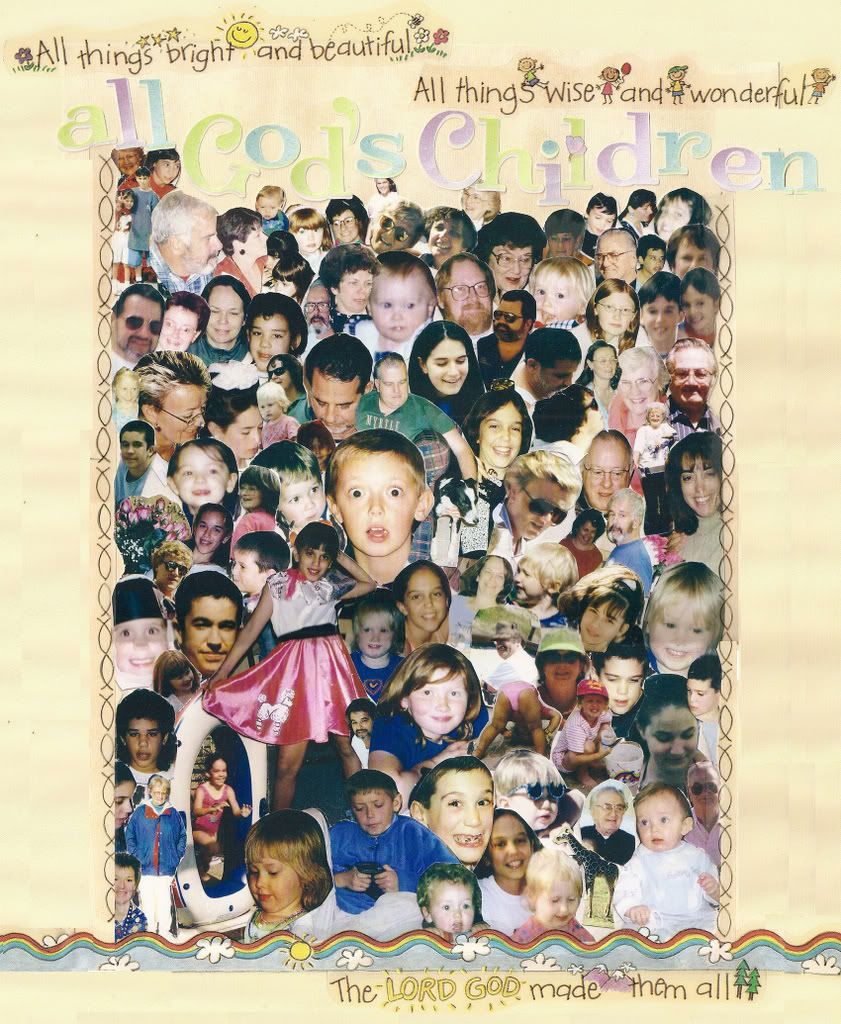
I have assembled all my scrapbook page collages by trimming, arranging, and rearranging actual photos. The challenge is strangely fun. All the "easier" web and digital scrapbook collage templates that I tried were too tedious for me and actually took much longer. Then I stumbled onto Walgreens collages. Yes, Walgreens. I have not been this excited about a product since Mr. Clean Magic Eraser.
"Easy" is of course a relative term, starting at walgreens.com, clicking on the photo icon, and registering. Finding the collage section is a bit of a hunt by clicking on gifts, then clicking on collages. There are three sizes, 8x11, 5x7, and 4x6. Uploading photos is next and a bit tedious. For a 8x11, up to 12 to 16 photos seem best. The site creates the collage and the arrangement. You can select with width of the margins around the photos and scramble the photos, but you cannot rearrange the photos individually. Once you have an arrangement you like, you can have it printed within an hour at the closest store.
Then the collage is ready for any labels or embellishments to make a page.
"Easy" is of course a relative term, starting at walgreens.com, clicking on the photo icon, and registering. Finding the collage section is a bit of a hunt by clicking on gifts, then clicking on collages. There are three sizes, 8x11, 5x7, and 4x6. Uploading photos is next and a bit tedious. For a 8x11, up to 12 to 16 photos seem best. The site creates the collage and the arrangement. You can select with width of the margins around the photos and scramble the photos, but you cannot rearrange the photos individually. Once you have an arrangement you like, you can have it printed within an hour at the closest store.
Then the collage is ready for any labels or embellishments to make a page.
8/01/2009
Oval mats and frames
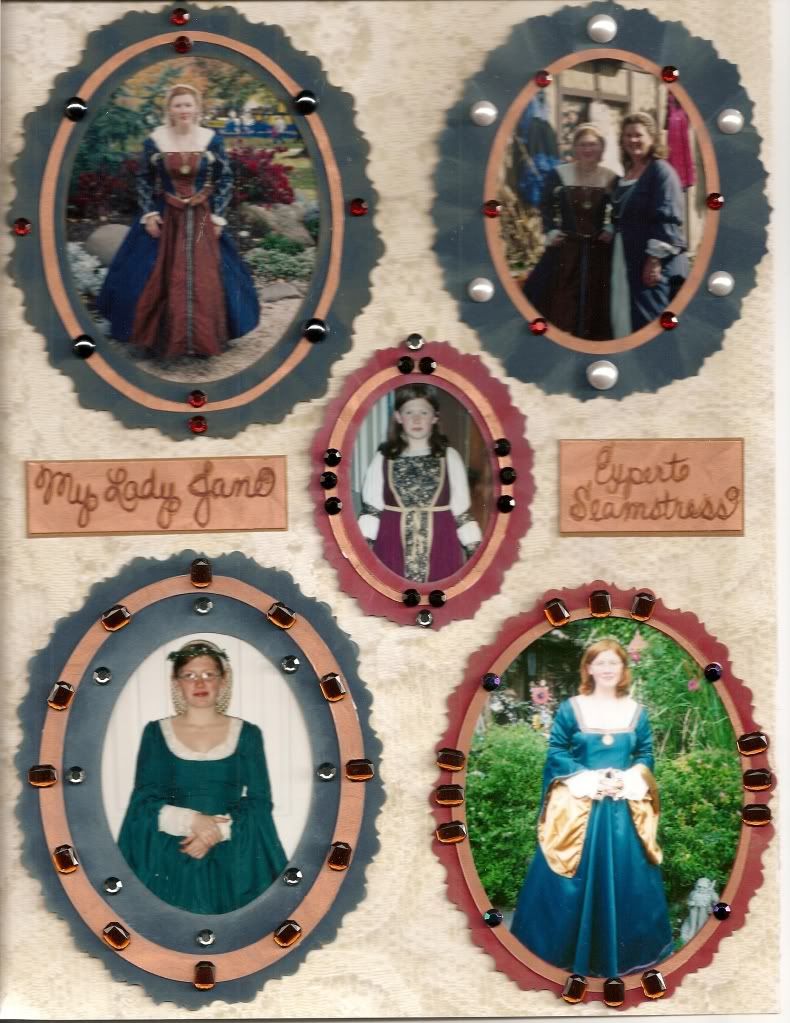
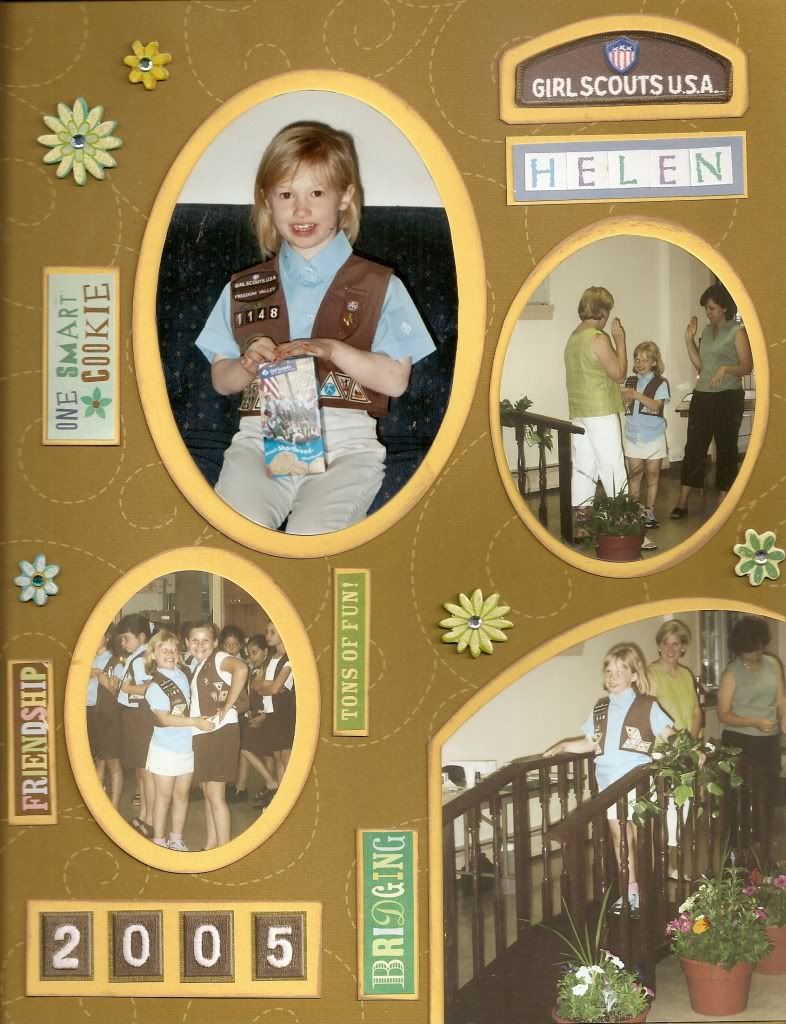
I use mat borders around most photos on recent pages. Cardstock mats are cut larger and placed under photos. Many photos have a thin mat border, others have one or two wider bands. White, black, contrasting colors, or even matching the background color, mats also add dimension and depth. Ovals and rectangles are my most versatile photo and mat shapes. Most of my pages feature people, and I think people fit best in ovals and rectangles. Plus ovals seem more elegant -- think old portraits.
Frames are cardstock ........ frames........placed over photos to make them look........framed. Easy concept, difficult technique. I like frames, but that are not worth the effort unless I want to photos to specially look framed. Why not buy a package of cardstock frames at the scrapbook store ? I have bought a few packages, and the color, or size, or width, or number of duplicates never has fit my page. Never, ever.
Cutting mats and frames myself has been the only solution to fitting to my photos and my imagination. Rectangle mats are easy to make with my paper cutter, but rectangle frames require a separate system I would not use enough to buy. Another reason to love ovals is that my one cutting system cuts oval mats (one cut) and frames (two concentric cuts -- cut the outer edge to make an oval, then cut the inner edge that makes the frame and an inner smaller oval to use elsewhere). My Creative Memories Oval Shape Cutter has four plastic oval templates and three cutting knives that can make 24 different size ovals. I always have the right size oval.
I love Creative Memories tools. They used to be sold at parties, but now they have a website and representatives. A little like Avon.
Frames are cardstock ........ frames........placed over photos to make them look........framed. Easy concept, difficult technique. I like frames, but that are not worth the effort unless I want to photos to specially look framed. Why not buy a package of cardstock frames at the scrapbook store ? I have bought a few packages, and the color, or size, or width, or number of duplicates never has fit my page. Never, ever.
Cutting mats and frames myself has been the only solution to fitting to my photos and my imagination. Rectangle mats are easy to make with my paper cutter, but rectangle frames require a separate system I would not use enough to buy. Another reason to love ovals is that my one cutting system cuts oval mats (one cut) and frames (two concentric cuts -- cut the outer edge to make an oval, then cut the inner edge that makes the frame and an inner smaller oval to use elsewhere). My Creative Memories Oval Shape Cutter has four plastic oval templates and three cutting knives that can make 24 different size ovals. I always have the right size oval.
I love Creative Memories tools. They used to be sold at parties, but now they have a website and representatives. A little like Avon.
6/08/2009
Photobucket and Shutterfly and Flickr and Picassa Oh My !
"Of course" everyone remembers to backup their digital photos to an external device in case of a hideous PC crash. But what if the house burns down ?? Will the external device melt too ?? And all the paper scrapbooks will turn to ash...... A traditional paper and photo scrapbooker can find relief from these pessimistic worries in the internet.
I scan (not enough) of my favorite scans into my free http://photobucket.com/ account. It can also be used to share with others, but I use my blog for sharing...........My daughters tell me that photobucket is no longer "cool," but I understand the uploading and organizing steps, so I stick with it rather than switching to the "cool" and artistic http://www.flicker.com.
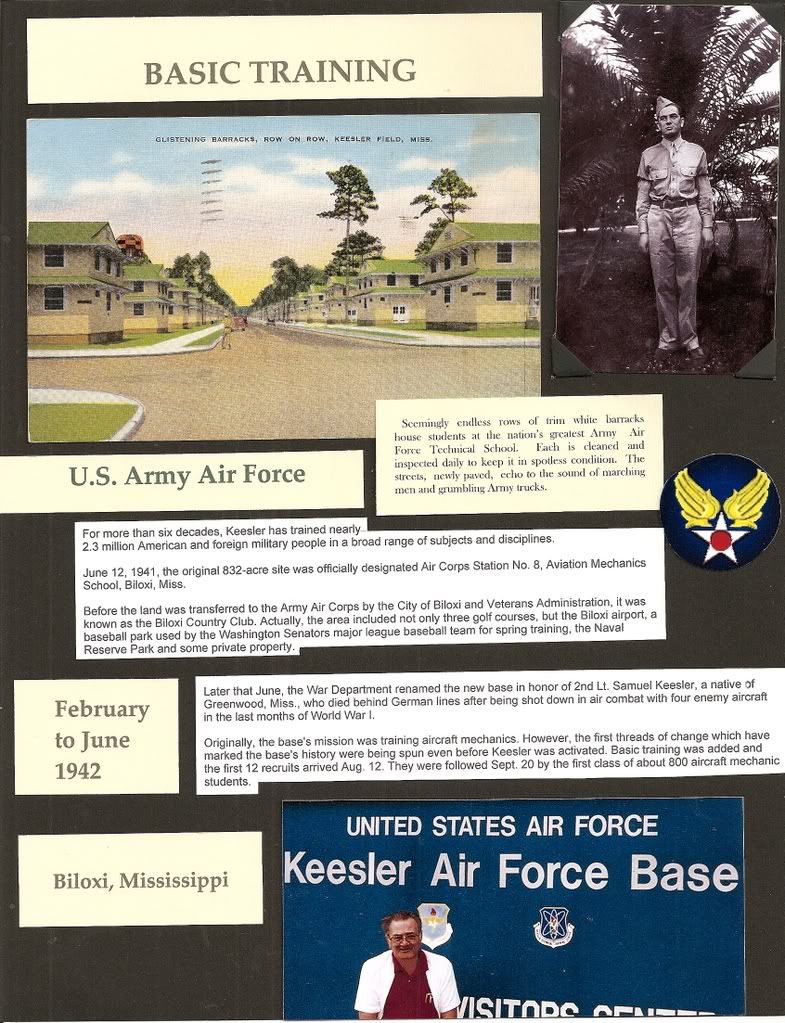
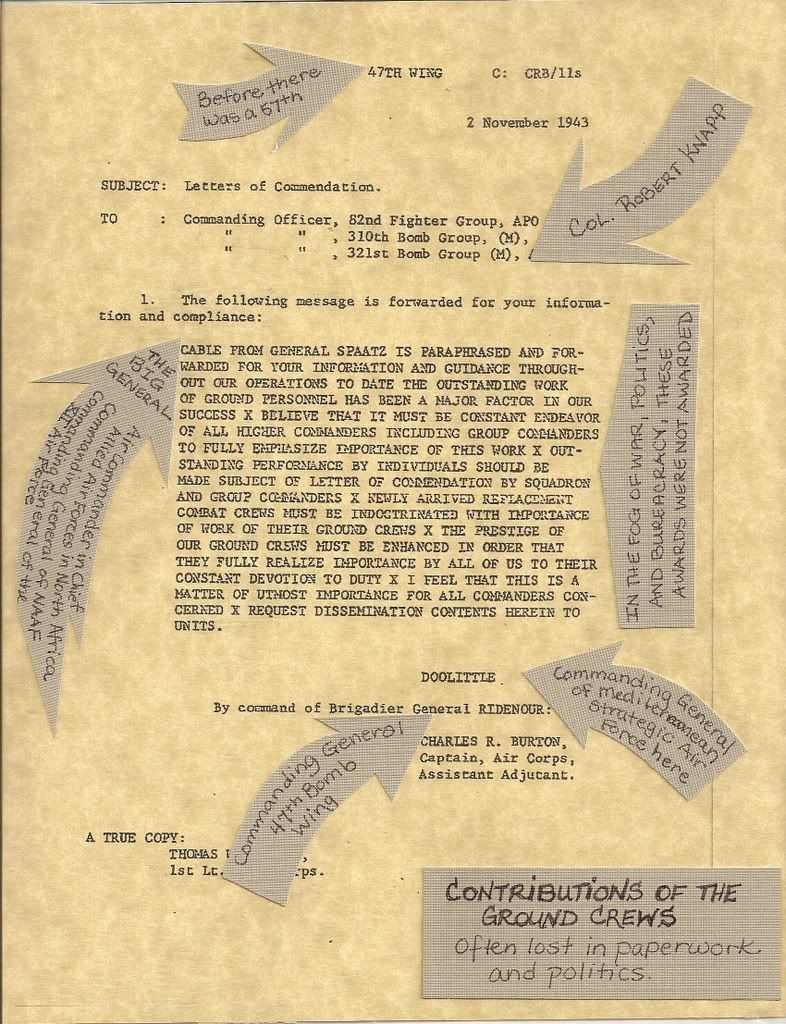
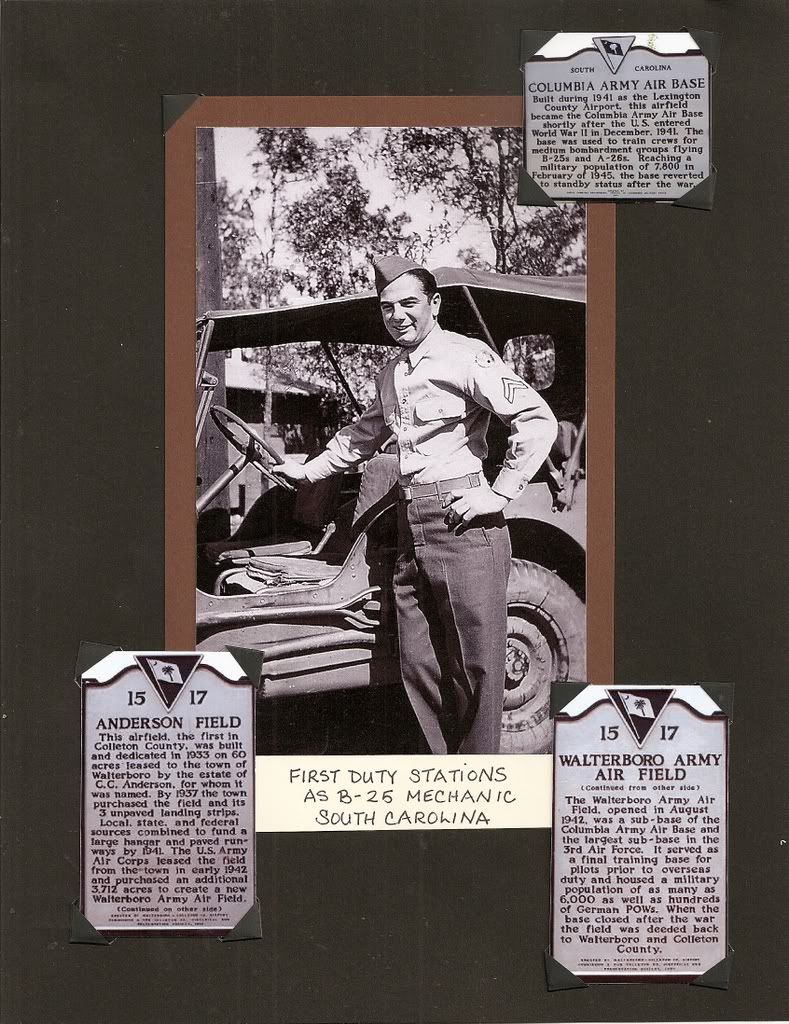
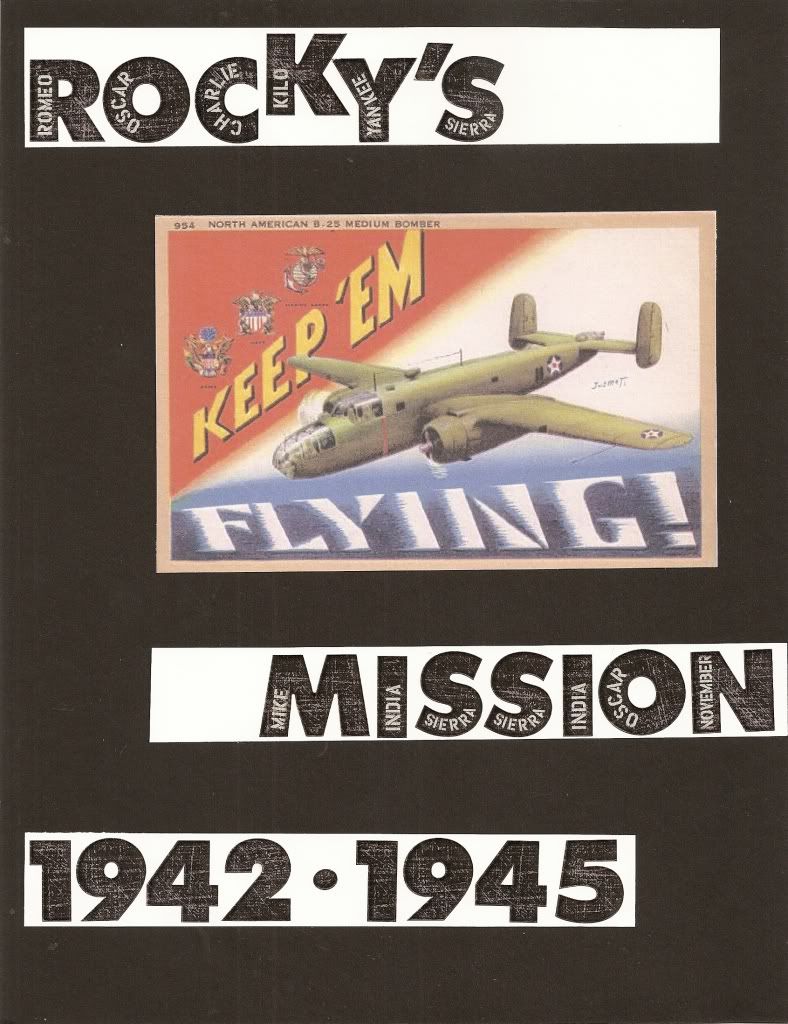
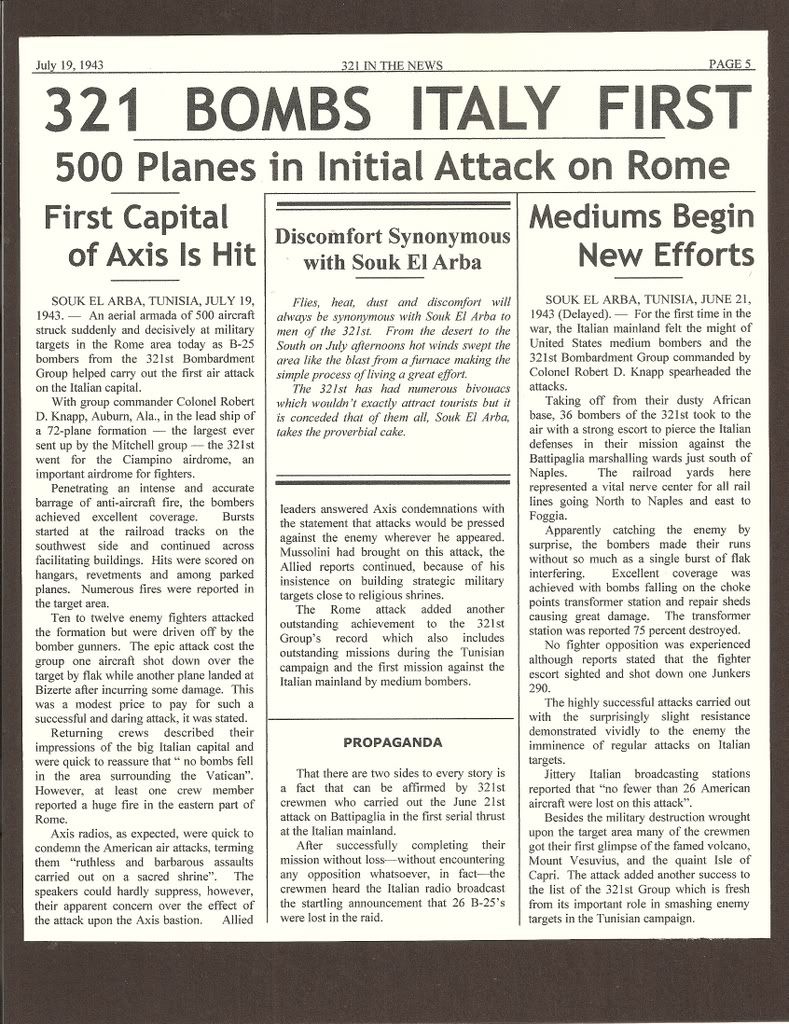
Many sites have photo products, but I love Shutterfly's. So far I have made calendars, photo announcements, photocards, and one photobook (yes, rather than a scrapbook) of my step-dad's WW2 B25 Mitchell bomber photos. My product purchases (great presents) can earn free photos by mail. I have two "share" sites. My http://vintageb25.shutterfly.com/ features all my WW2 restored photo work and my "Beloved B25 Bombers" photobook. My http://prettypicturespeggy.shutterfly.com/ features my family event photos. Of course Shutterfly is more than happy to sell my photo creations to visitors: profit for them and convenience for me.
I use Picassa to organize my photos on my PC. Picassa has a web album feature that I don't use. I do use Picassa to format sets of photos to send to http://www.walgreens.com/ for one hour printing. I like Walgreen's quality, and there's one down the road. Plus I can send photos to my mom's nearby Walgreens.
I use a "Click Free" Back-up system for my photos in case of another crash.
I try an alternate internet and real paper projects.
I scan (not enough) of my favorite scans into my free http://photobucket.com/ account. It can also be used to share with others, but I use my blog for sharing...........My daughters tell me that photobucket is no longer "cool," but I understand the uploading and organizing steps, so I stick with it rather than switching to the "cool" and artistic http://www.flicker.com.
Many sites have photo products, but I love Shutterfly's. So far I have made calendars, photo announcements, photocards, and one photobook (yes, rather than a scrapbook) of my step-dad's WW2 B25 Mitchell bomber photos. My product purchases (great presents) can earn free photos by mail. I have two "share" sites. My http://vintageb25.shutterfly.com/ features all my WW2 restored photo work and my "Beloved B25 Bombers" photobook. My http://prettypicturespeggy.shutterfly.com/ features my family event photos. Of course Shutterfly is more than happy to sell my photo creations to visitors: profit for them and convenience for me.
I use Picassa to organize my photos on my PC. Picassa has a web album feature that I don't use. I do use Picassa to format sets of photos to send to http://www.walgreens.com/ for one hour printing. I like Walgreen's quality, and there's one down the road. Plus I can send photos to my mom's nearby Walgreens.
I use a "Click Free" Back-up system for my photos in case of another crash.
I try an alternate internet and real paper projects.
6/15/2008
Layouts with One Large Photo
Some photos tell enough of a story themselves that they can fill a scrapbook page alone with a title. This requires a print bigger than a 5x7, and making 8x10 enlargements is expensive, especially so I can try a design or a cut-out. I started using the enlargement feature on the photocopiers at Kinkos or Staples for "rough drafts" for these pages. A 4x6 is enlarged about 35% to fill most of a vertical page (portrait view) and almost 65% to a horizontal page (landscape view). Some photocopiers have a "photo" setting too. I make a regular copy first to make sure the sizing is correct before I make the more expensive color copy.
Then I discovered that for most pages, the enlarged photocopy was perfect enough even for my final page. I like a soft resolution, but if the original photo is not in focus, the large photo becomes "too soft." I now have a photocopier that makes great copies, but ink prices are an issue, so I usually still head to Staples.
Then I discovered that for most pages, the enlarged photocopy was perfect enough even for my final page. I like a soft resolution, but if the original photo is not in focus, the large photo becomes "too soft." I now have a photocopier that makes great copies, but ink prices are an issue, so I usually still head to Staples.
4/13/2008
Organizing photos
My photos are the focus of my scrapbooks.
Keeping my photos organized -- in the camera, the computer, and print envelopes neatly filed in my photo box files -- keeps production of my scrapbooks smooth and fun.
While assembling a collage of my daughter Anna at Disney, I spent most of my time looking in files and places that were not my Disney, Anna, or best Disney files. "Summer 2004" was not the best label.
So, my past two weeks have been devoted to photo organizaiton. I have been looking at three years of files, renaming some, and dividing some others on my PC. Plus I did a back-up !
I enjoyed sorting and filing many envelopes of prints that had migrated through-out my house.
Rumaging through several years of photos was fun. I enjoyed reviewing some very happy memories, and I thought of some brand new page ideas.
Keeping my photos organized -- in the camera, the computer, and print envelopes neatly filed in my photo box files -- keeps production of my scrapbooks smooth and fun.
- I try to download my photos soon after every event, do basic edits, and make prints to share and put in my future pages file.
- I use Picassa, downloaded free from Google, for my basic editing and filing, and I use Photoshop Elements, not free but worth the money, for my serious photo restoring and artistic manipulation.
- I send my prints to my nearby Walgreens and can pick up a batch in an hour.
- I keep files organized by event in my PC and my photo boxes. I also put original and print copies in files for special subjects -- great photos of each of my daughters get their own file, my favorite Disney photos have a file, and cousin shots, best Christmas, cake shots, Halloween costumes, grandparent shots have .
While assembling a collage of my daughter Anna at Disney, I spent most of my time looking in files and places that were not my Disney, Anna, or best Disney files. "Summer 2004" was not the best label.
So, my past two weeks have been devoted to photo organizaiton. I have been looking at three years of files, renaming some, and dividing some others on my PC. Plus I did a back-up !
I enjoyed sorting and filing many envelopes of prints that had migrated through-out my house.
Rumaging through several years of photos was fun. I enjoyed reviewing some very happy memories, and I thought of some brand new page ideas.
3/10/2008
Using panoramic photos
It's obvious that panoramic shots are perfect to capture beautiful horizons or tall buildings. Now that many digital cameras have a panoramic setting, it is easy to experiment with panoramas of unlikely settings -- a person, a group, or a crowd. A panoramic photo makes a great border for a 8 1/2 x 11 scrapbook layout because it can be trimmed to fit edge to edge. The wide perspective of the panoramic makes a great companion for a close-up or a journal entry (or both).
A panoramic setting is the best way to get a large image of an entire people (head to toe) within some of the surroundings. With regular settings, an image of an entire person is dwarfed by the surroundings.
A panoramic setting is the best way to get a large image of an entire people (head to toe) within some of the surroundings. With regular settings, an image of an entire person is dwarfed by the surroundings.
Subscribe to:
Posts (Atom)