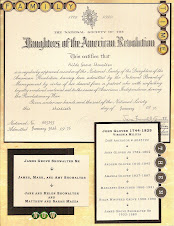
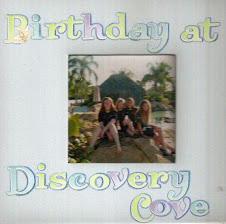
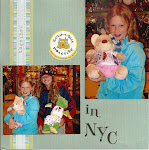
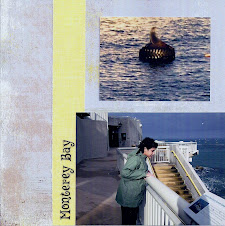
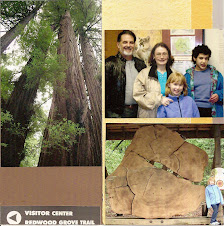
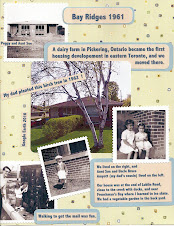
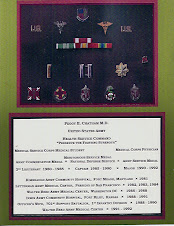
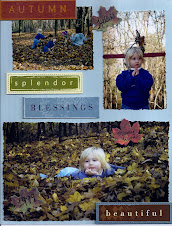
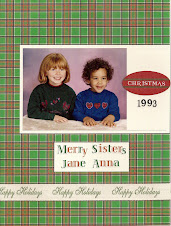
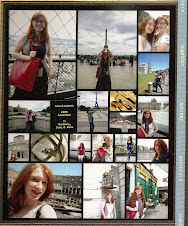
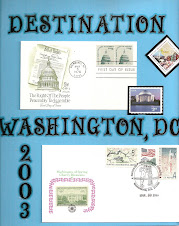
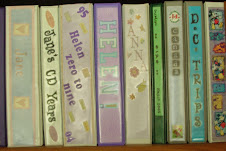
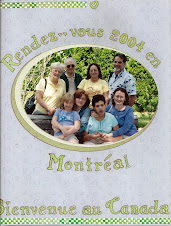
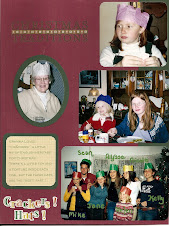
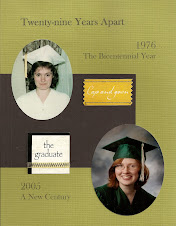
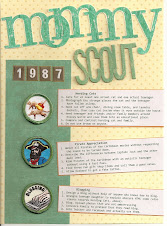
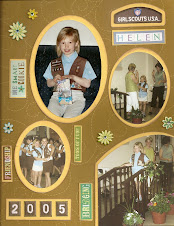
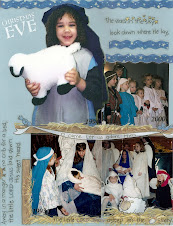
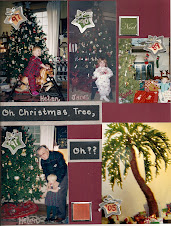
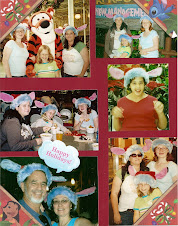
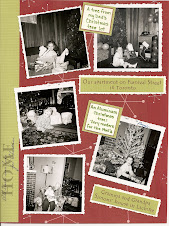
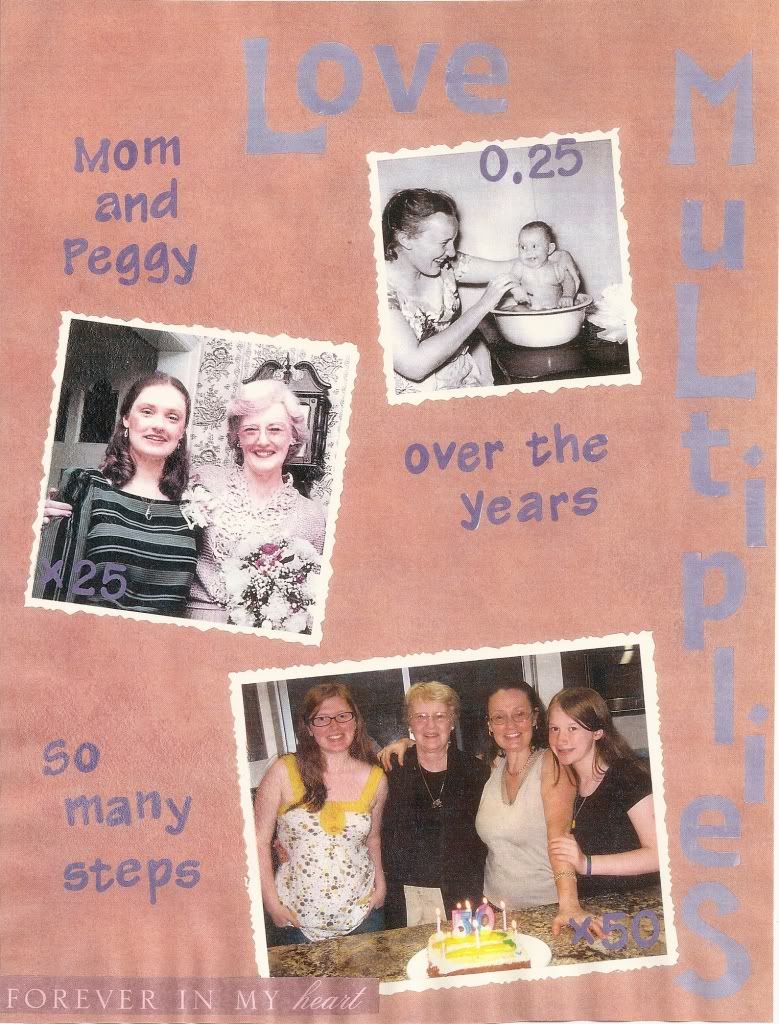
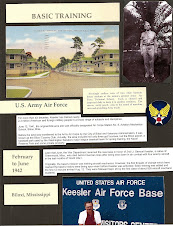
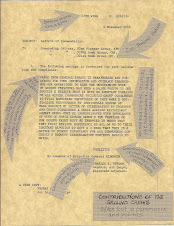
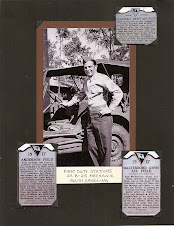
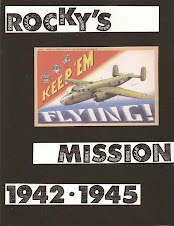
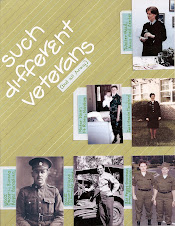
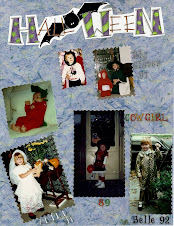
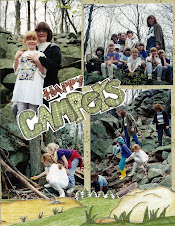
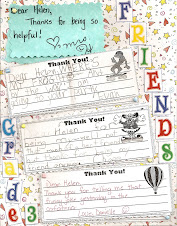
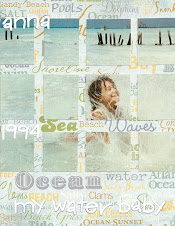
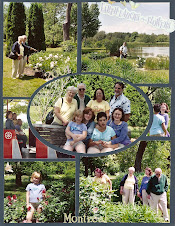
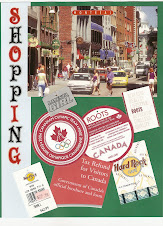
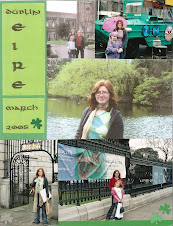
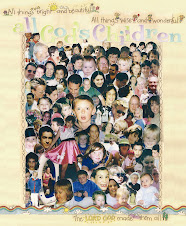
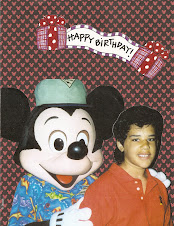
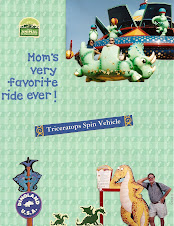
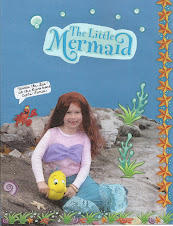
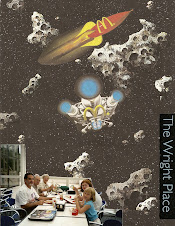
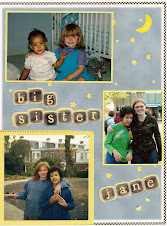
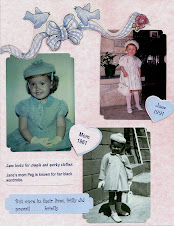
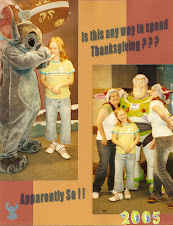
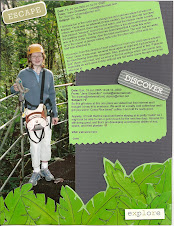
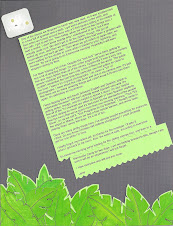
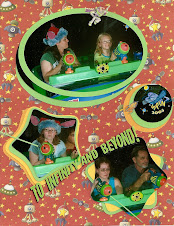
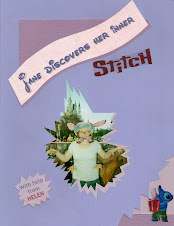
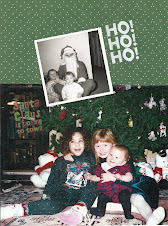
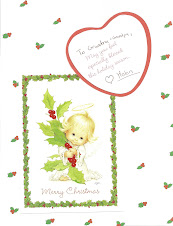
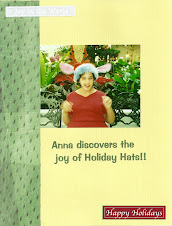
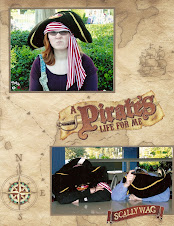
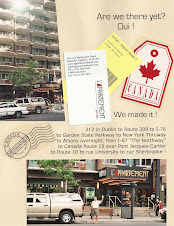
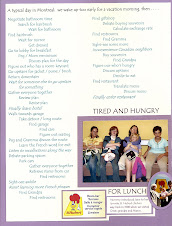
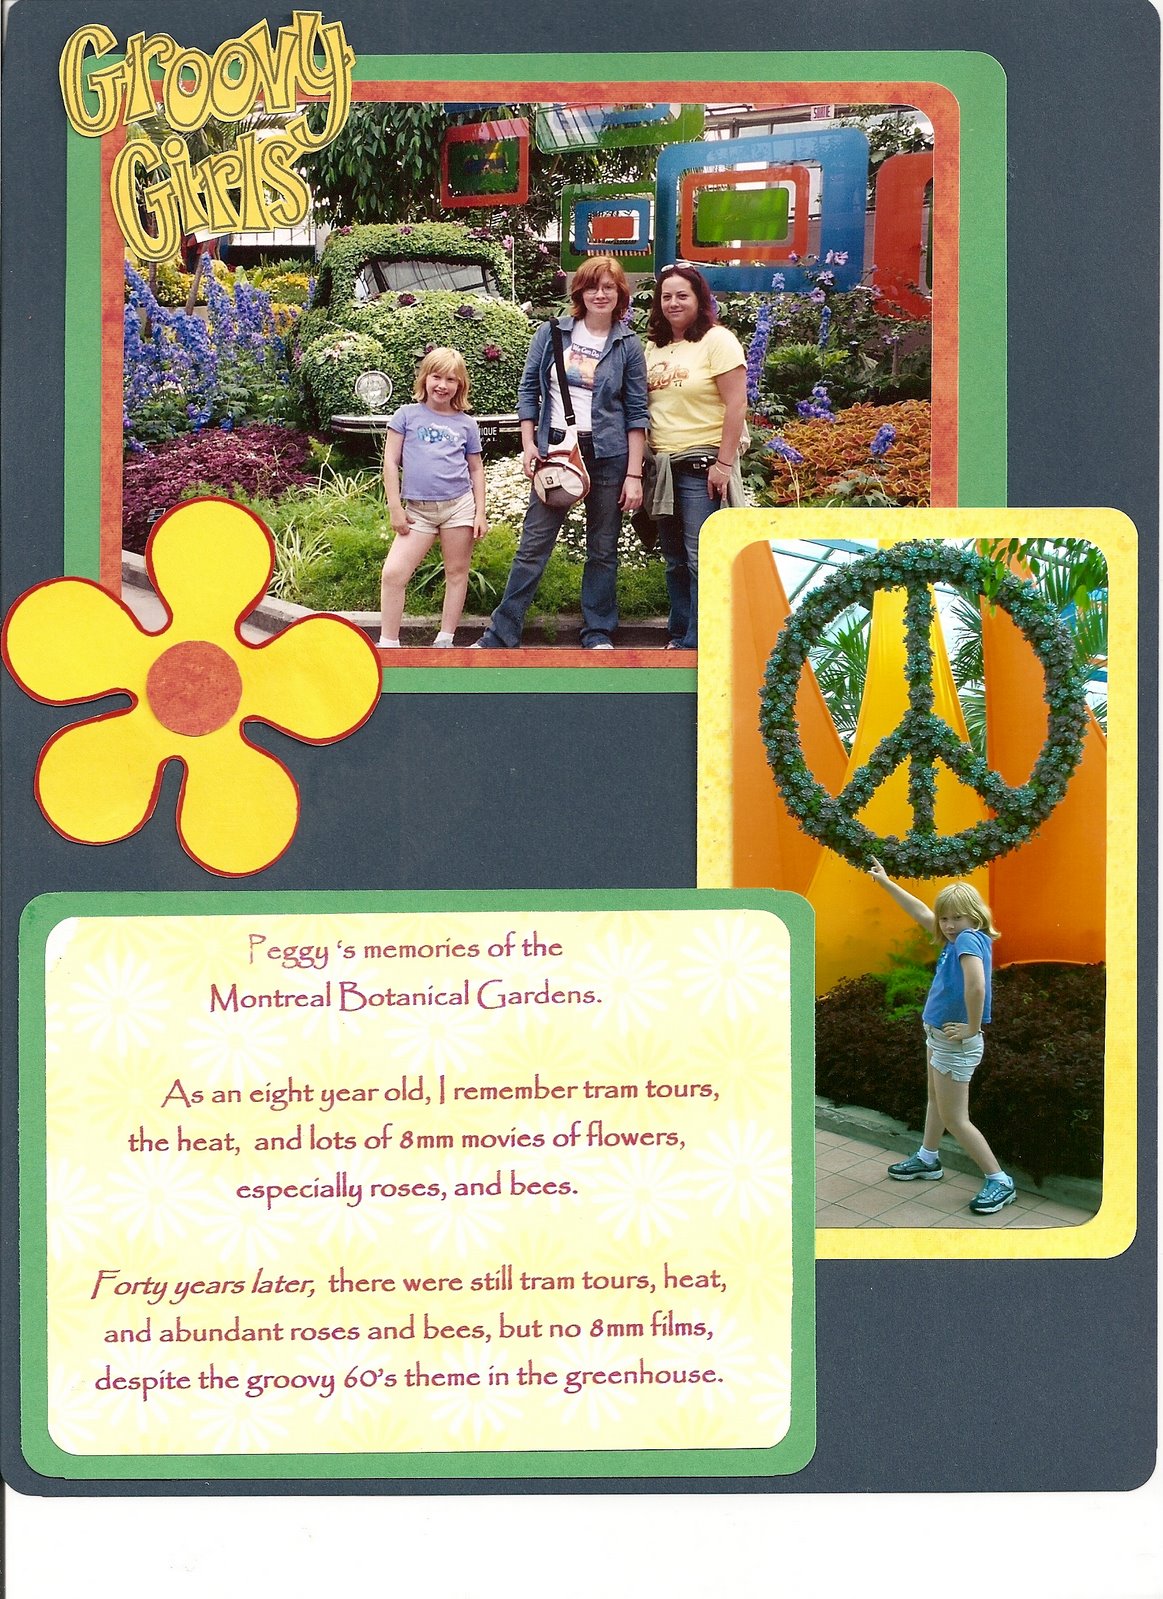
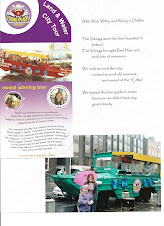
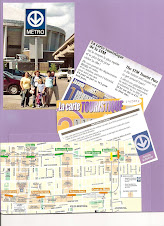
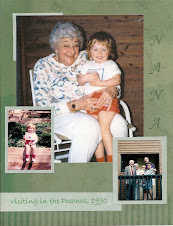
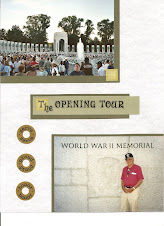
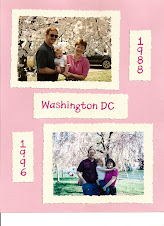
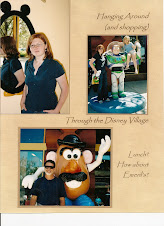
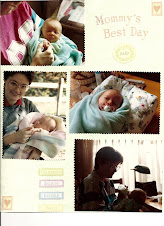
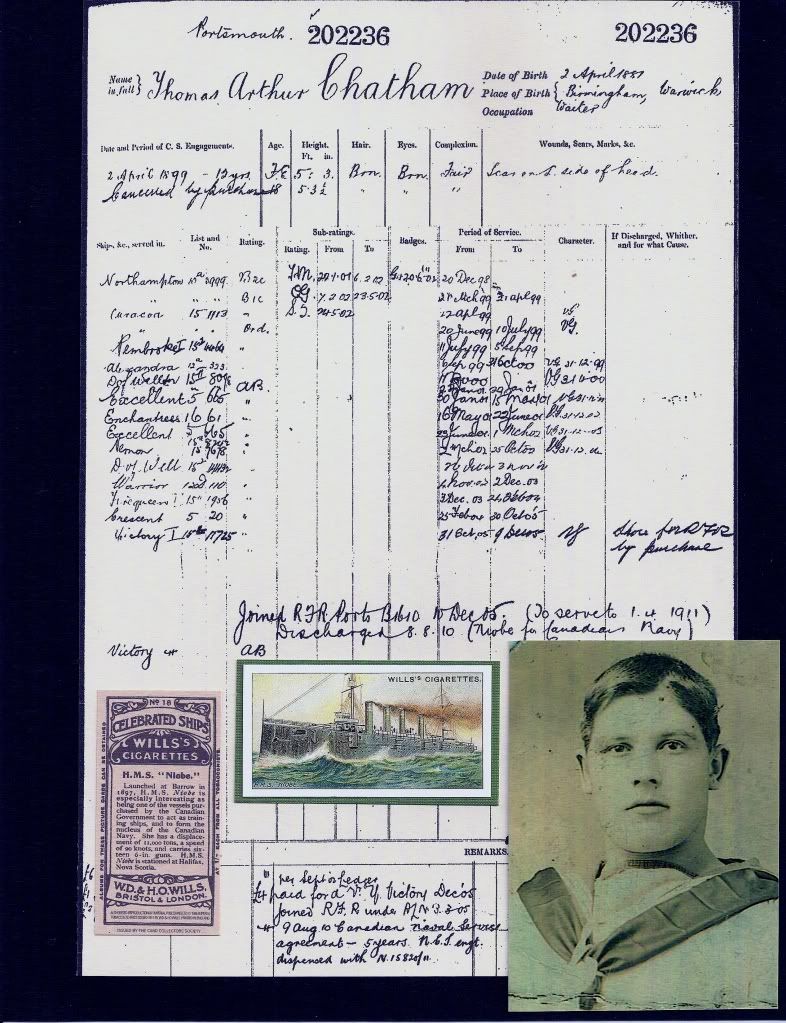
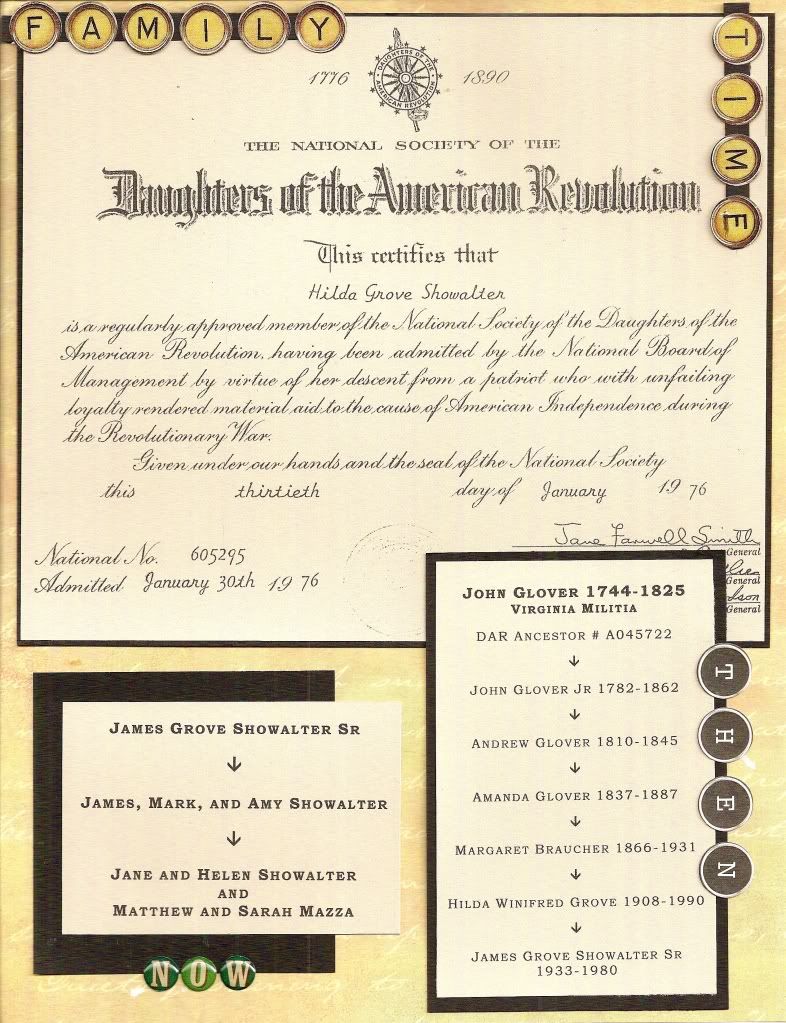
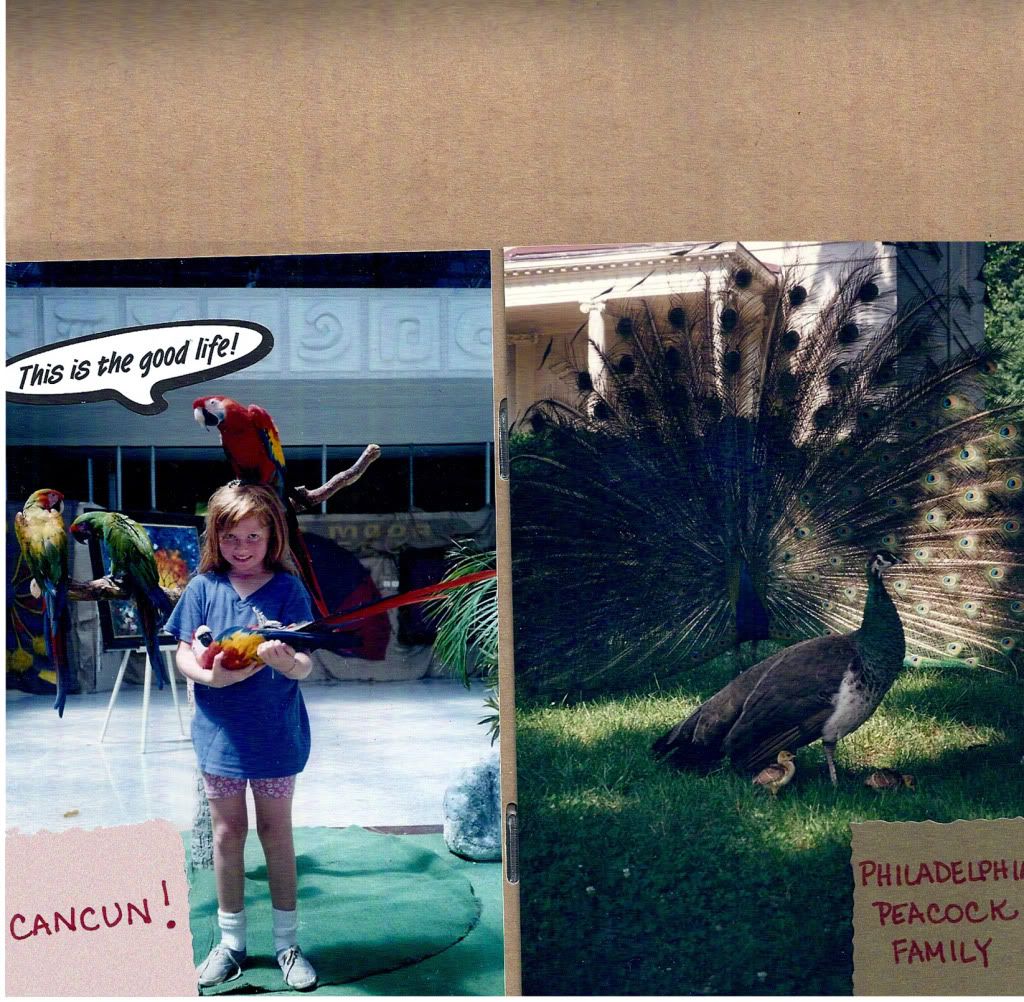
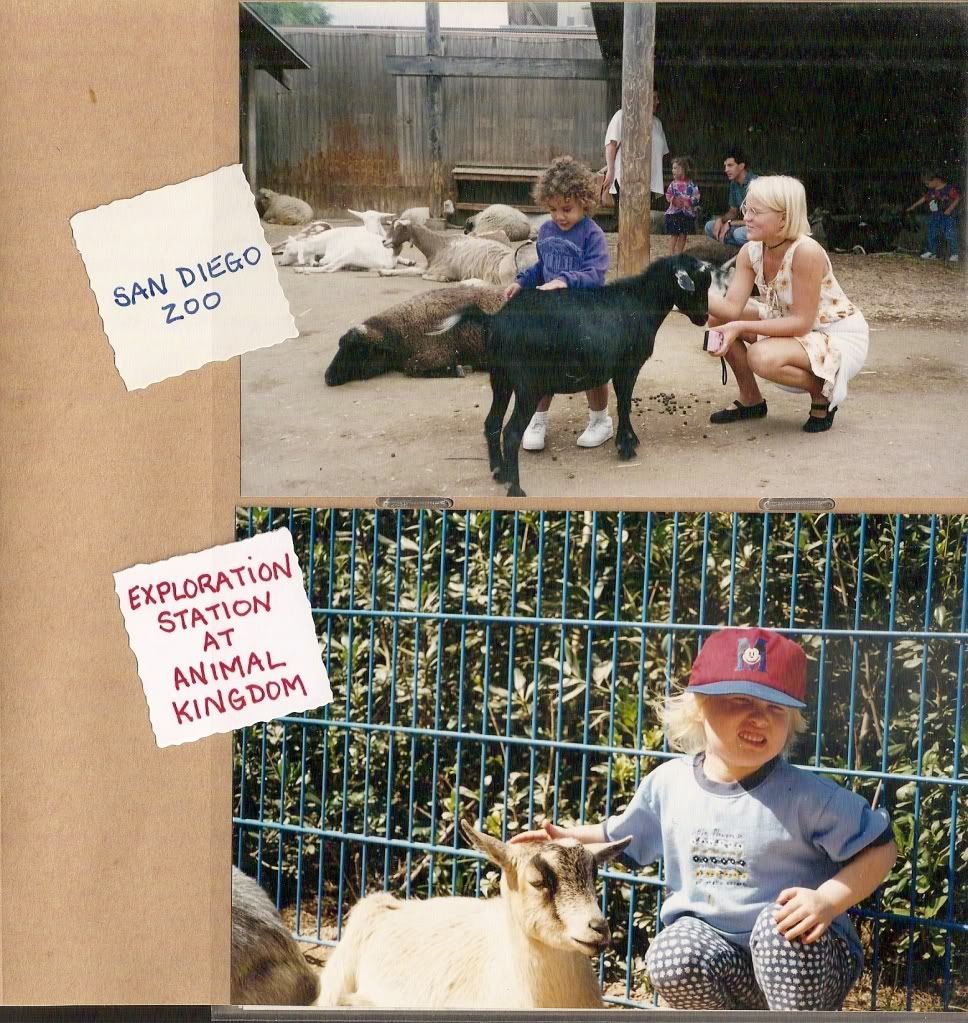
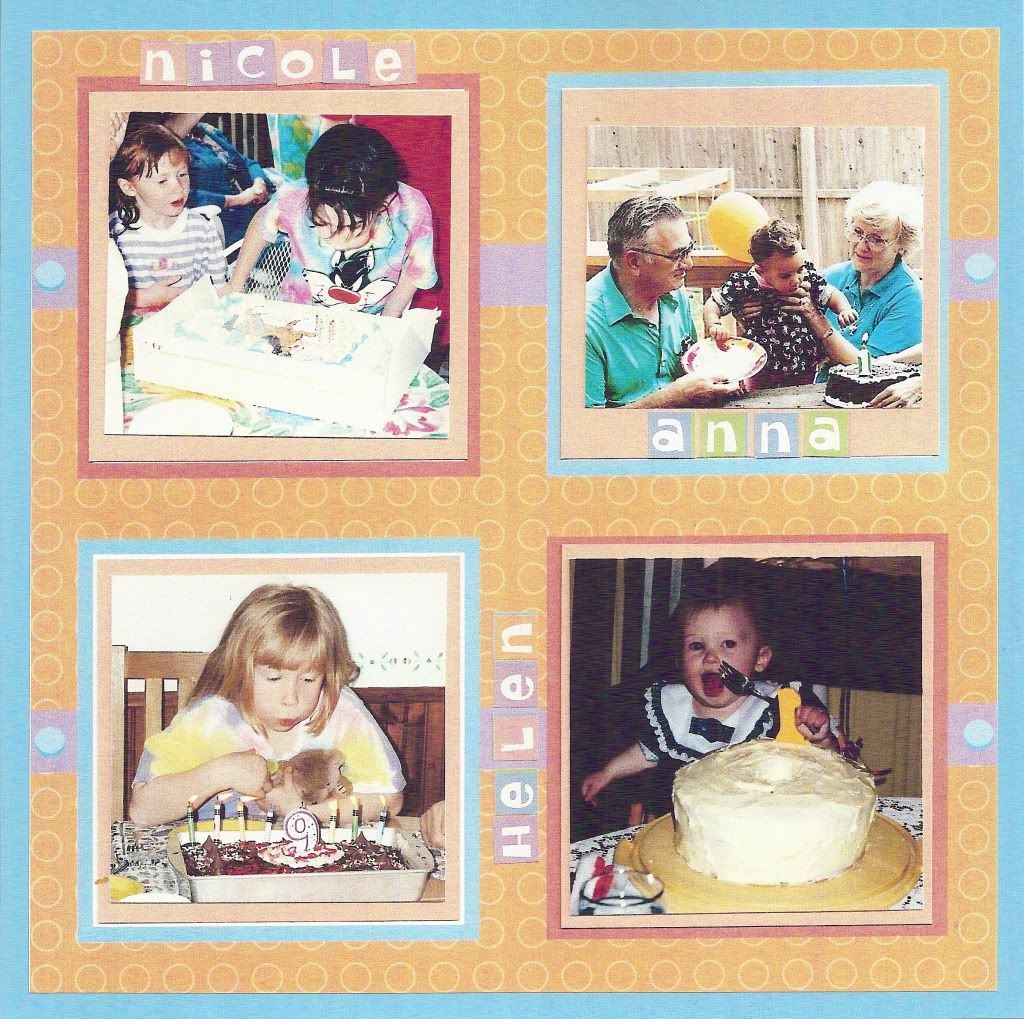
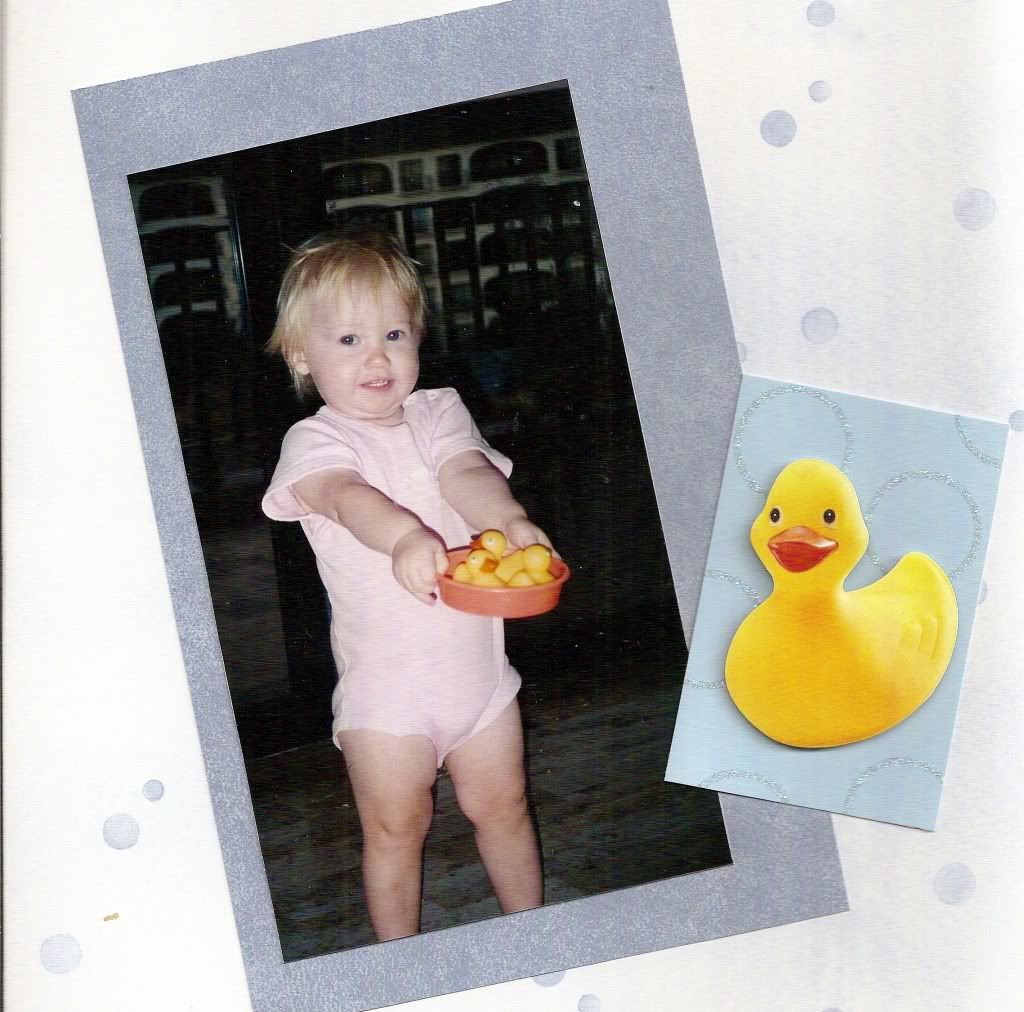
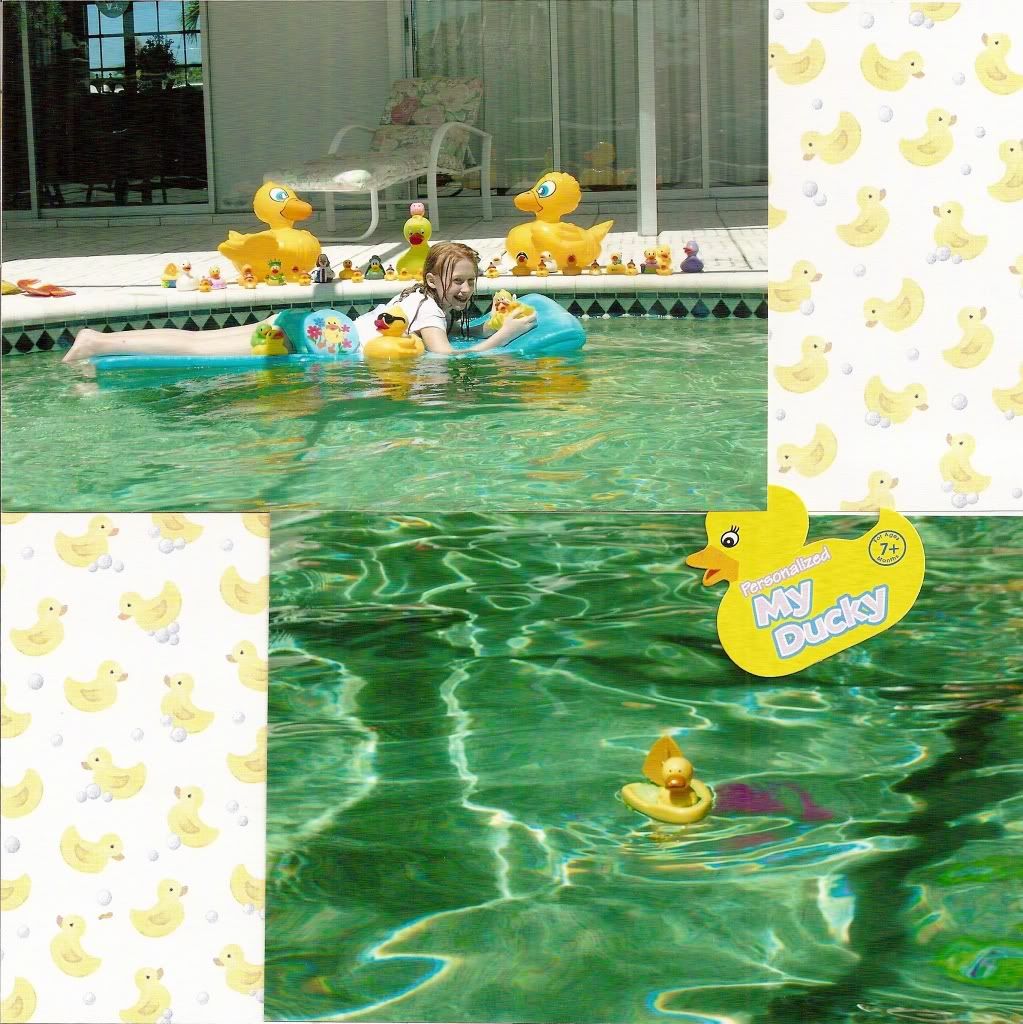
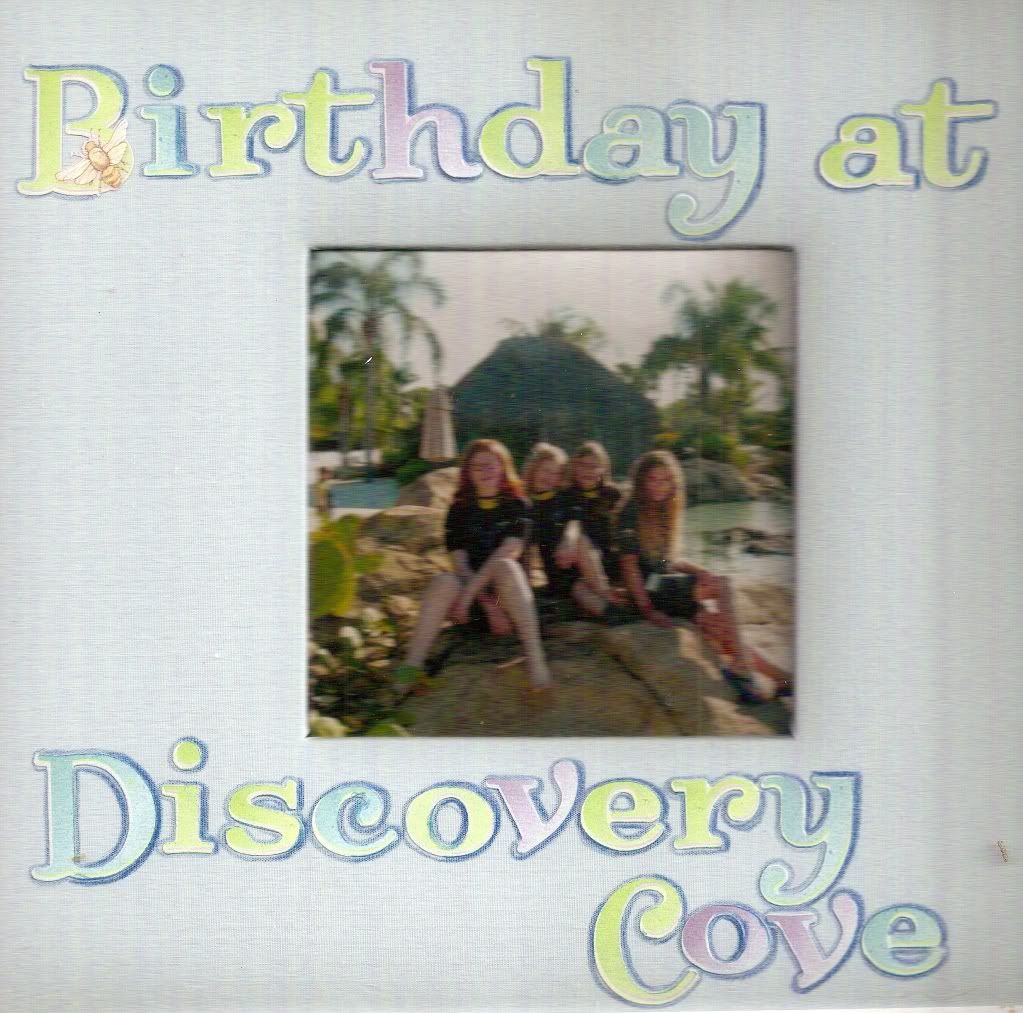
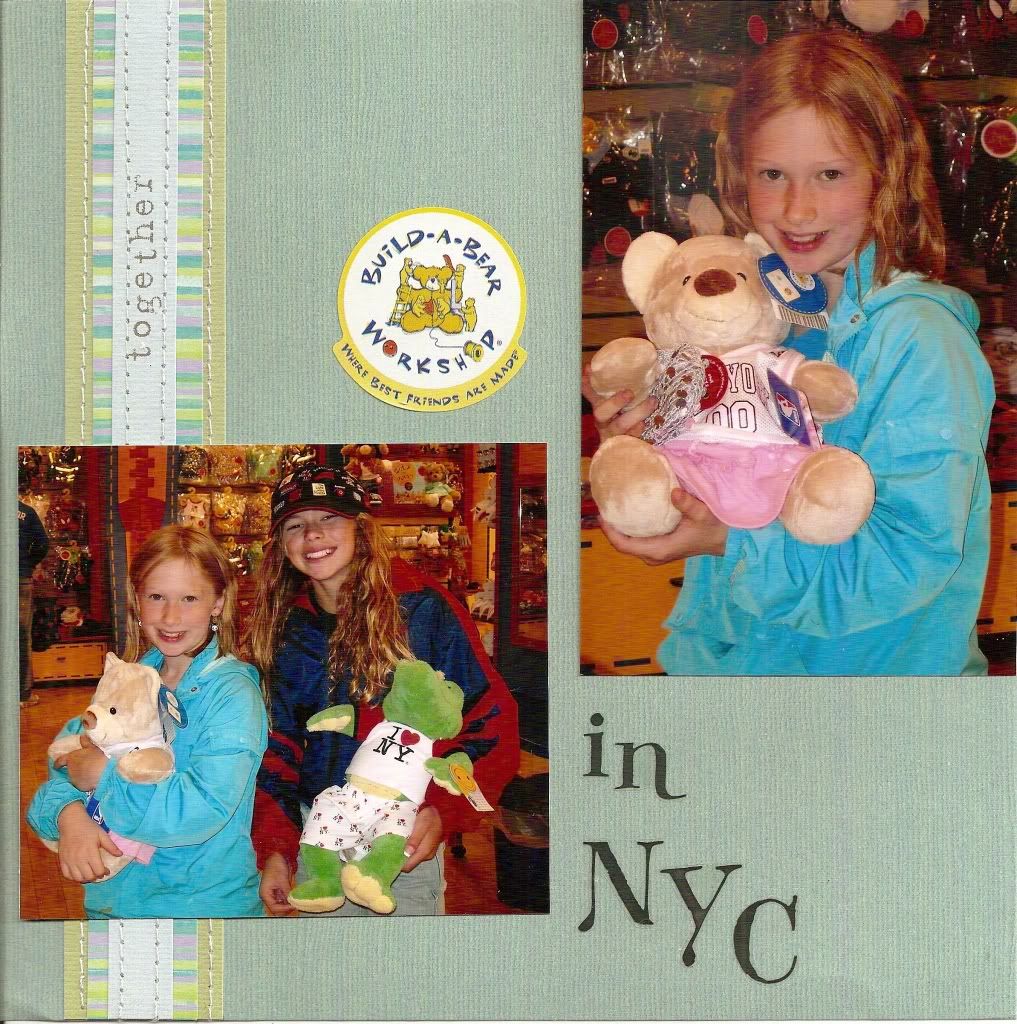
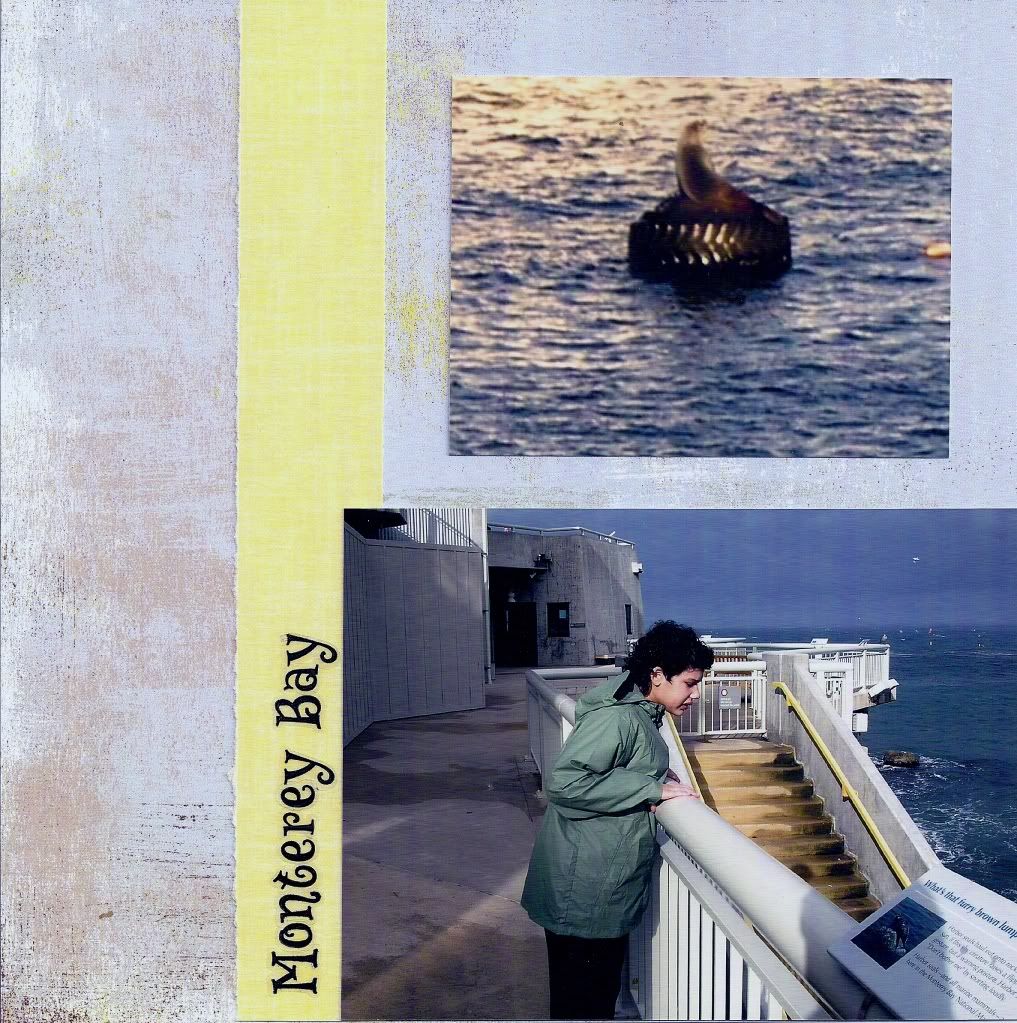
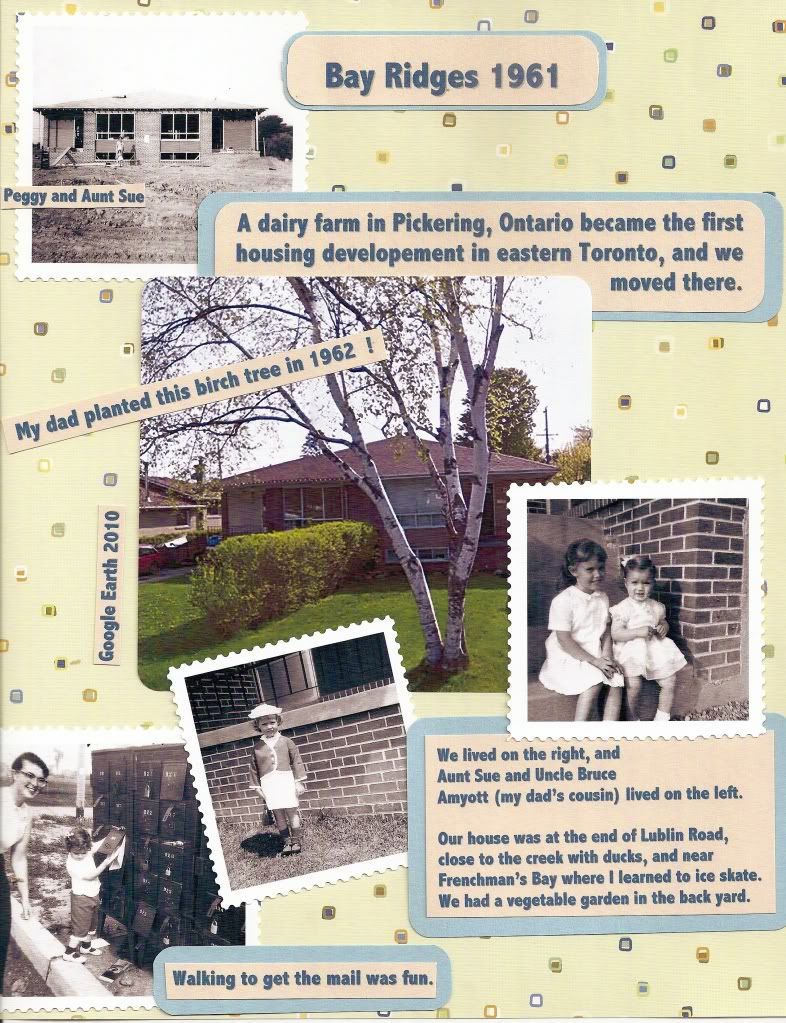
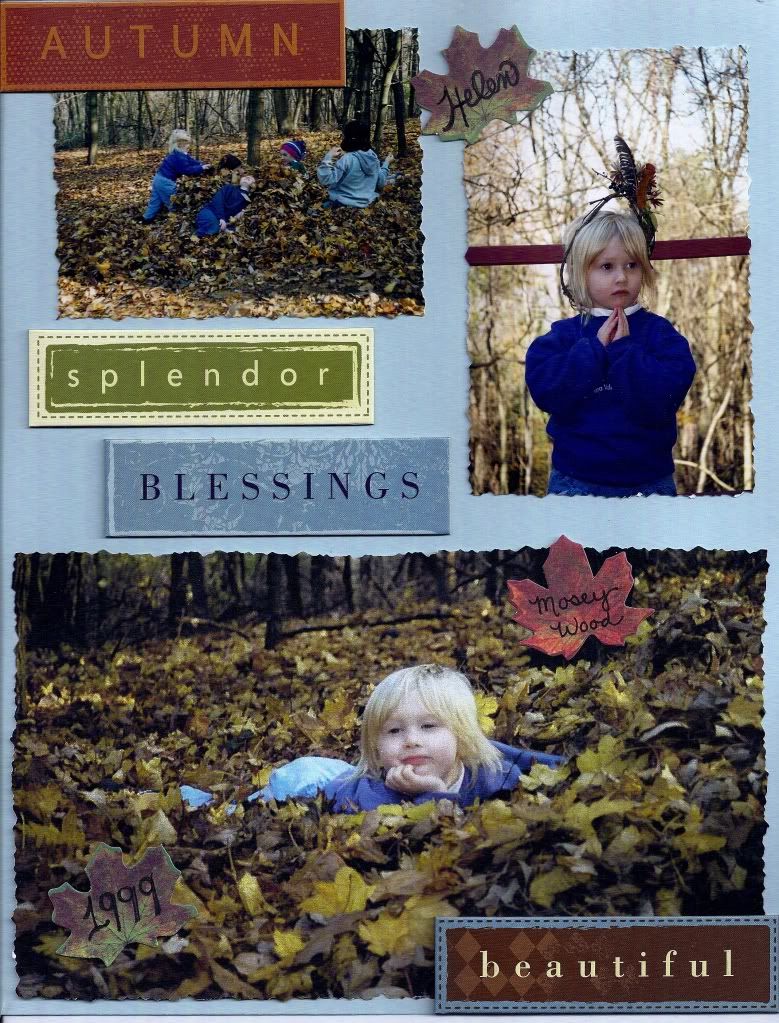
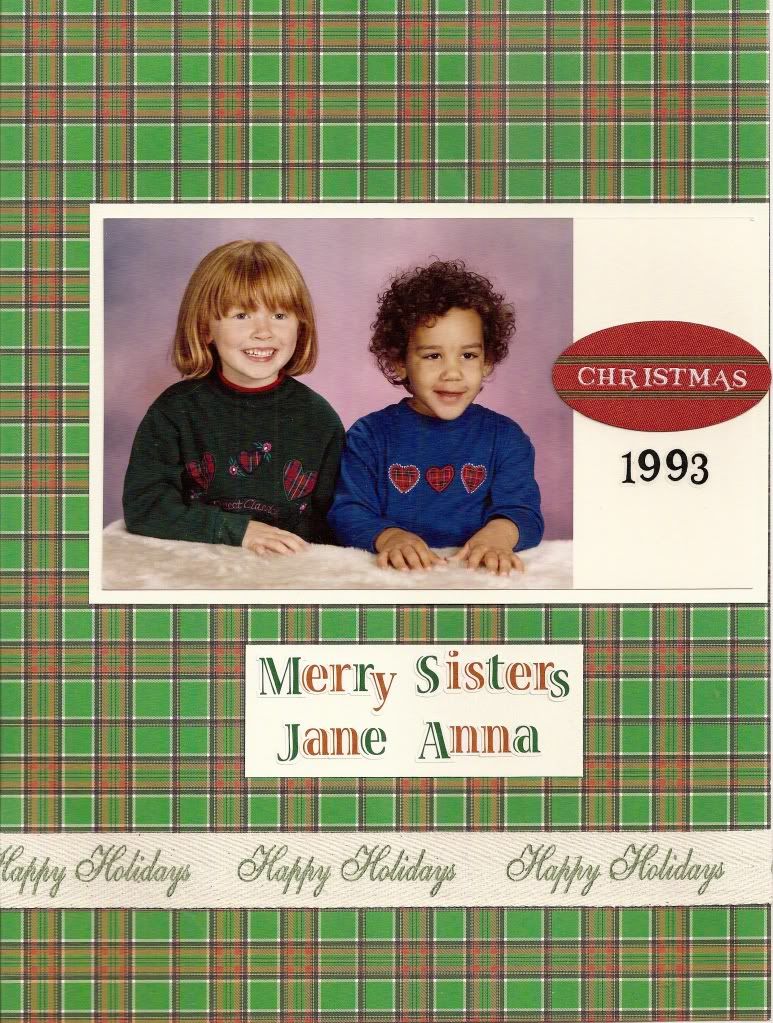
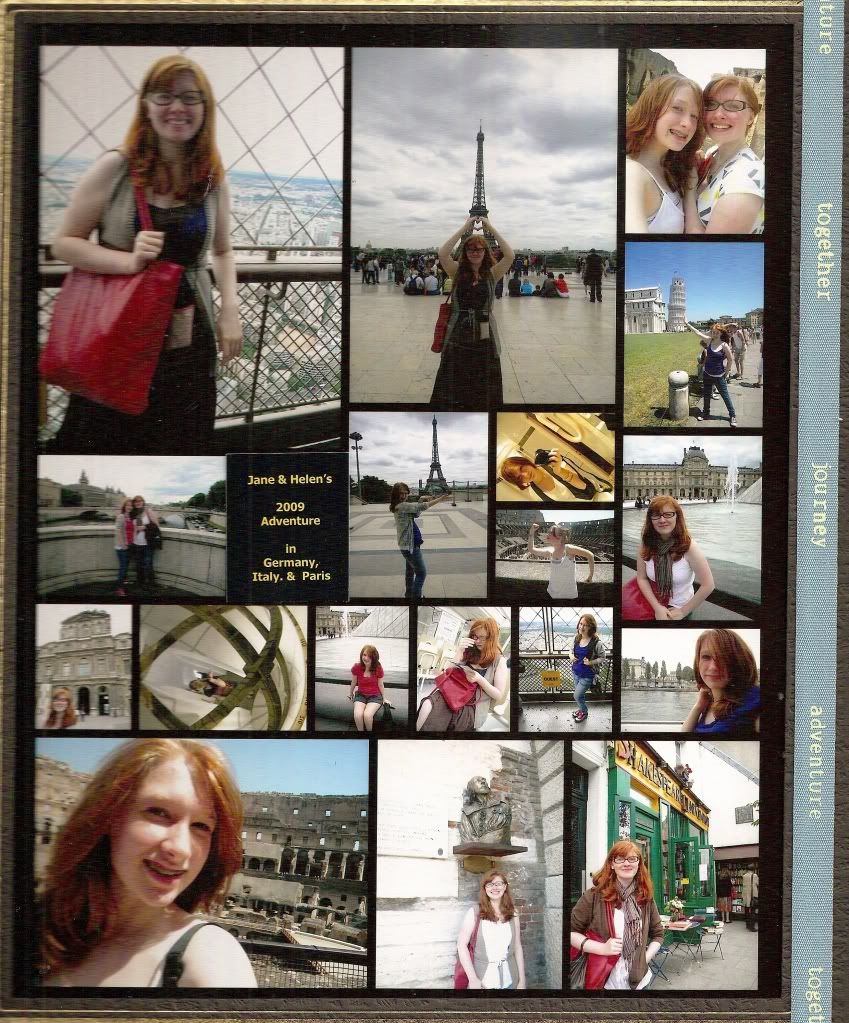
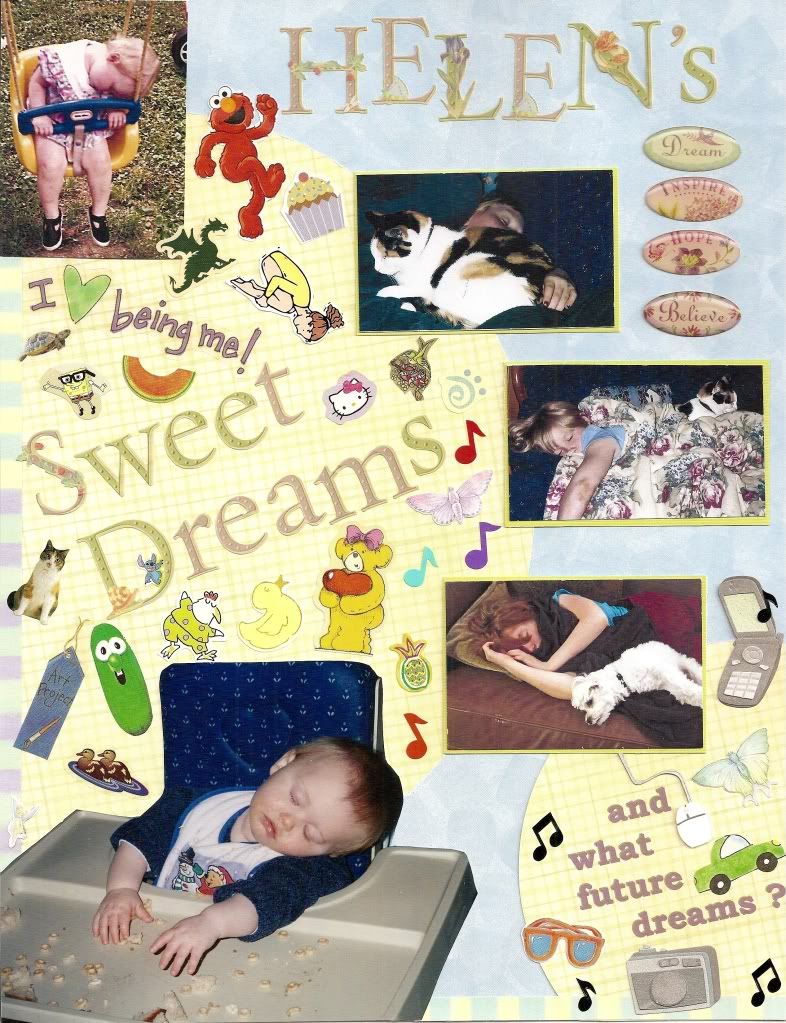
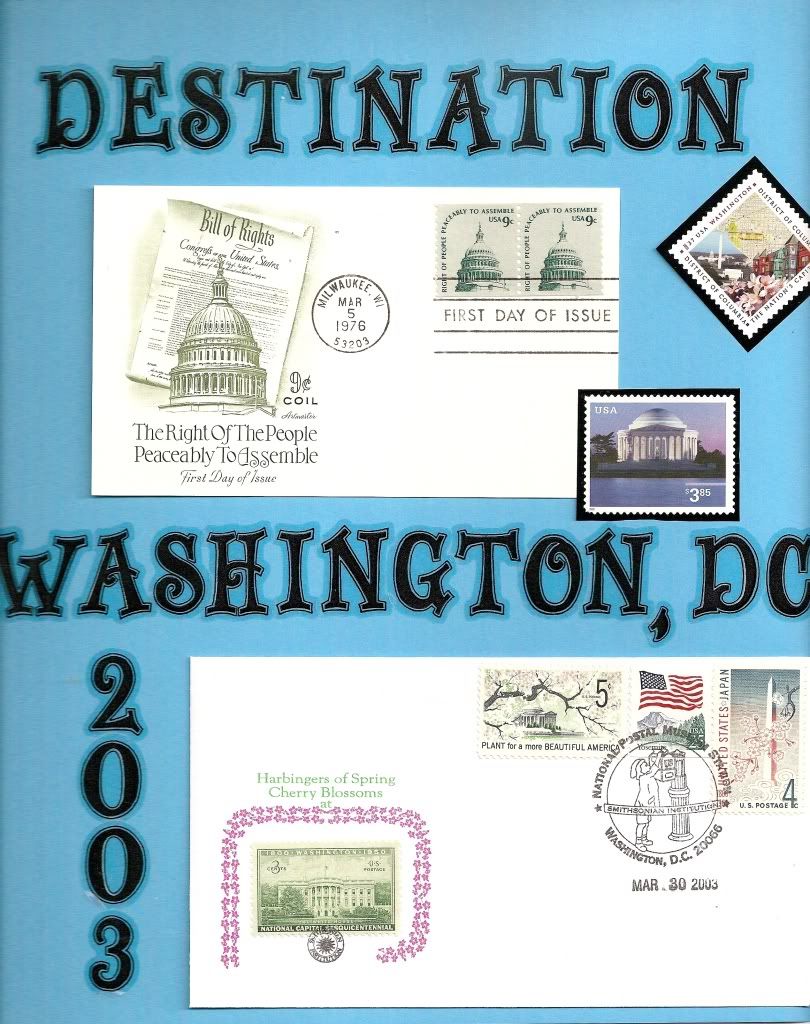
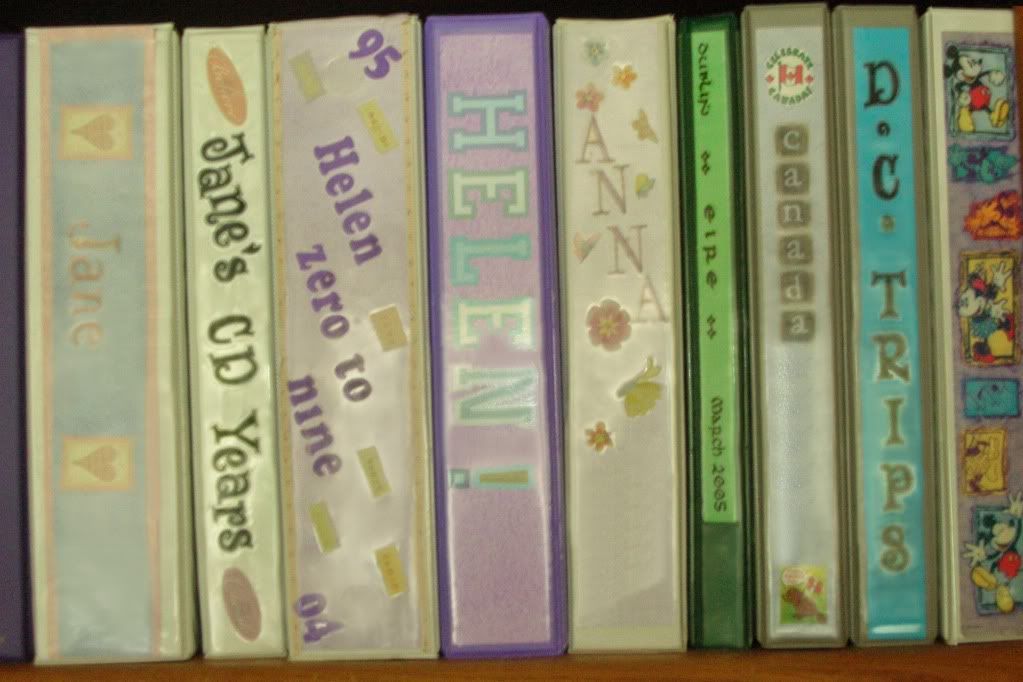
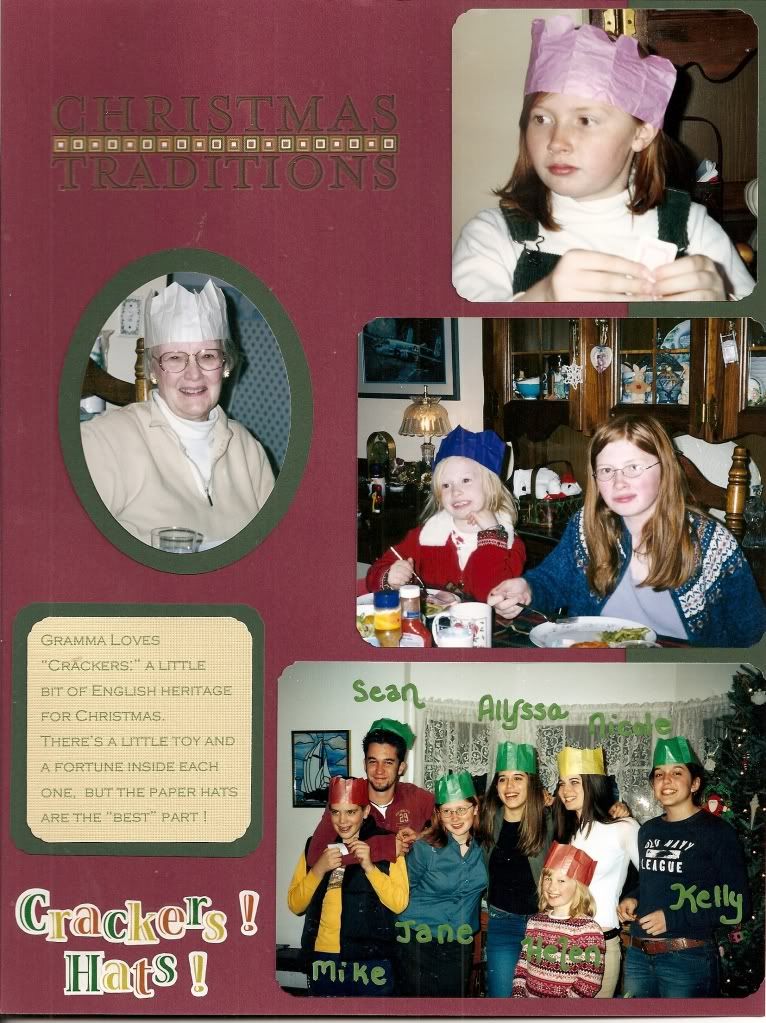
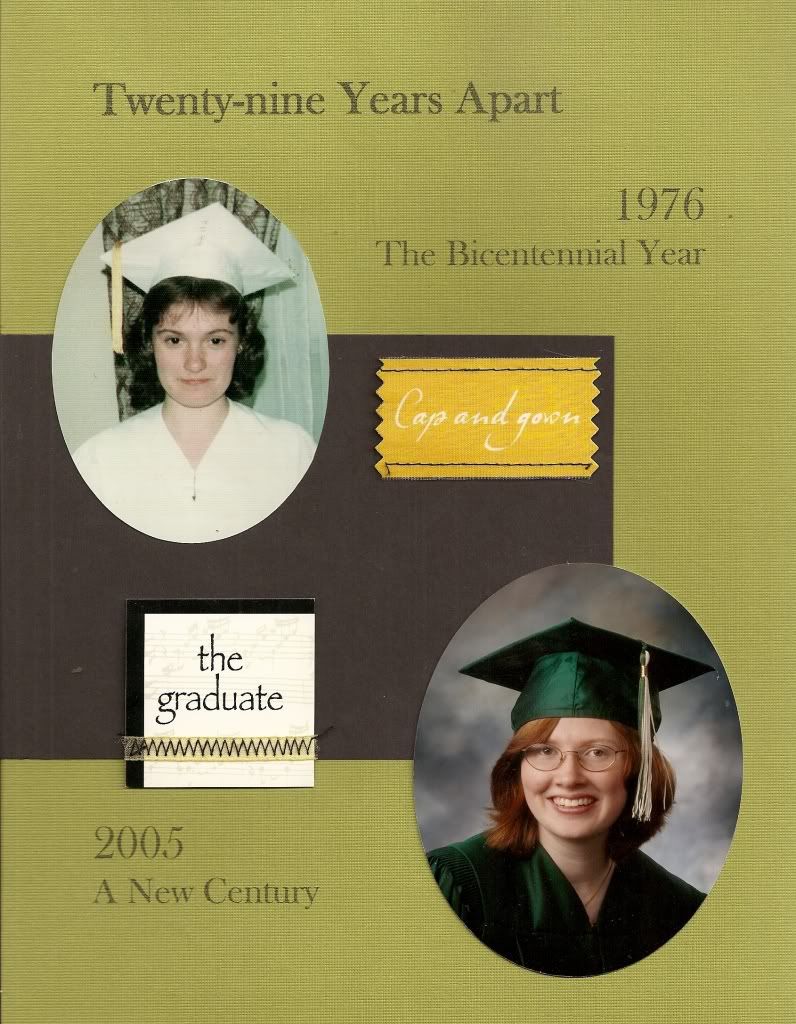
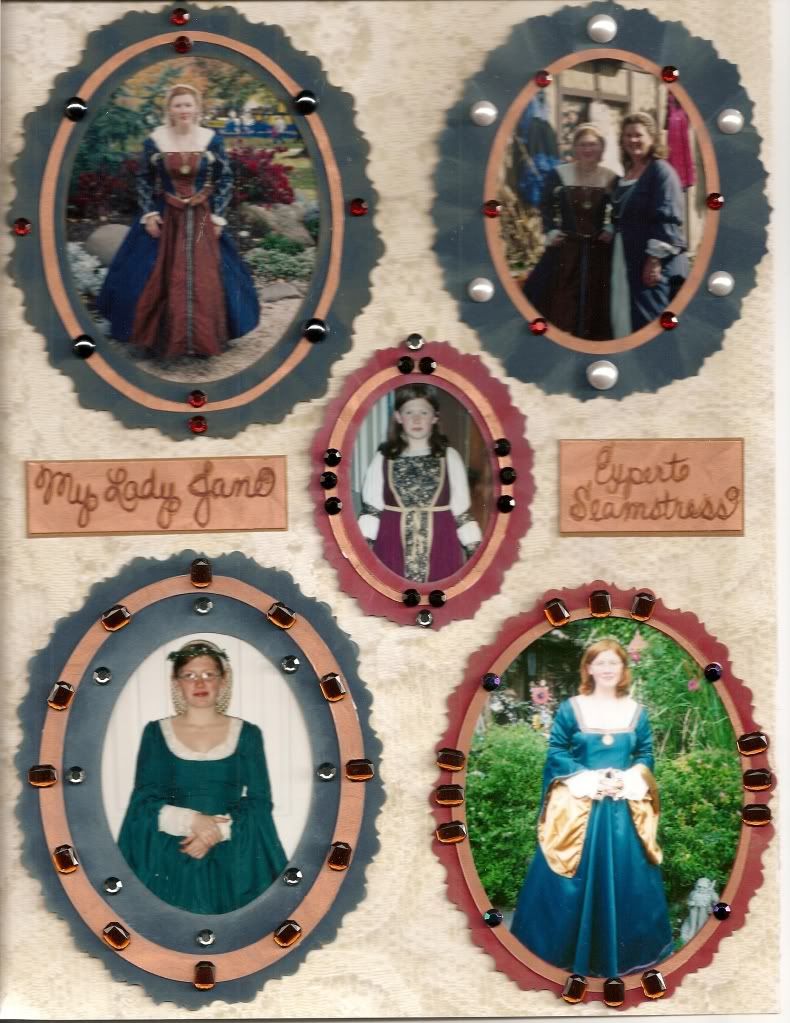
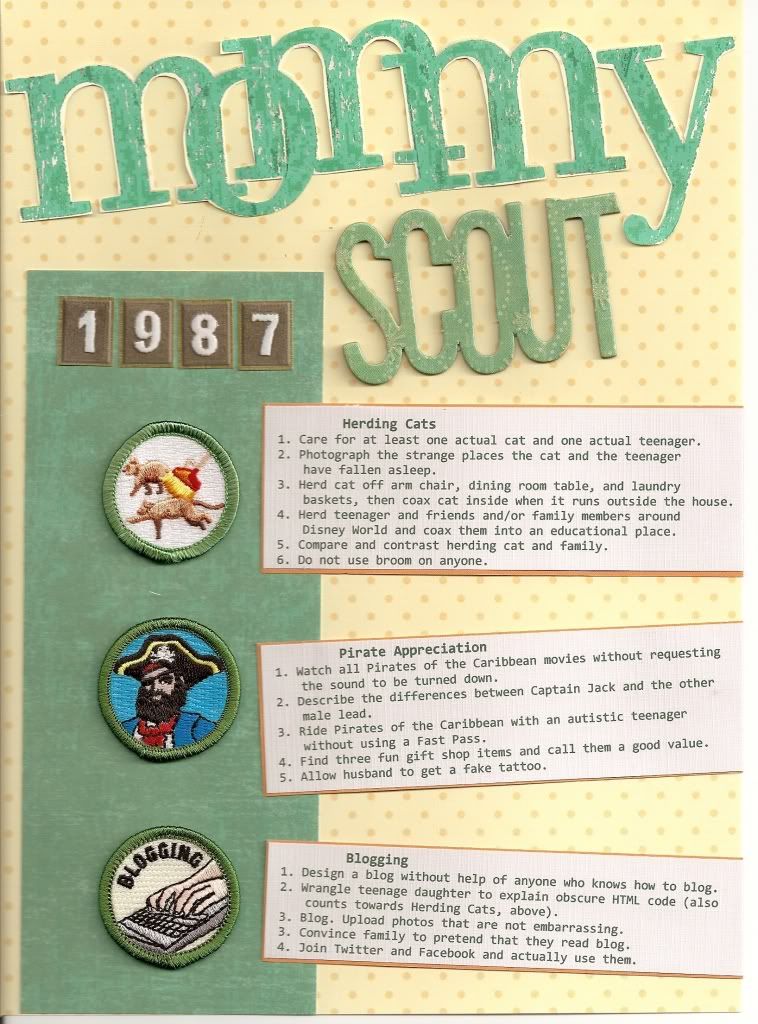
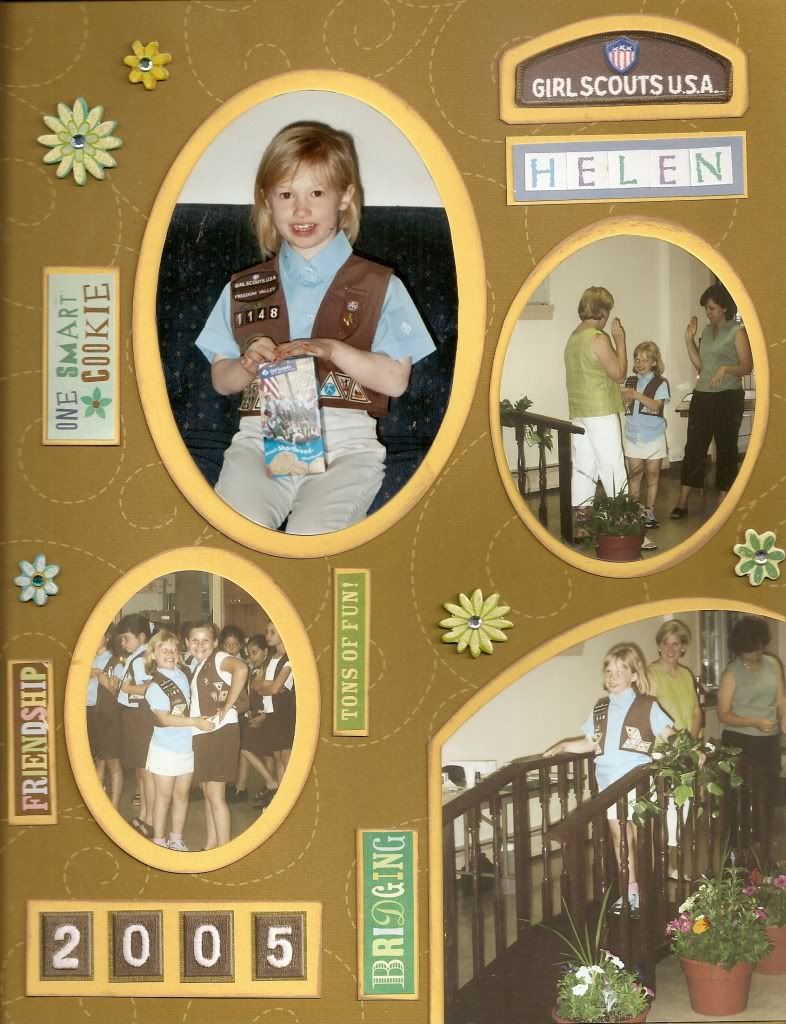
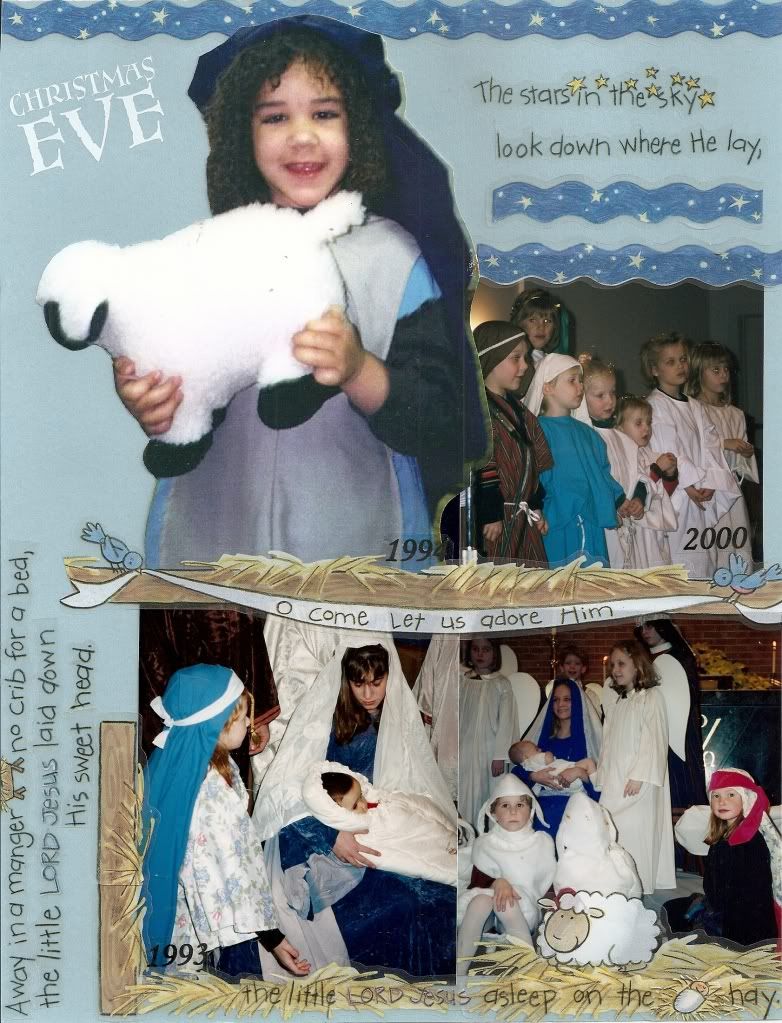
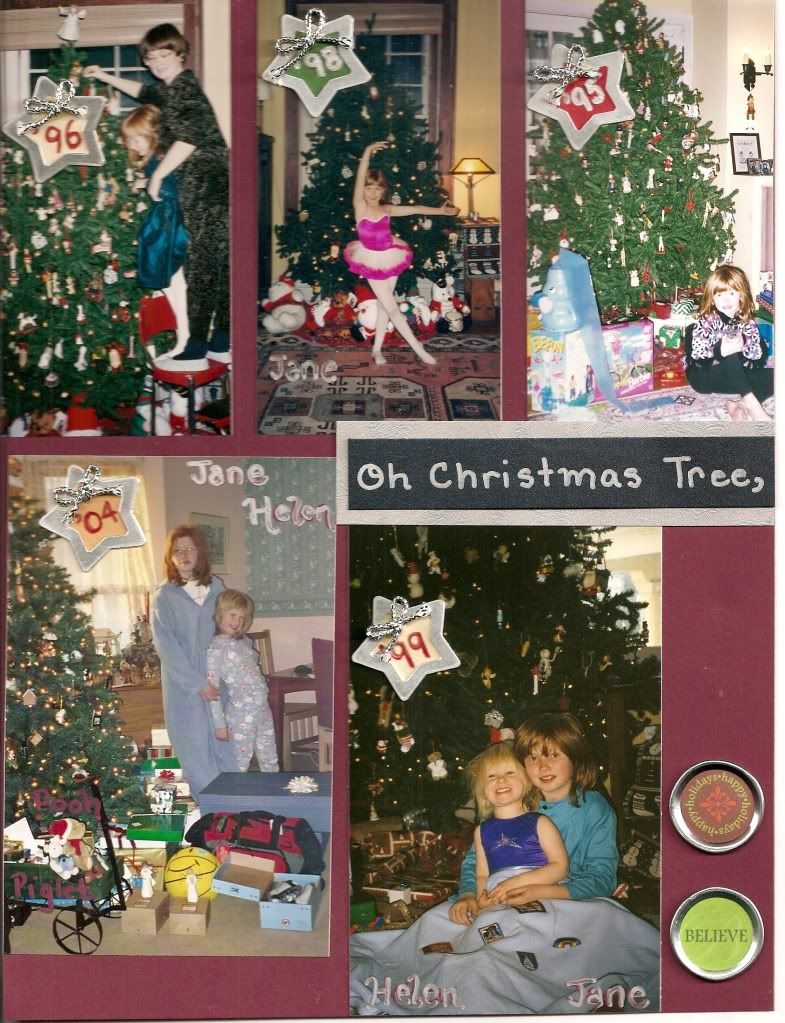
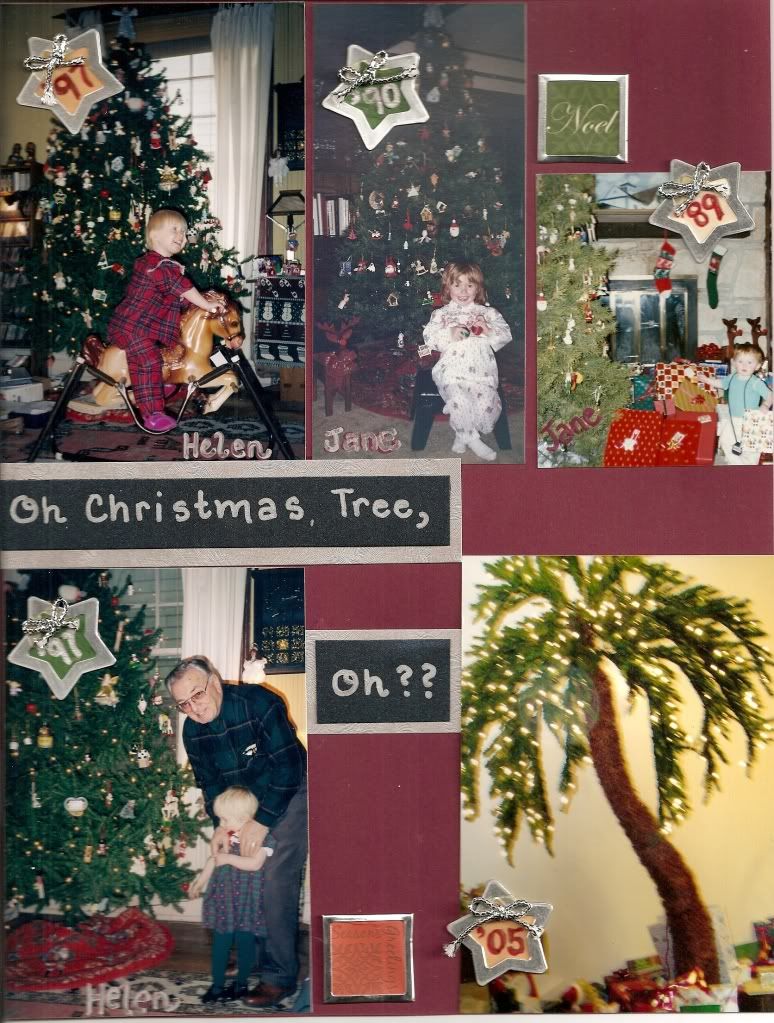
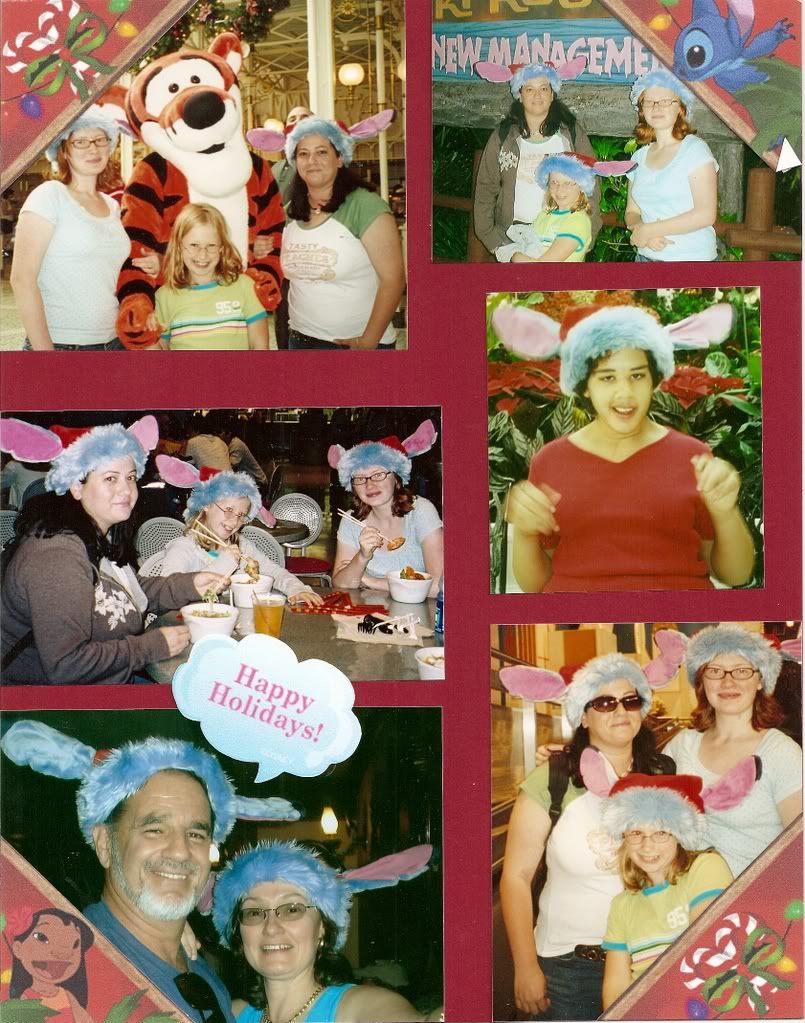
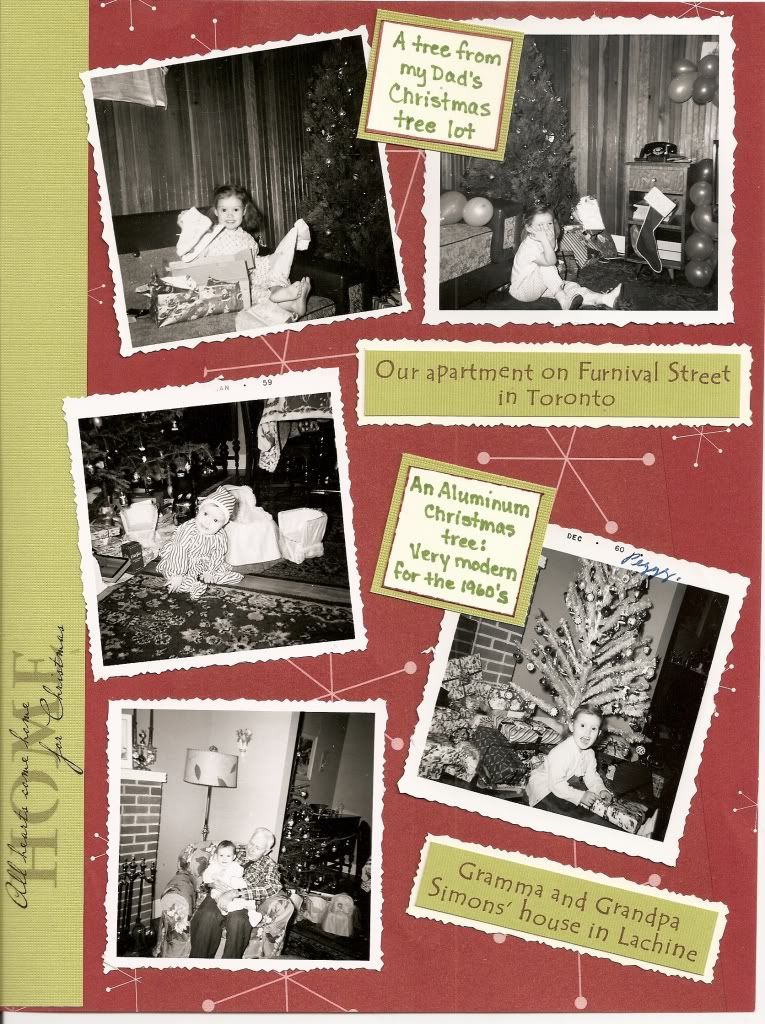
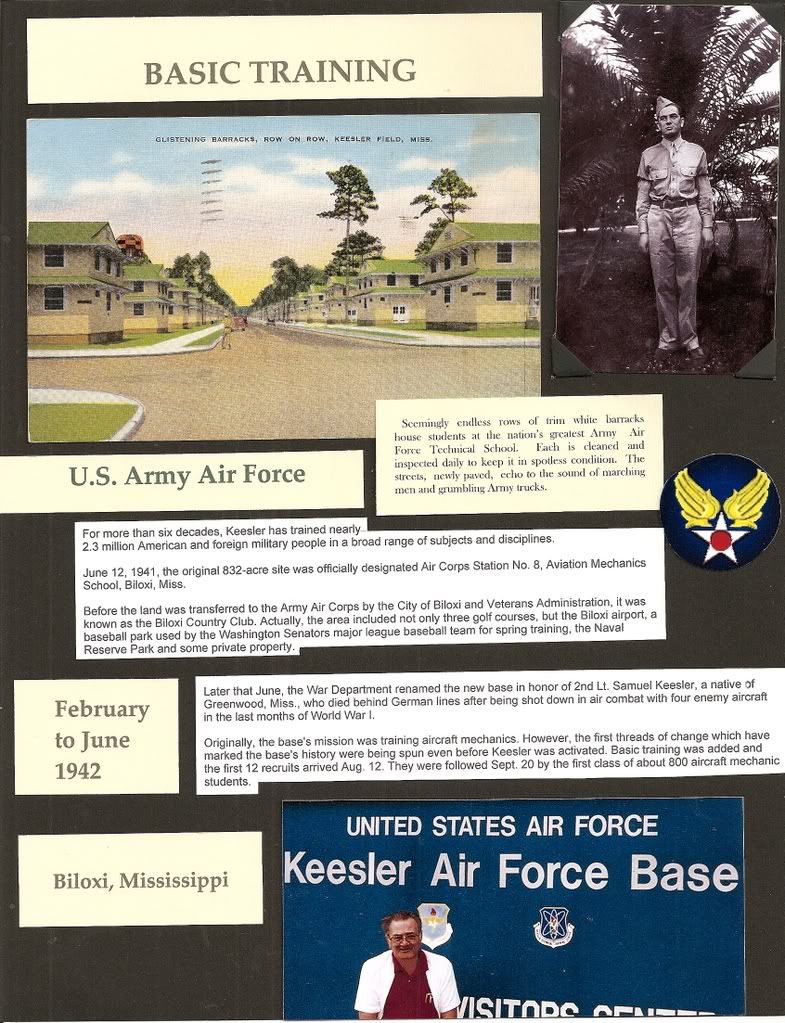
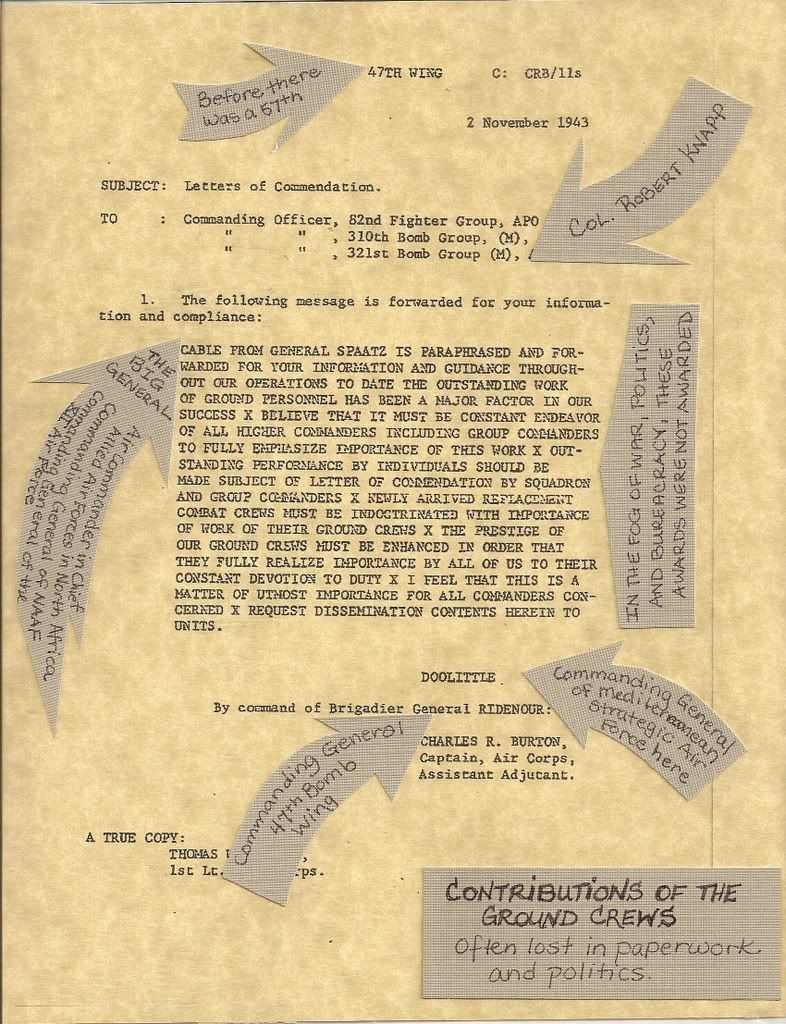
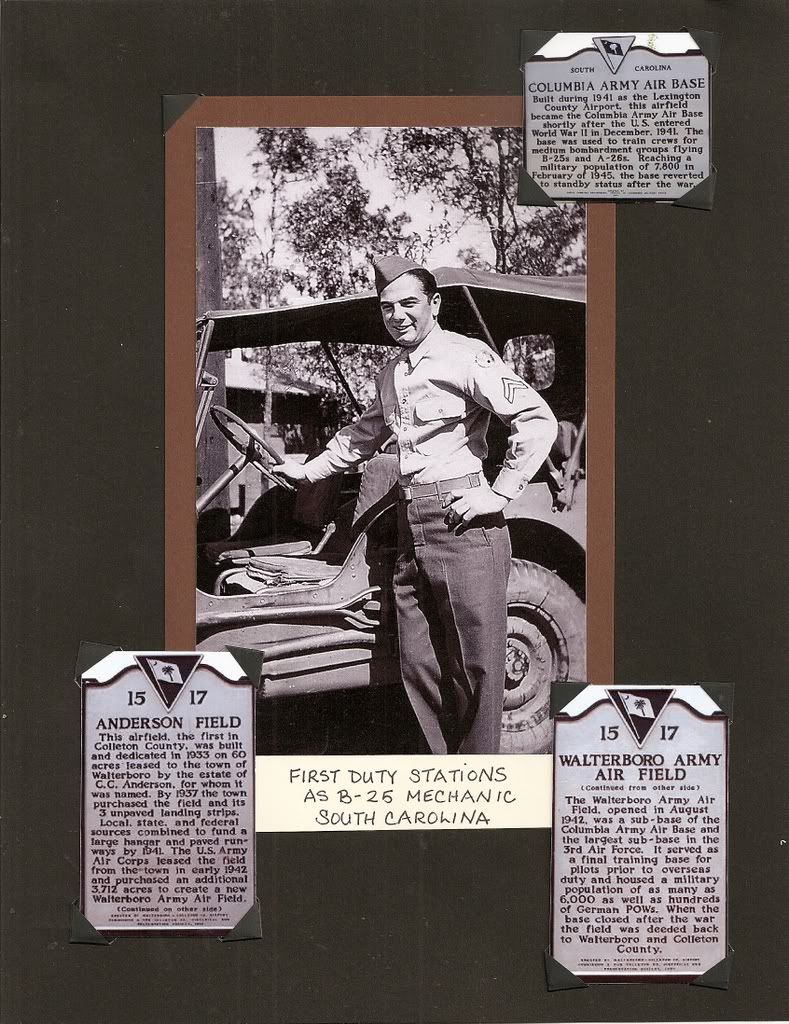
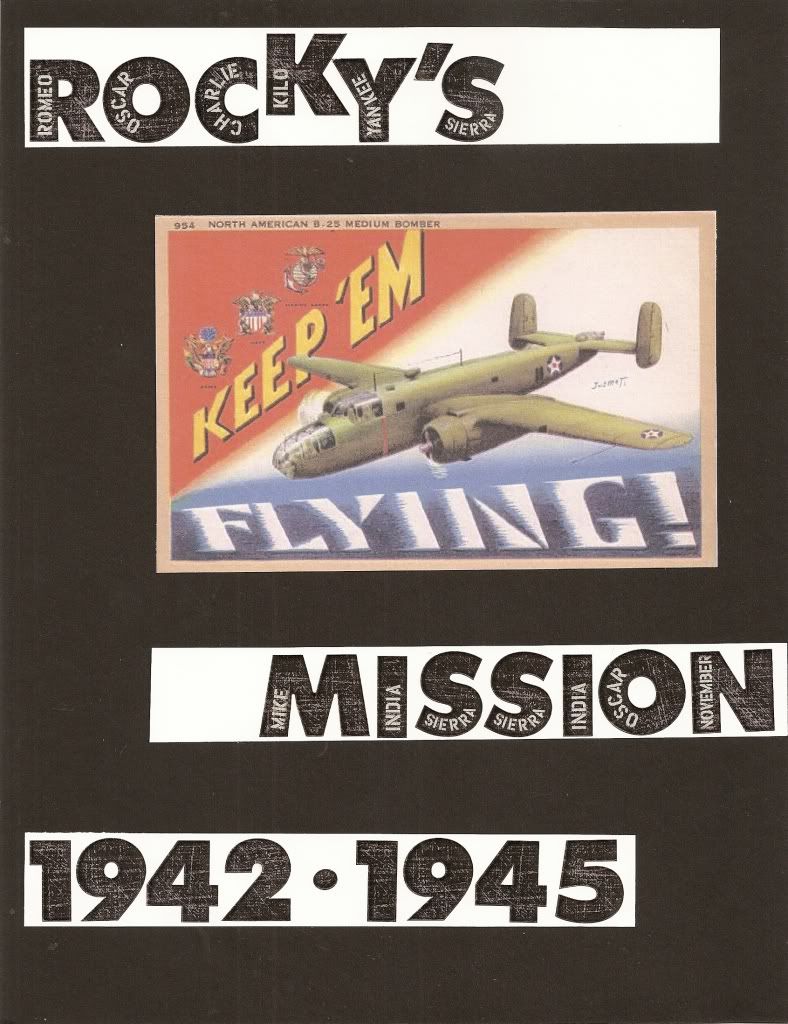
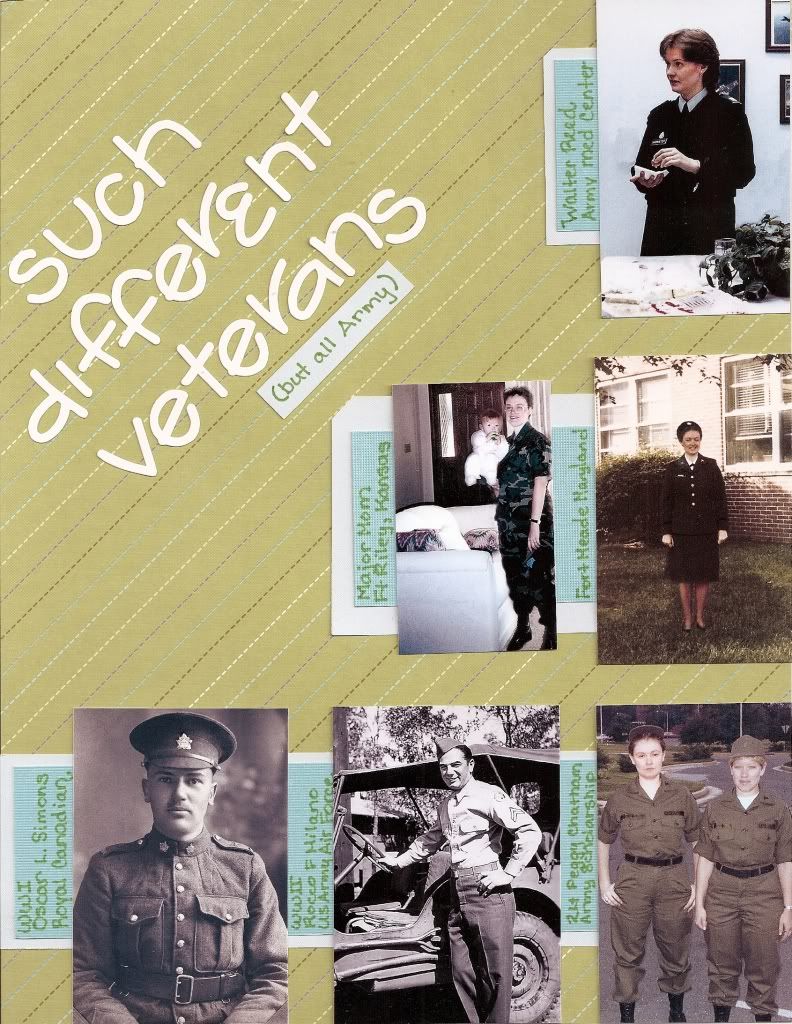
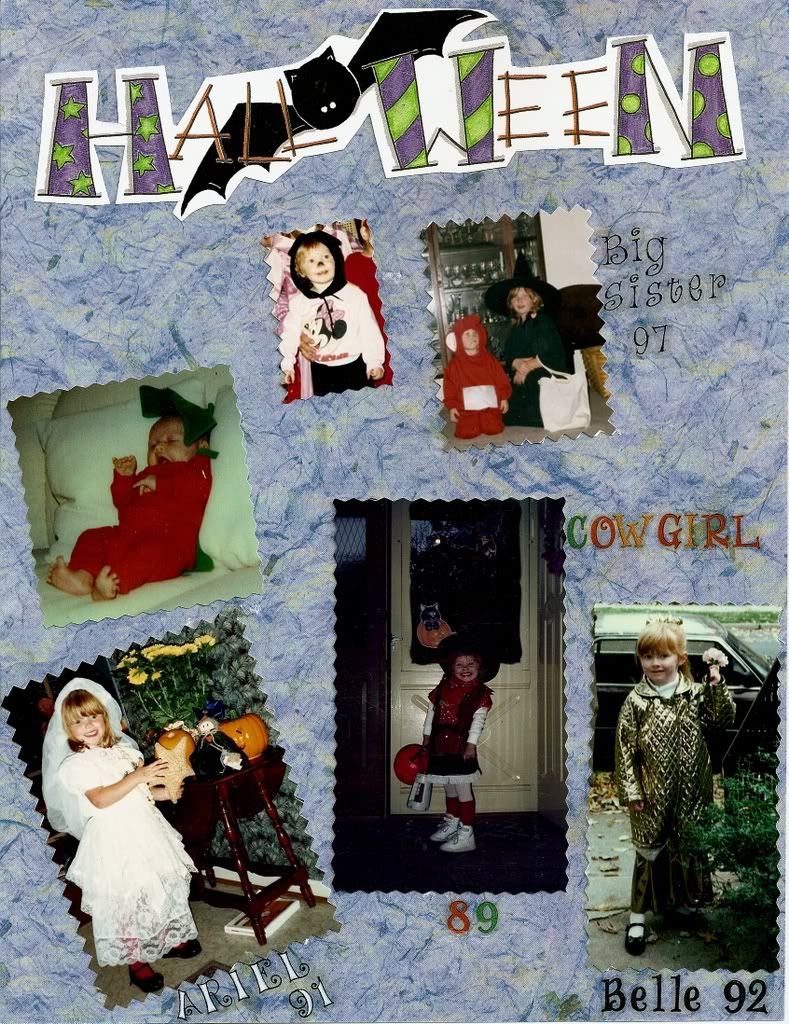
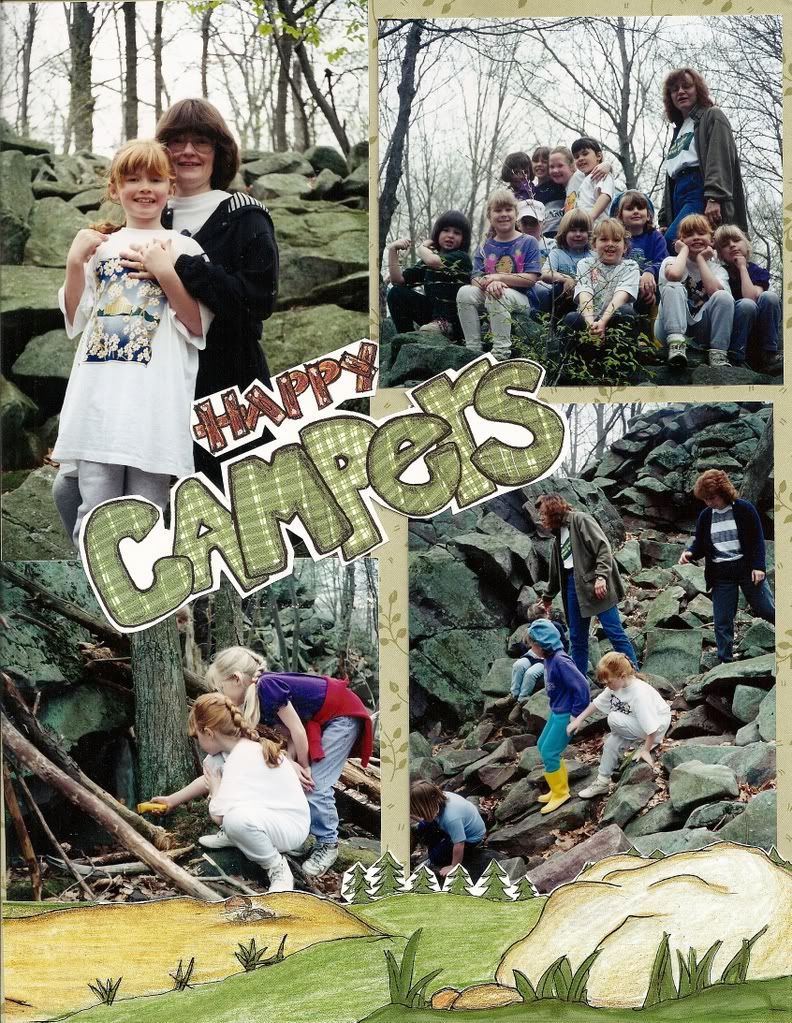
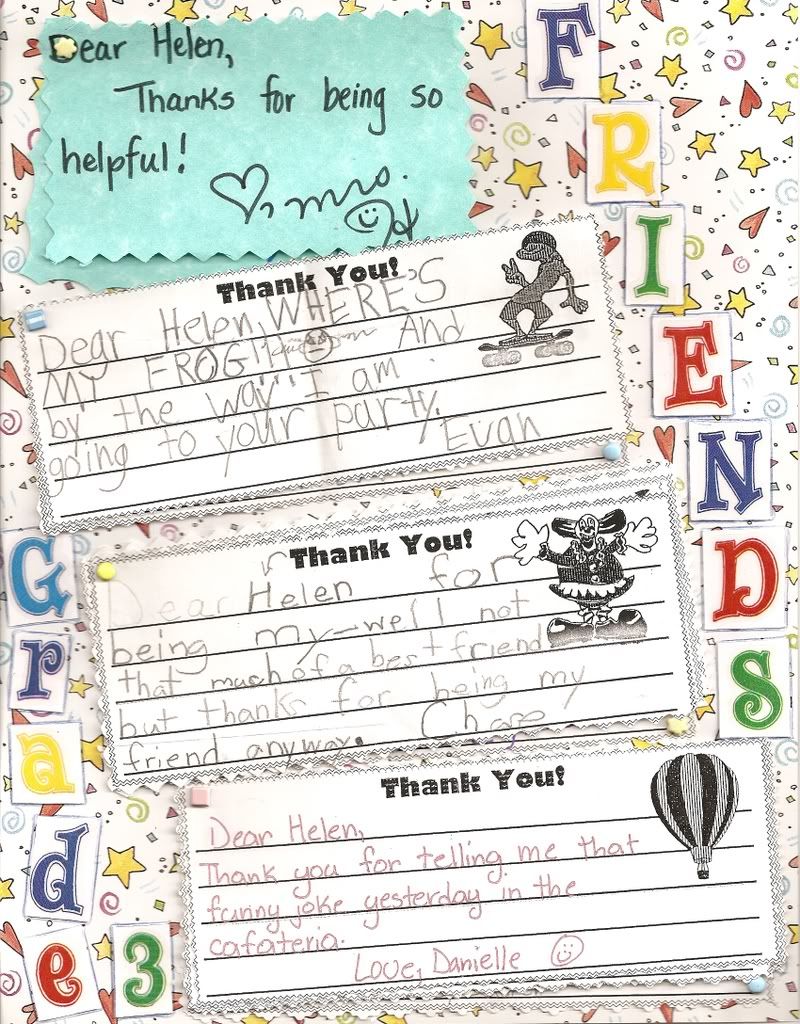
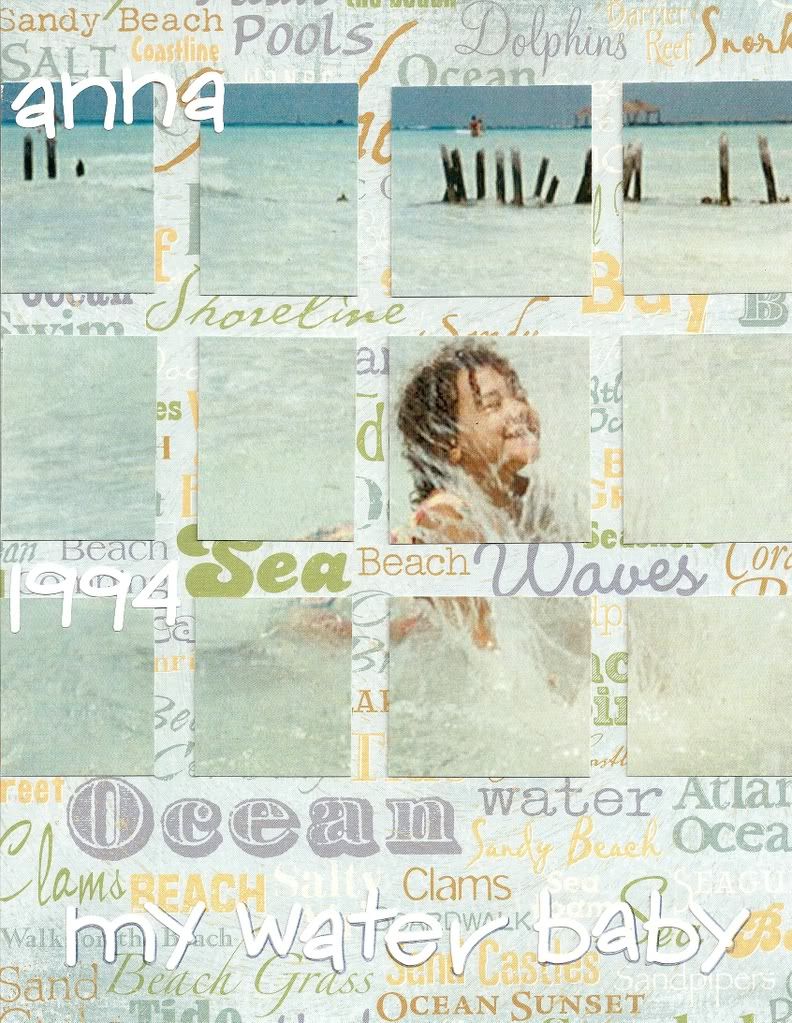
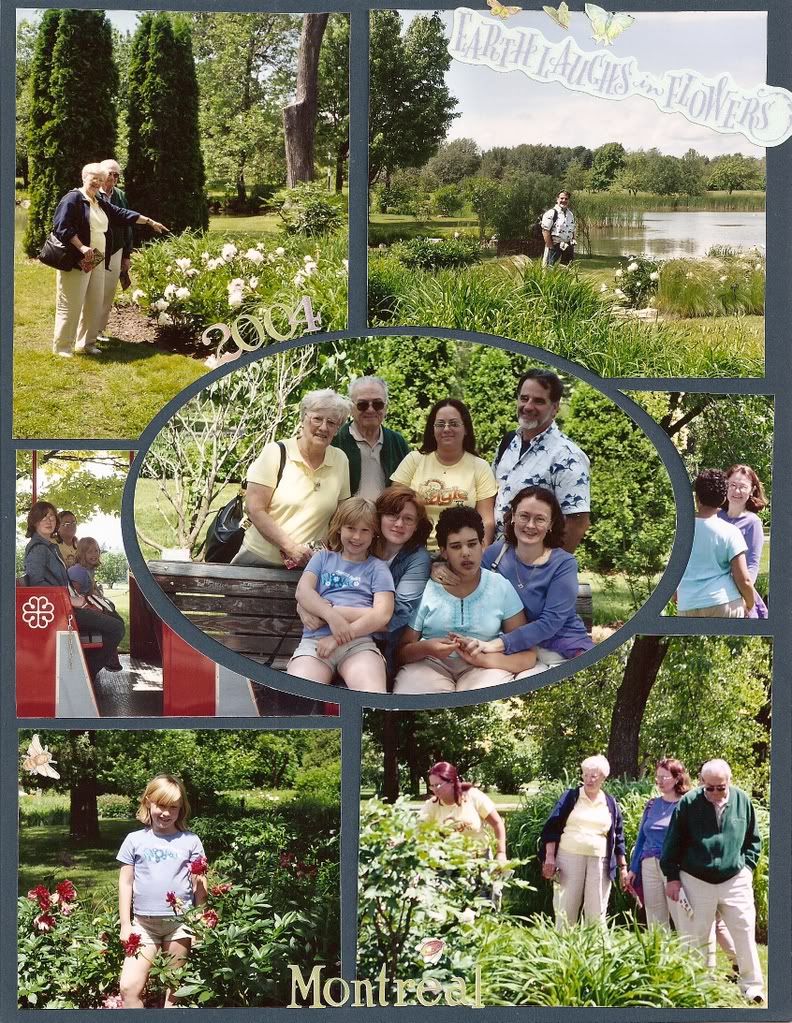
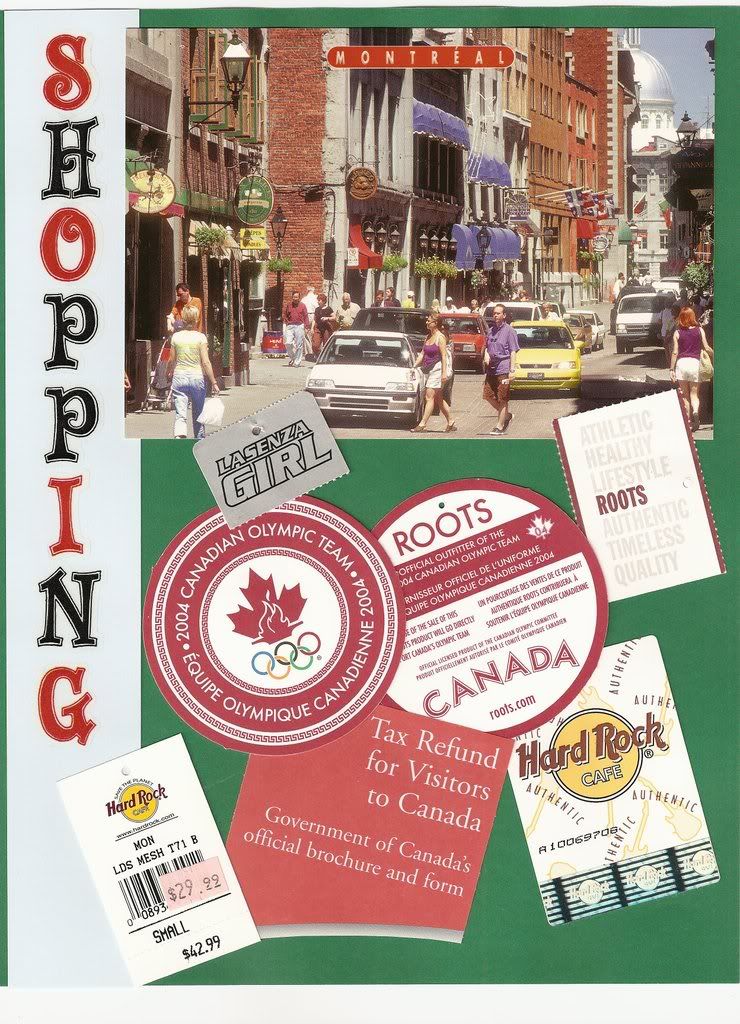
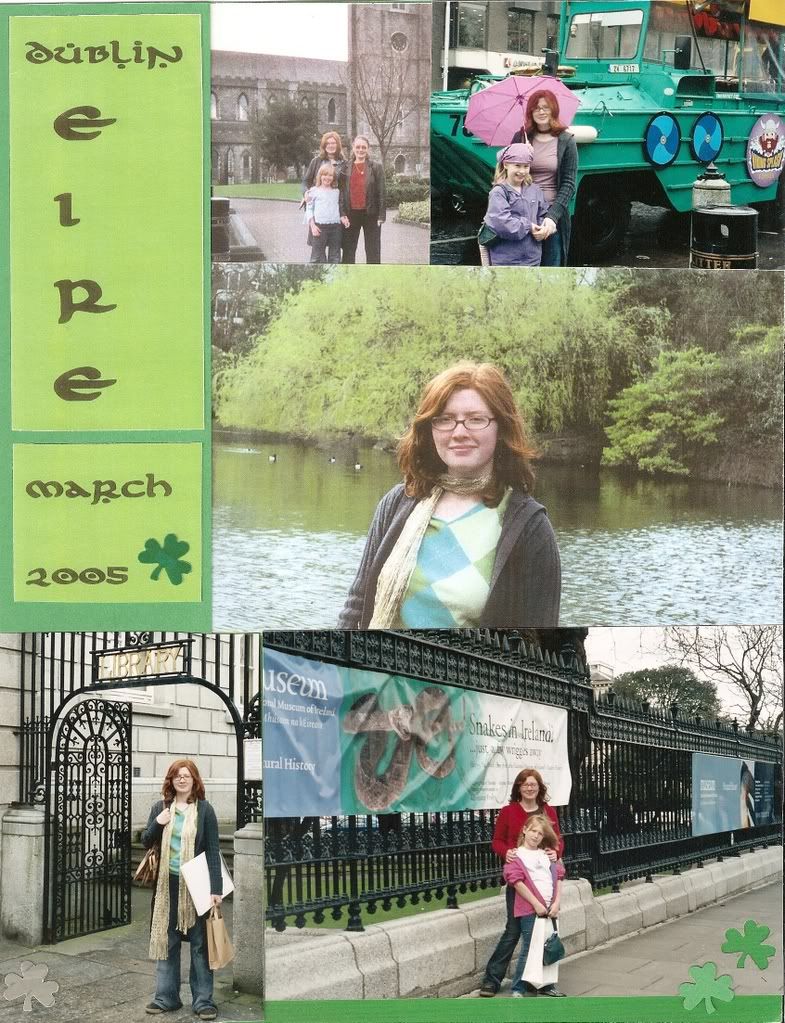
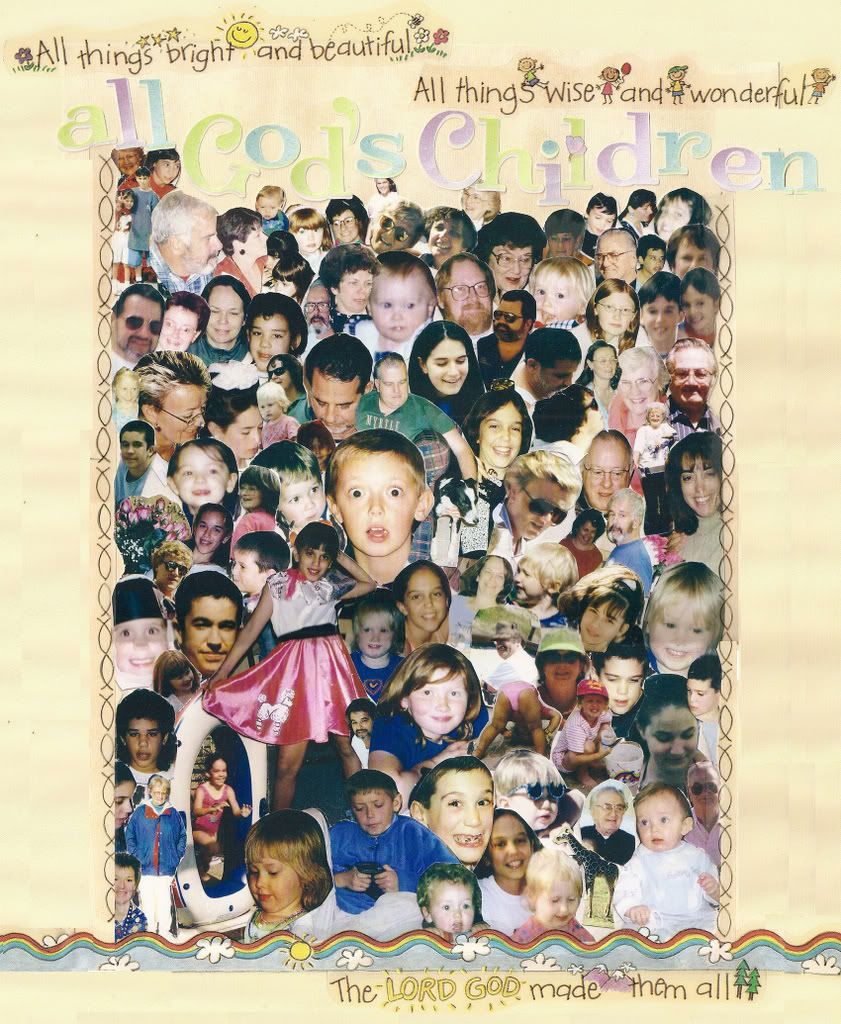
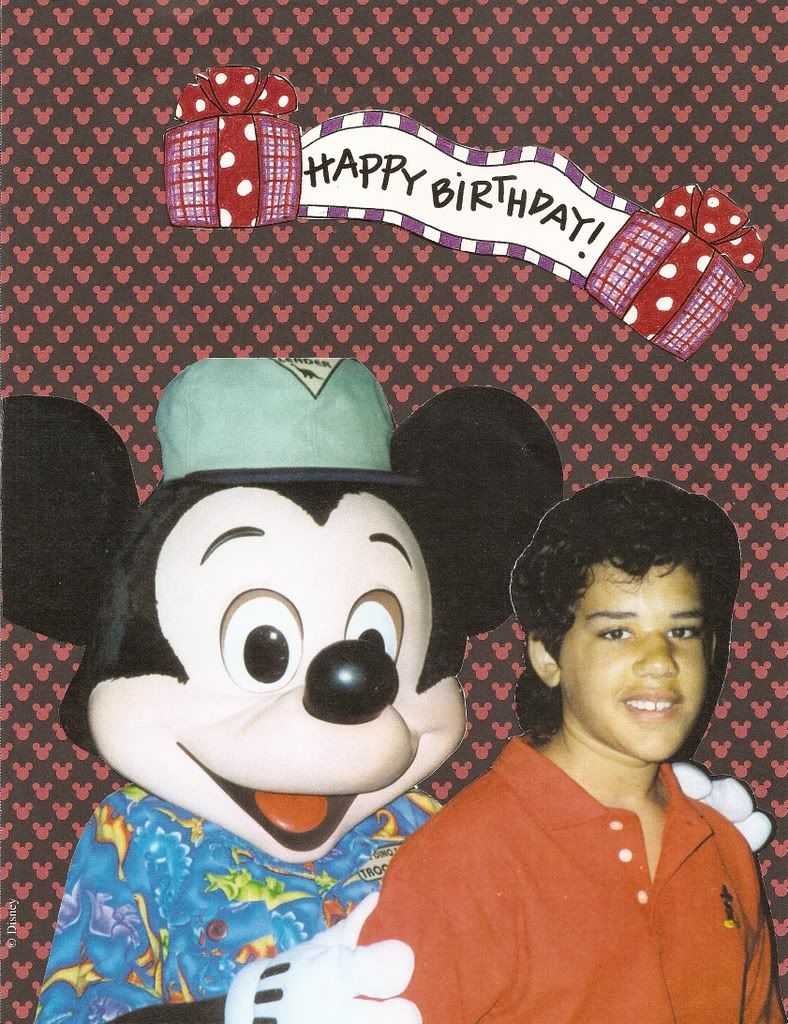
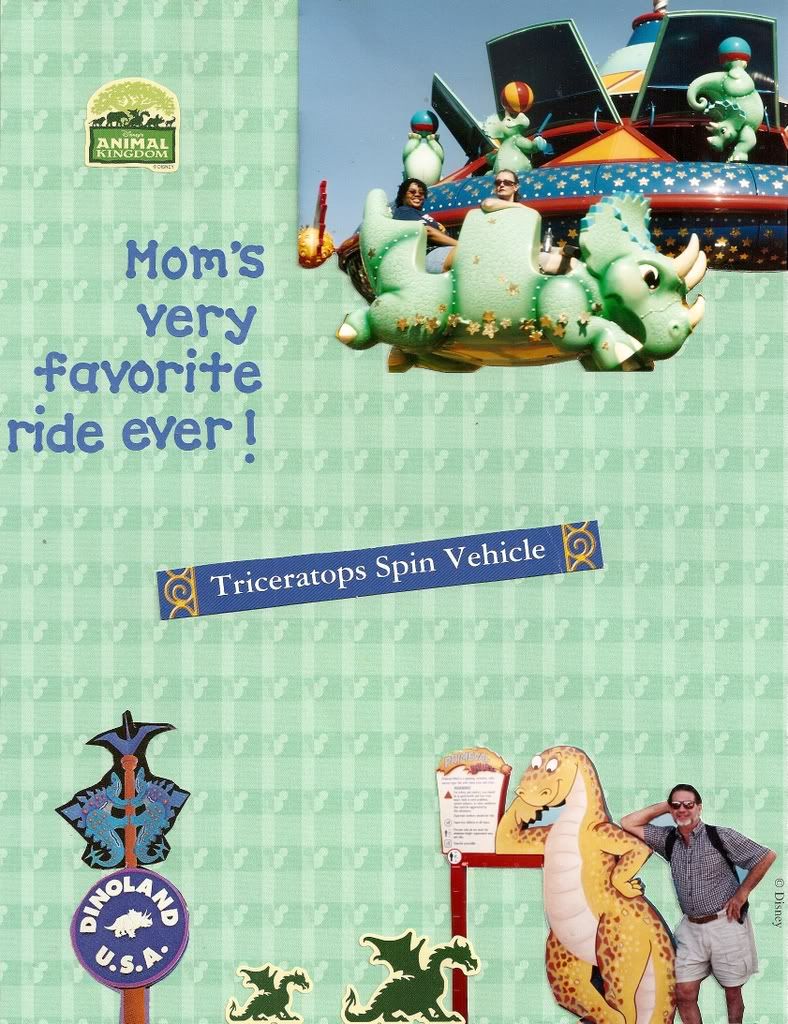
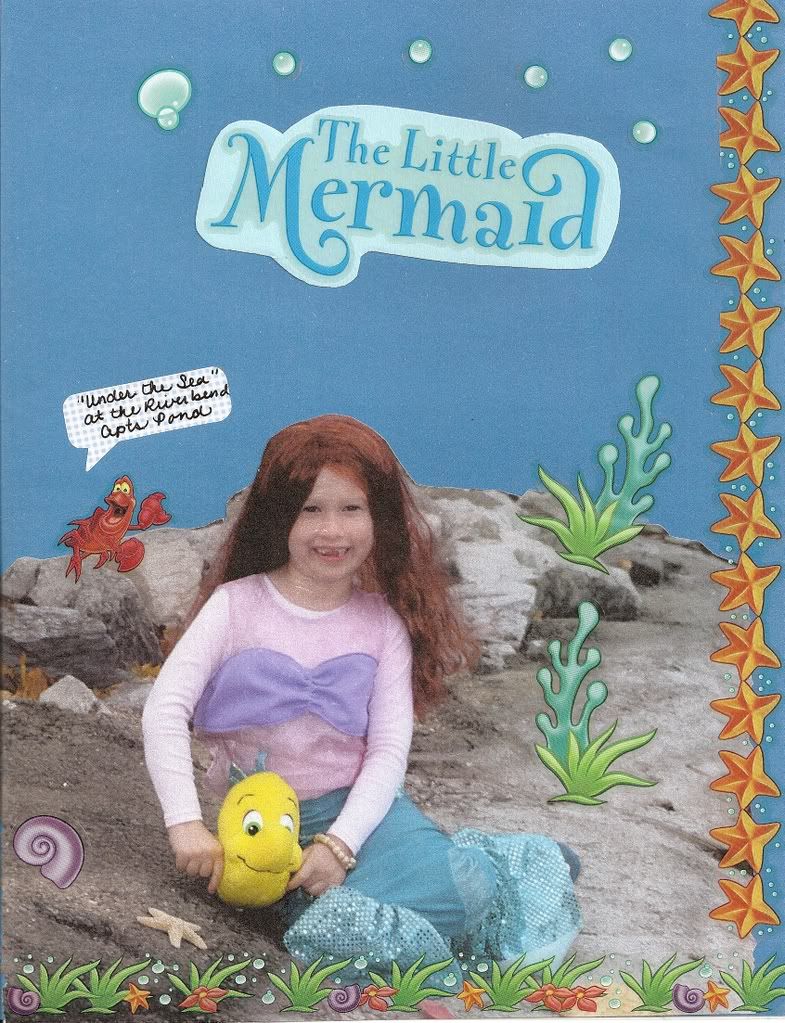
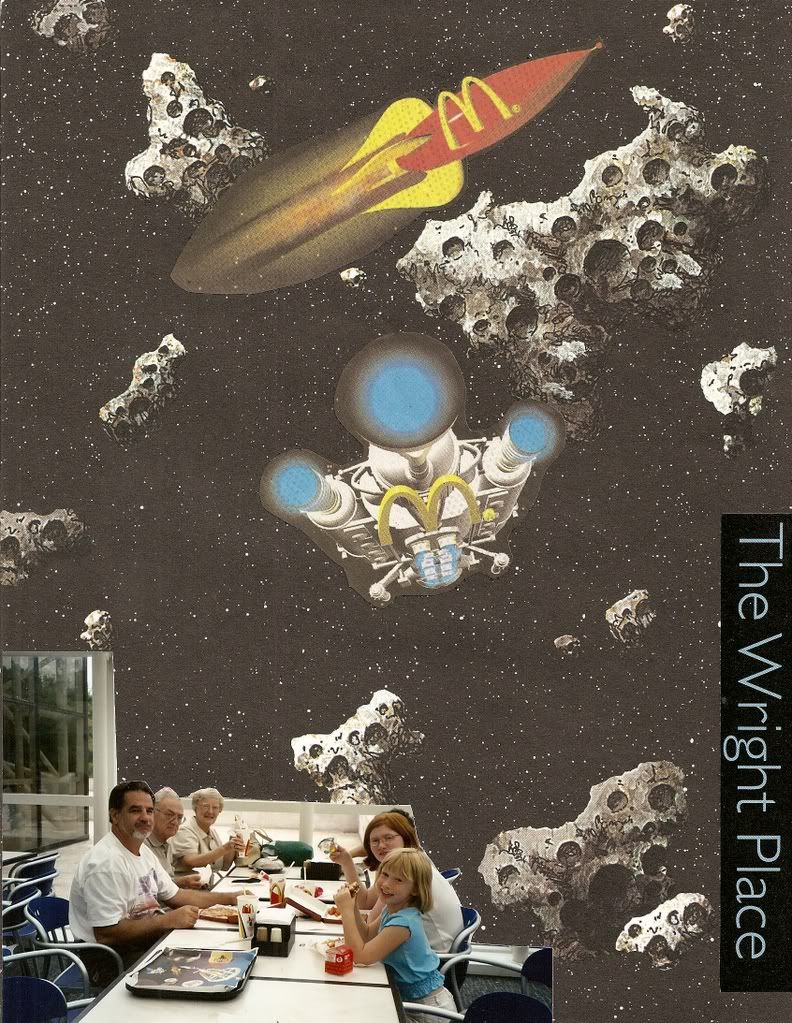
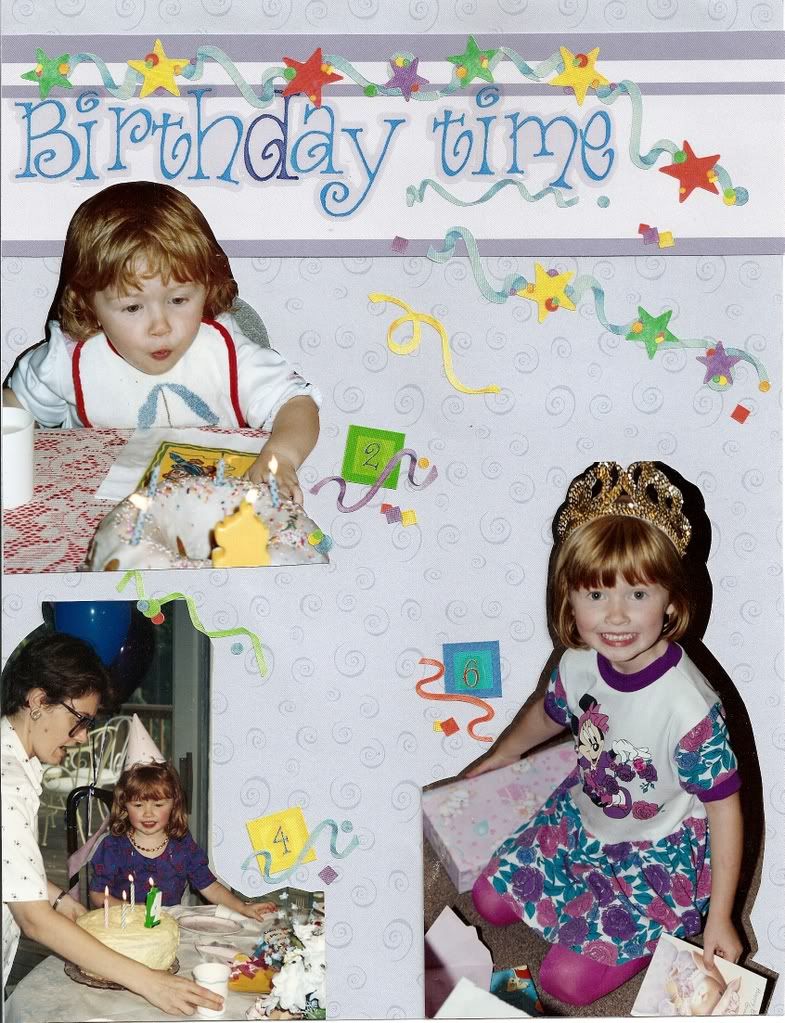
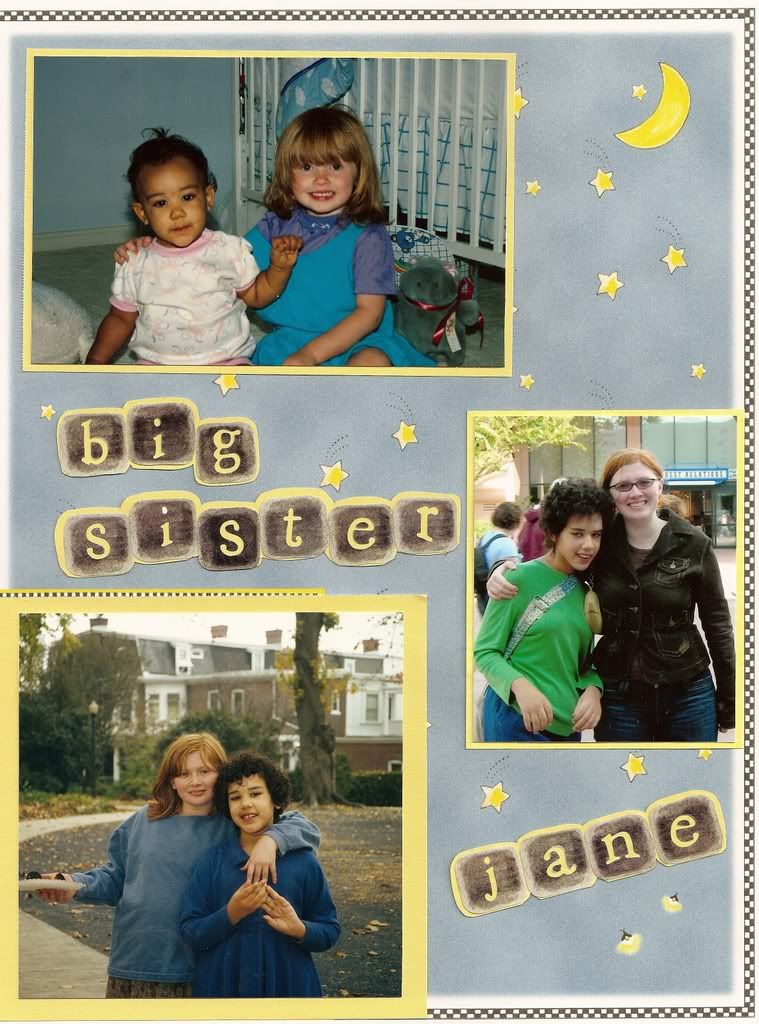
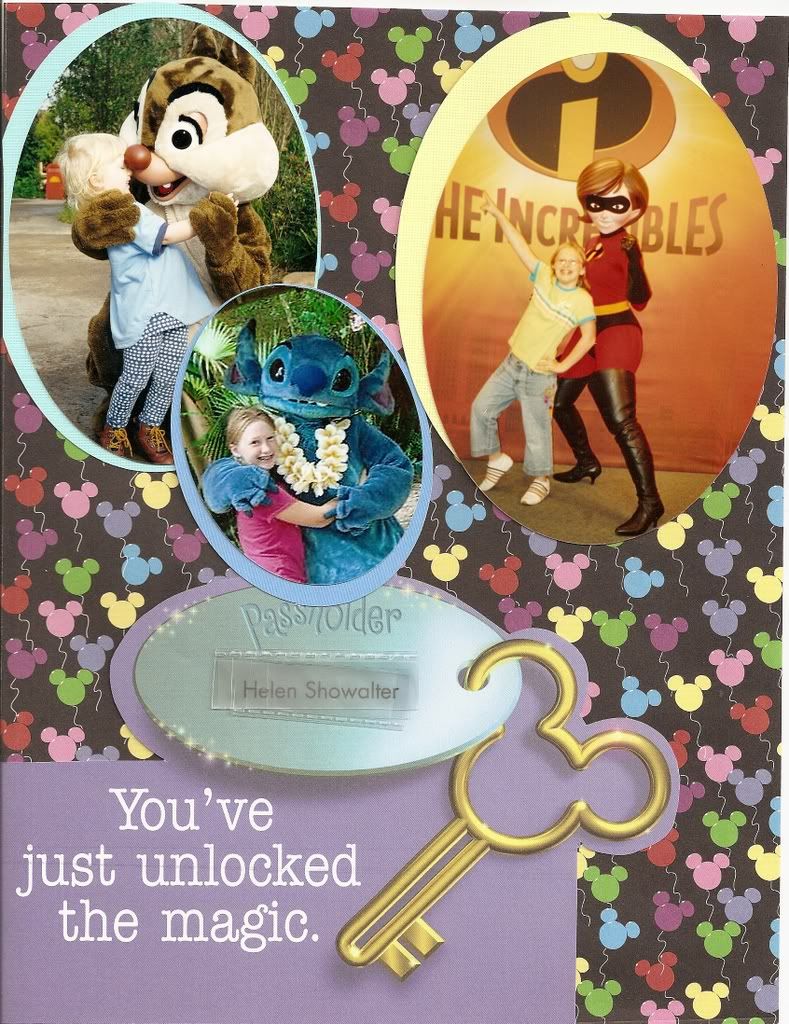
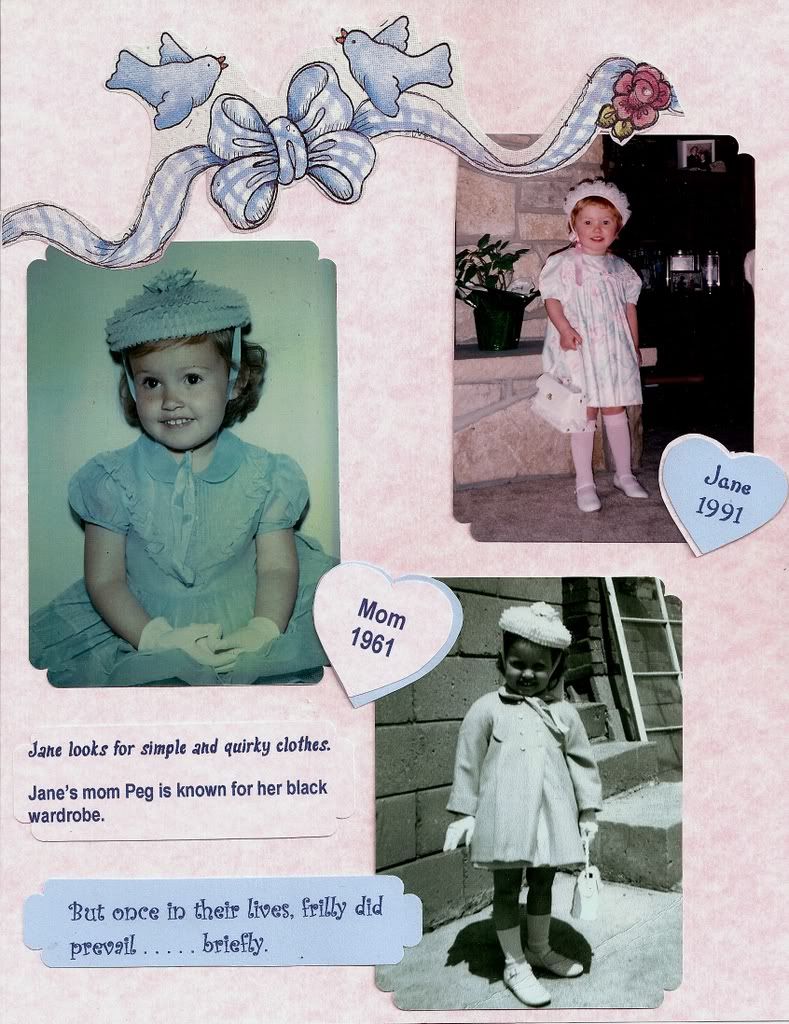
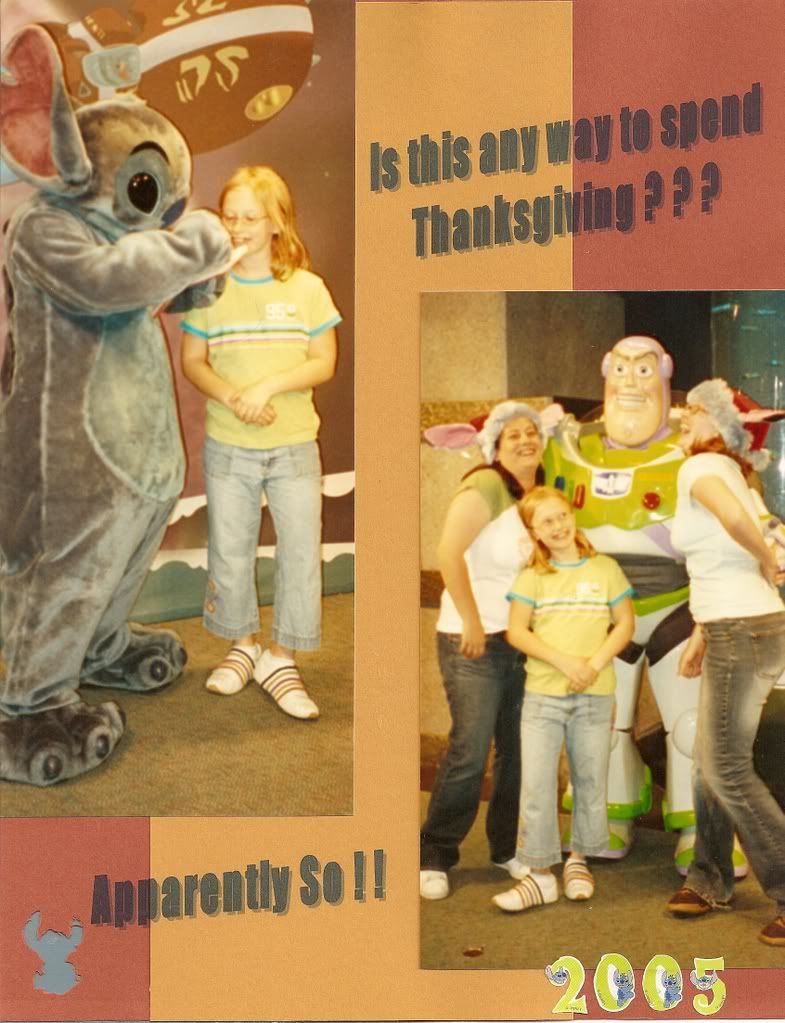
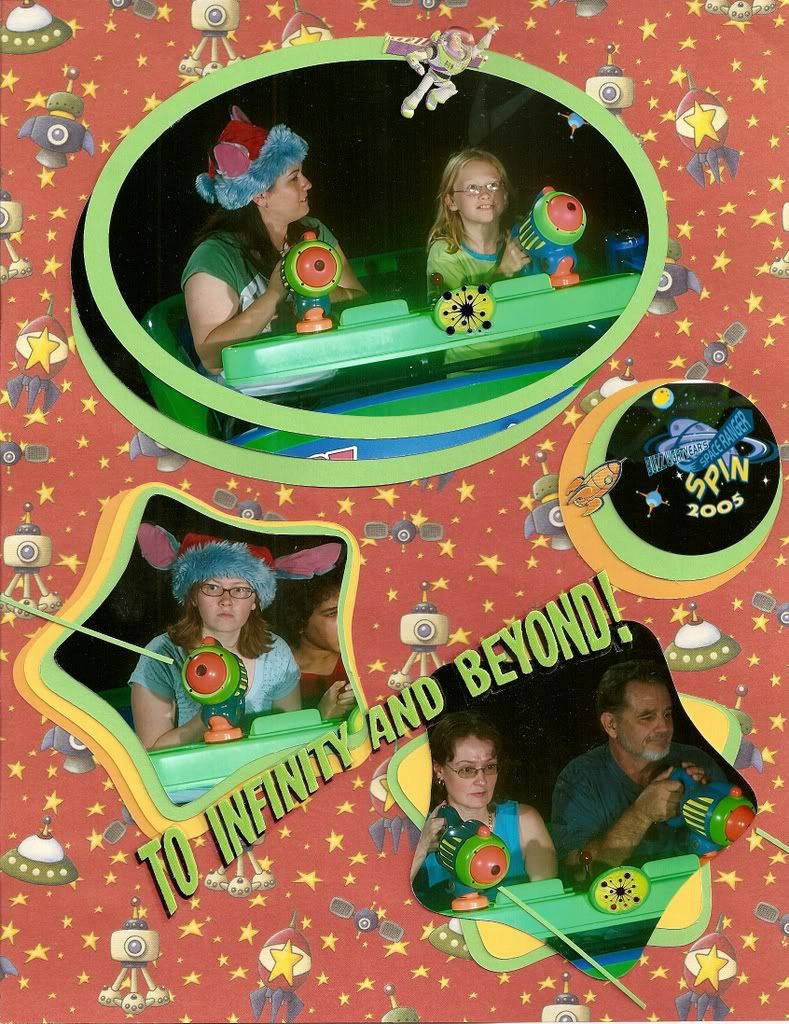
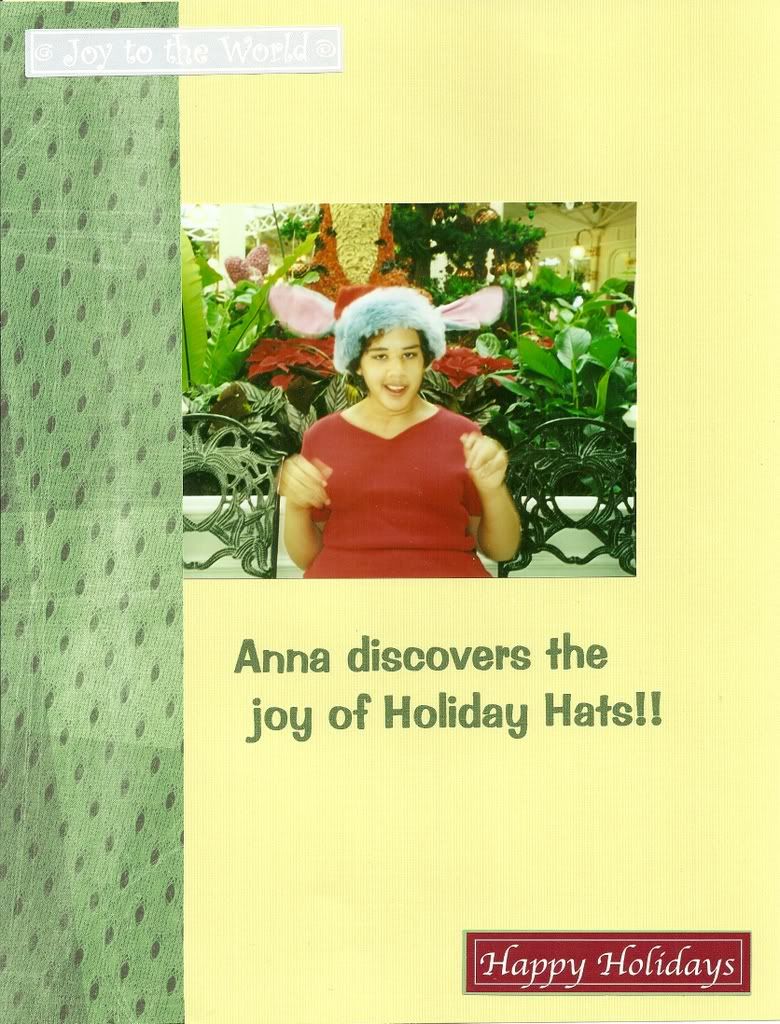
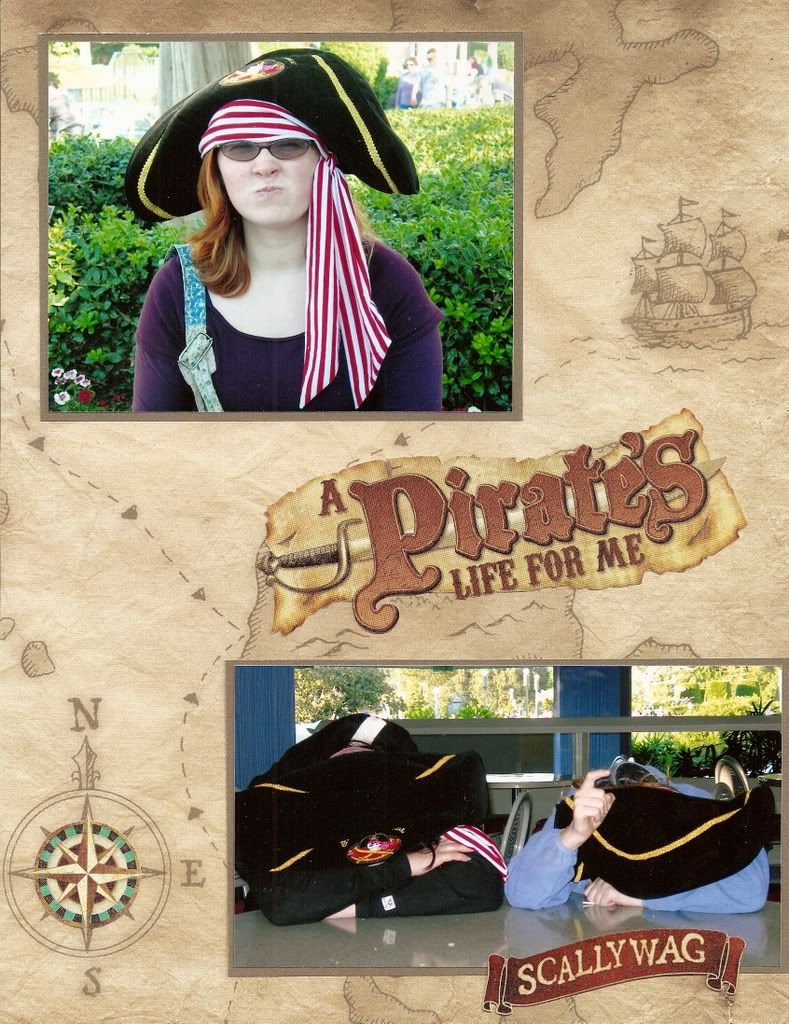
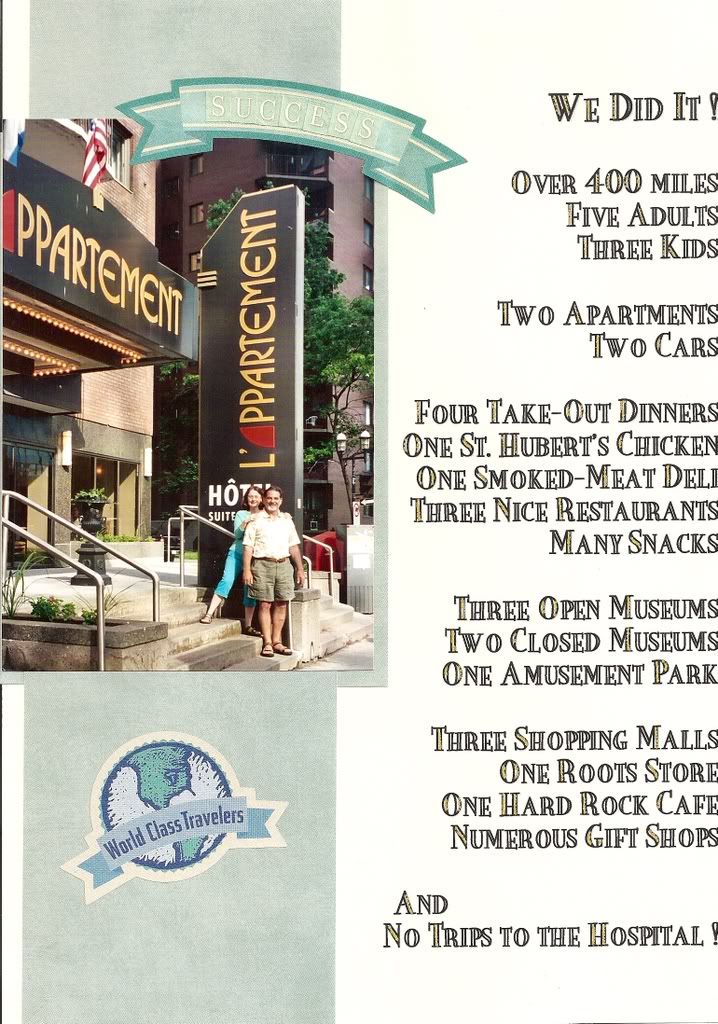
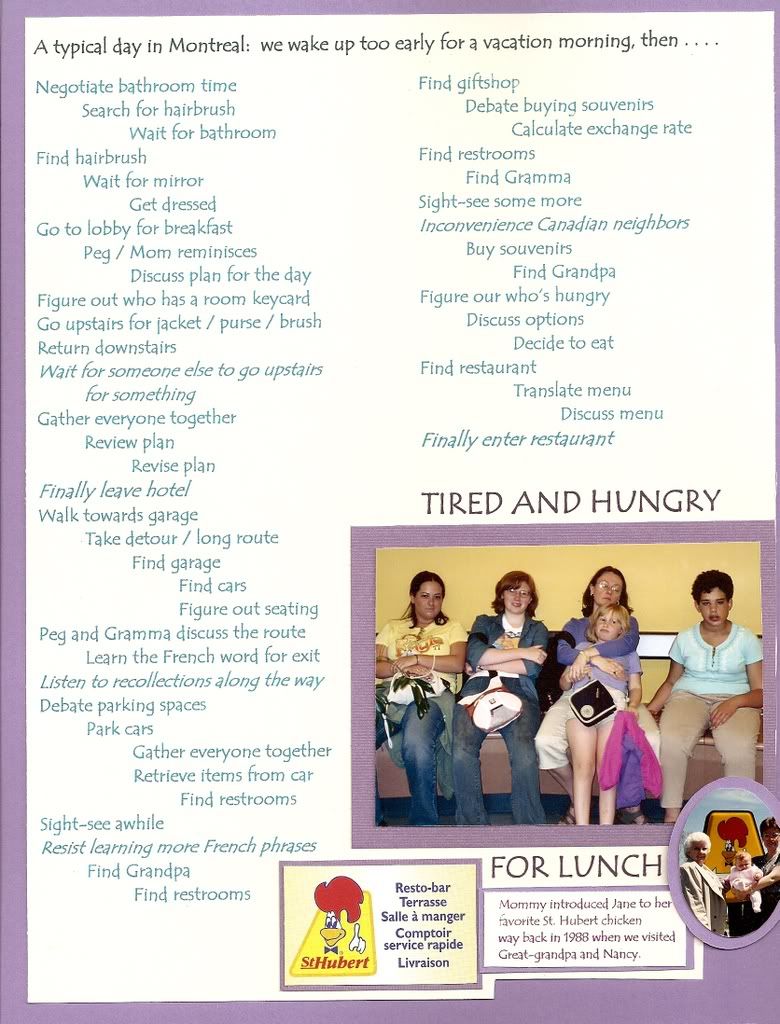
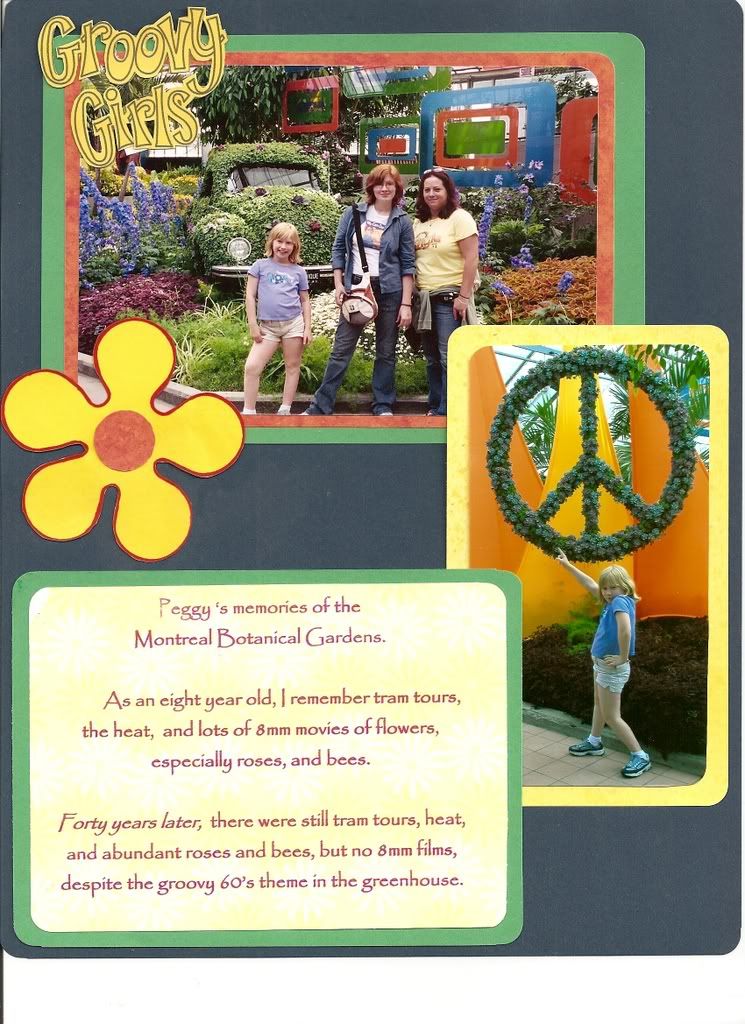
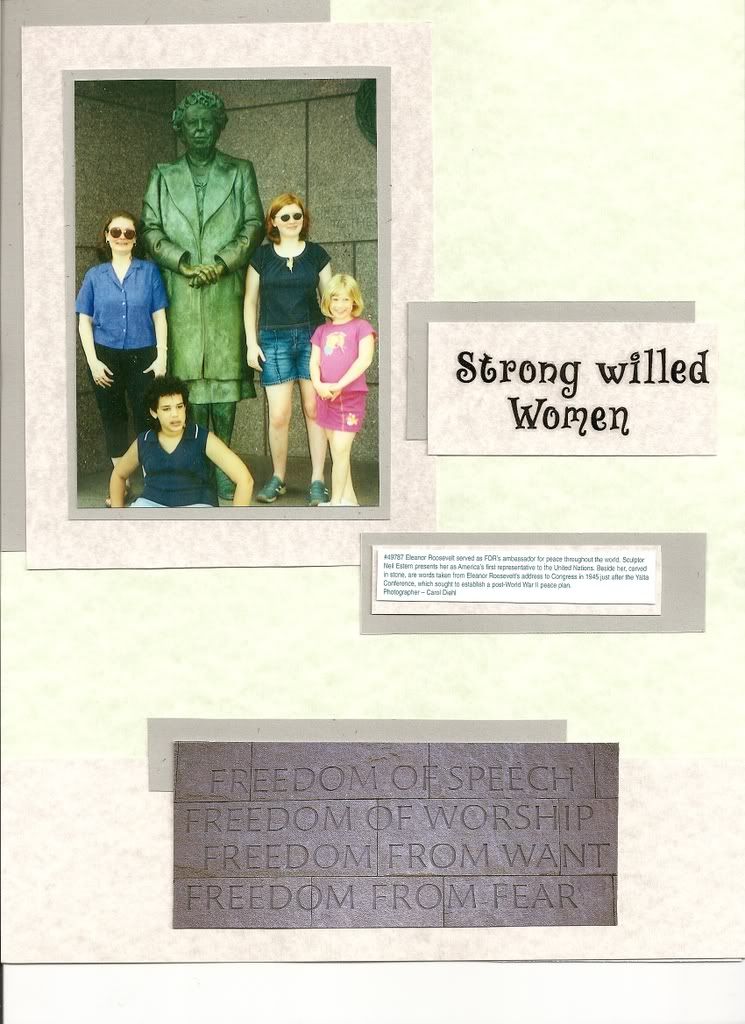
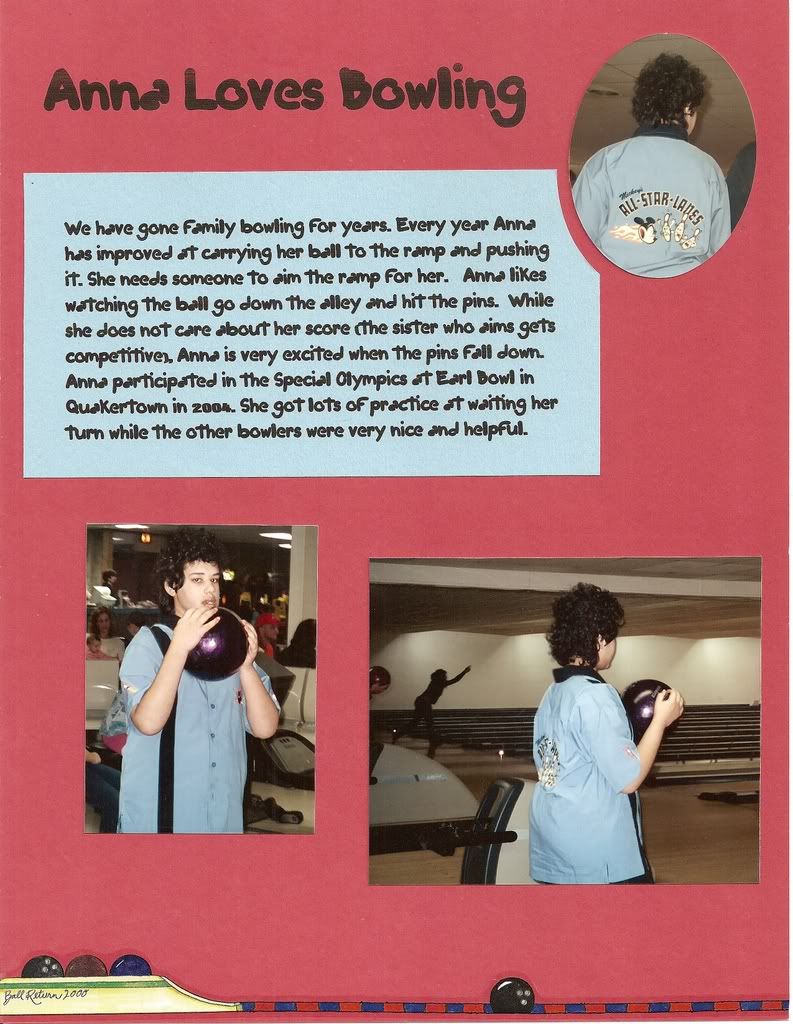
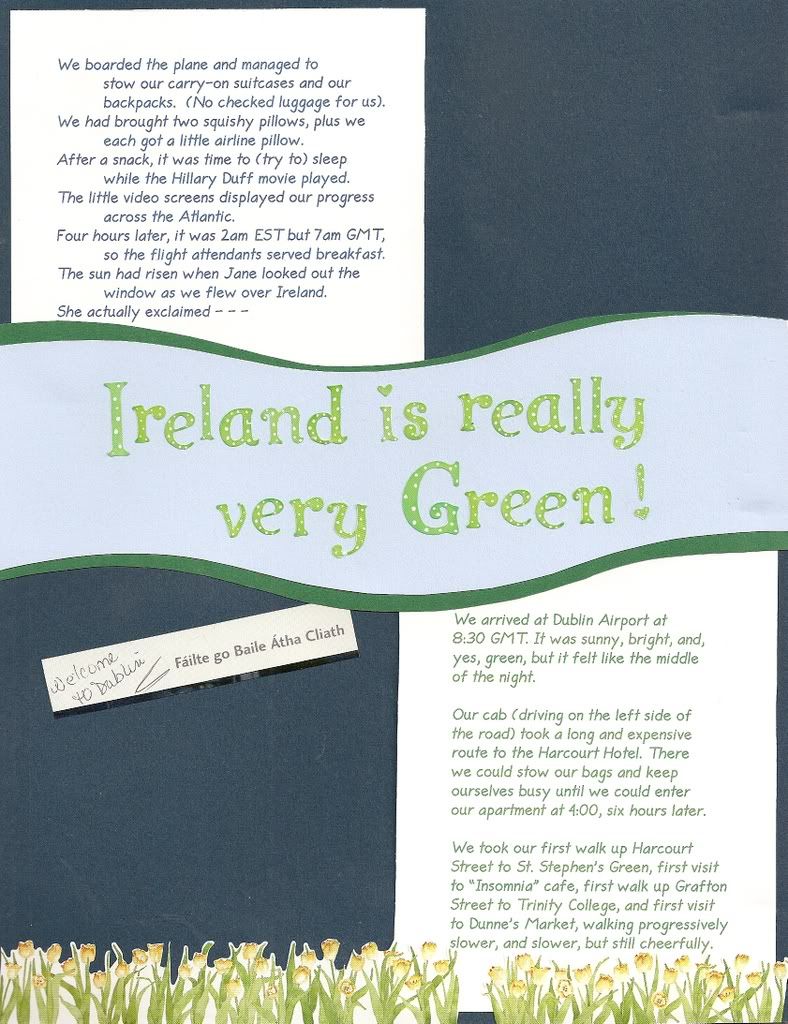
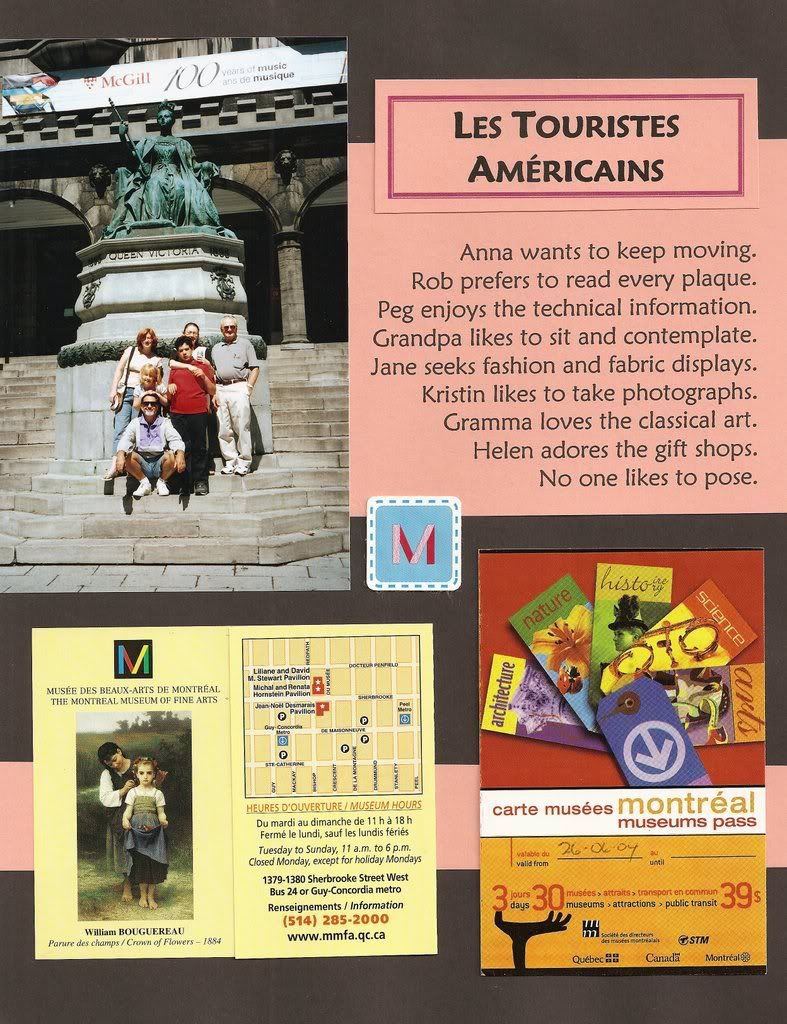
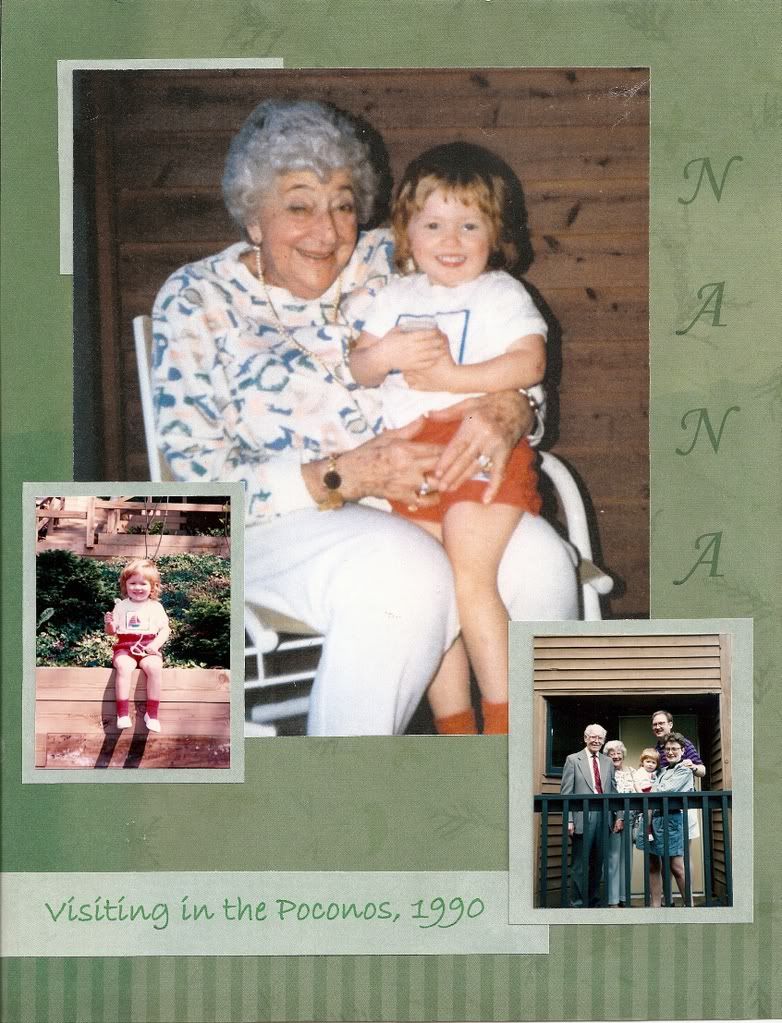
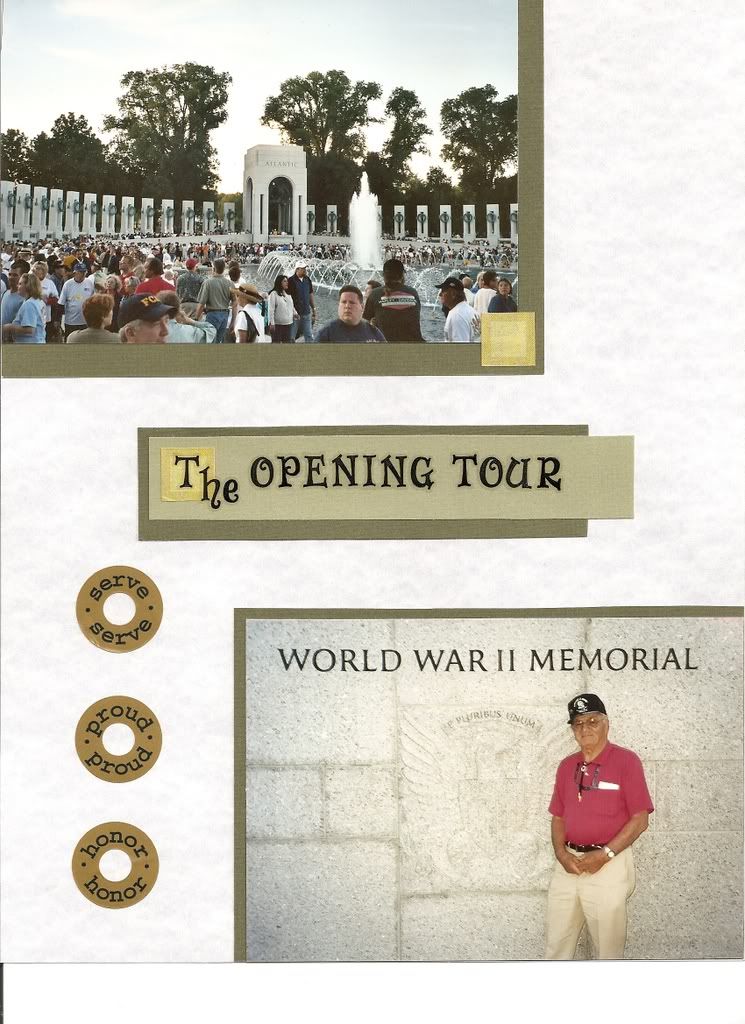
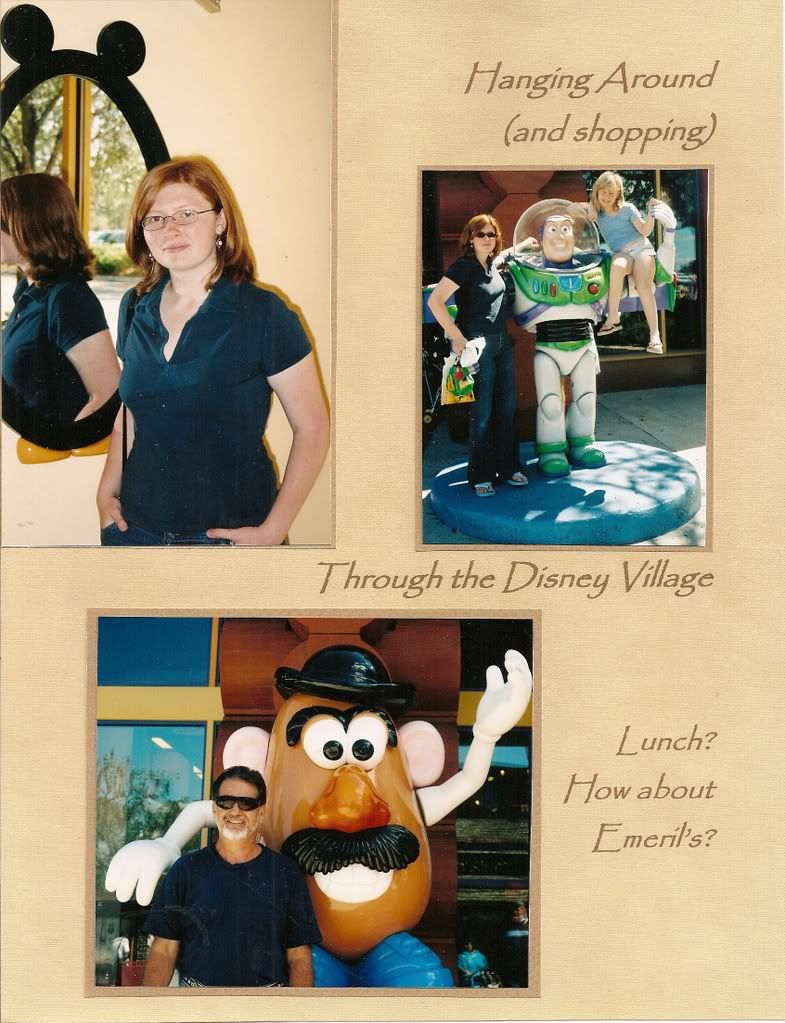
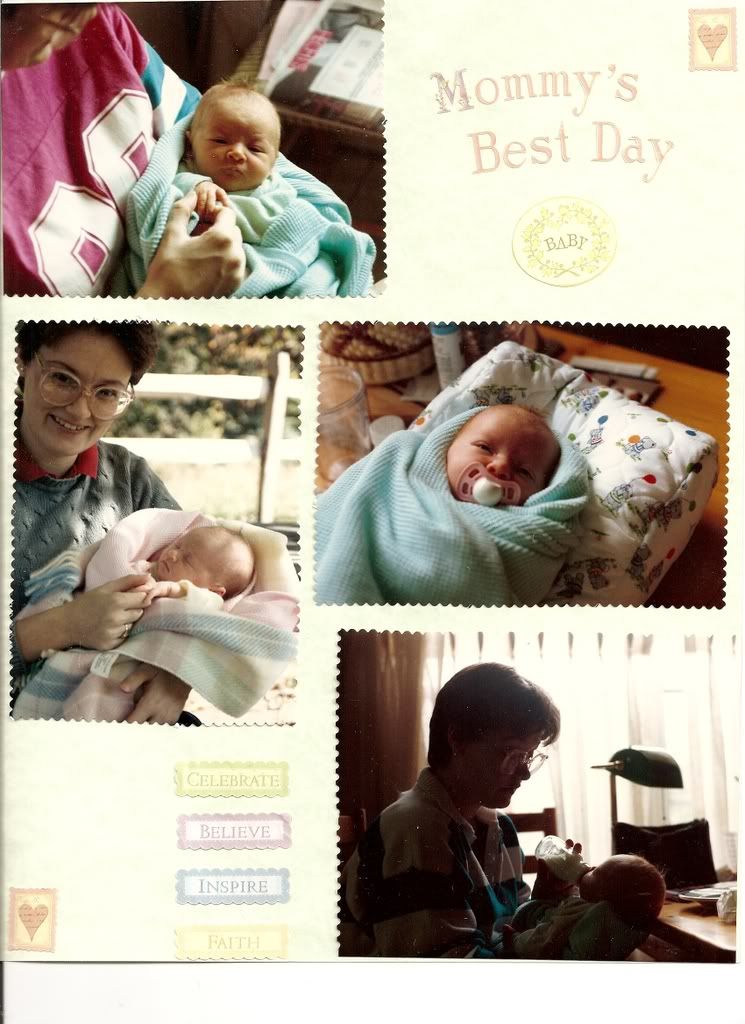
On pretty and artistic scrapbook pages, it's important to work in the who, what, where, and when (or at last write the info on the back). Memories for details do fade, years totally blend together, and cute toddlers look very similar.
I have been going through old pages to update scrapbook pages to label the who, what, where, and when, which has required some wierd family calculations -- such as
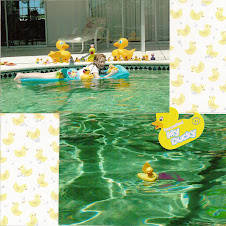
To calculate Helen's age in a photo taken on a trip with Jane in Jane's only year as a cadette girl scout in seventh garde if Jane started kindergarten at age 5, Jane would be 13 in seventh grade, so if Jane was born in 1987, the trip was 1999, so with Helen born in 1995, then she was four ! It would have been easier to date the photo, but perhaps less interesting.
Many more trips down memory lane are necessary to date other photos by figuring out what year did we have what curtains, which babysitter, what car.
Showing posts with label text. Show all posts
Showing posts with label text. Show all posts
1/21/2009
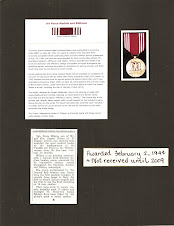
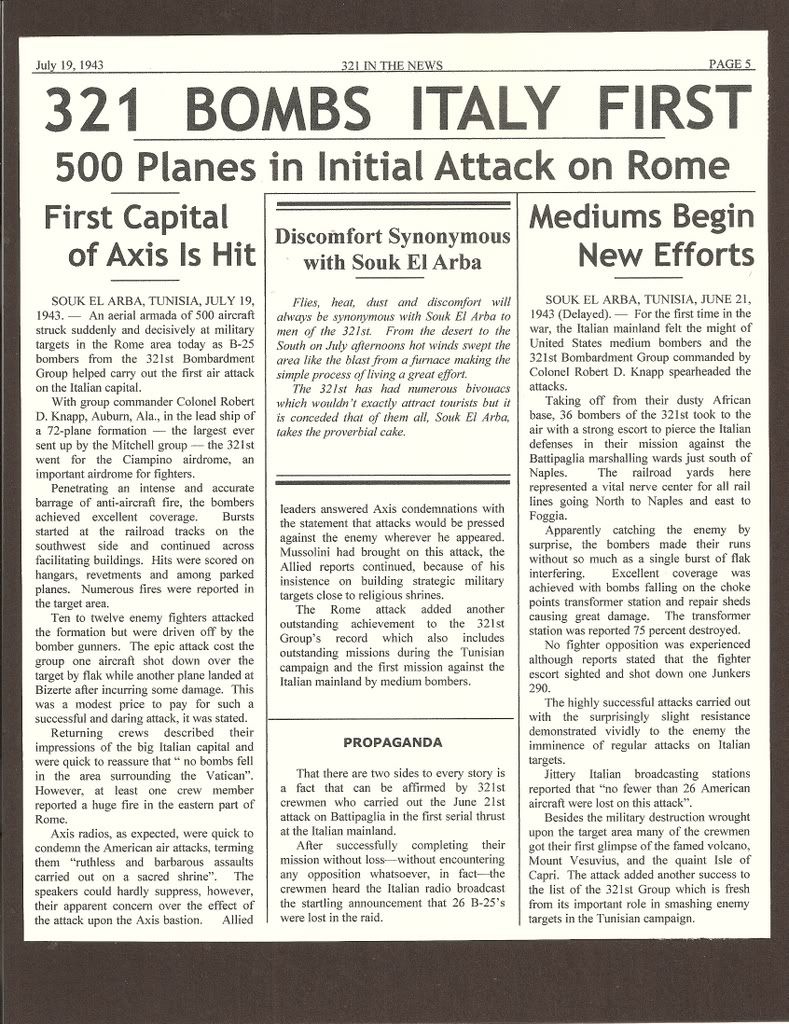
"Cleaning Up" yellowed newspaper clippings
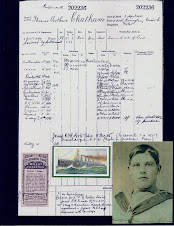
Newspaper clippings yellow quickly because the paper has a lot of acid. To avoid this problem, I scan and reprint new clippings on non-acid paper. I spend a lot of time fixing yellowed (or orange) clippings as I scrapbook boxes of souvenirs from the 1940's. The process to "clean up" these clippings is pretty "easy" with Photoshop Elements or Picassa.
I scan the clipping as a .jpg file. Then I convert the clipping to black and white (one click), which turns the yellow background grey. I select brightness/contrast (another click) to move both the contrast and brightness sliders to the right until the grey disappears ! I like to leave a little bit of grey noise in the background to keep an "aged" look. Then I print the article on ecru paper because a vintage article on white paper doesn't look "right" to me.
Photoshop Elements is especially helpful in removing "bleed through" from the other side of the paper that sometimes lingers even after adjust the contrast and brightness. I use the "clone," not the erase tool. Newspaper photos may need the "descreen" tool and adjustments in lighting before printing.
I scan the clipping as a .jpg file. Then I convert the clipping to black and white (one click), which turns the yellow background grey. I select brightness/contrast (another click) to move both the contrast and brightness sliders to the right until the grey disappears ! I like to leave a little bit of grey noise in the background to keep an "aged" look. Then I print the article on ecru paper because a vintage article on white paper doesn't look "right" to me.
Photoshop Elements is especially helpful in removing "bleed through" from the other side of the paper that sometimes lingers even after adjust the contrast and brightness. I use the "clone," not the erase tool. Newspaper photos may need the "descreen" tool and adjustments in lighting before printing.


2/10/2008
Creating Titles with Word
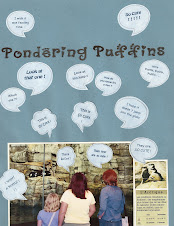
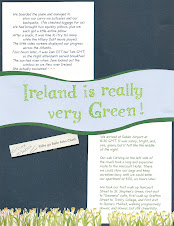
Most pages need a title, but not big type that stretches across the top of the page like a headline.
- Most of my titles are phrases or captions that fit somewhere within the layout. Some cute titles are stickers or die-cut designs I purchased and worked into the design.
- I have created some titles by using sticker letters. Sticker alphabets limit letter choices (can't use too many a's or e's) and aligning the stickers is pretty work intense, so using stickers keeps the titles short. Now I use stickers only for unique letters.
- Most of my titles and captions (well, and journalling too) are created with my Microsoft Word program that I use for my "regular" word processing. Word has features that I never used for my "regular" typing but are great for scrapbooking. I have seen and bought scrapbooking software, but for my text I always return to Word.
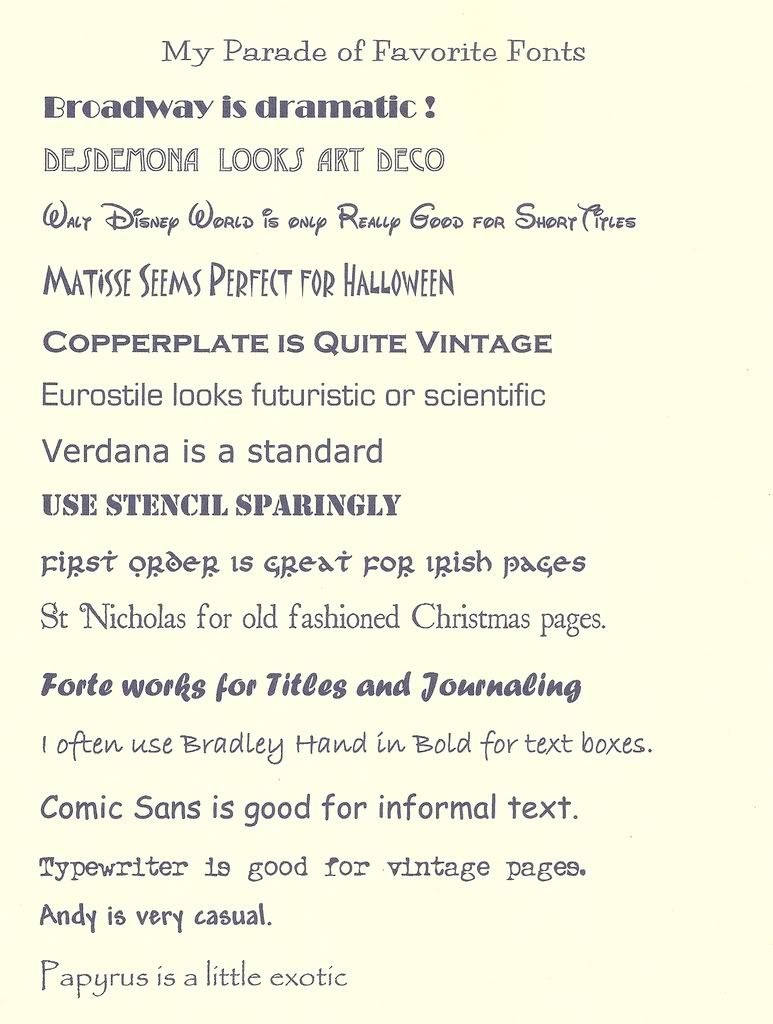
Word has great versatility in typeface (font), size, and color. The word toolbar shows the choices. Specialty fonts can be downloaded for free or purchase. My daughters introduced me to http://www.fontface.com/ that has its own free fonts (many of which are "look-alikes" of famous brands or logos) and has links to other sites. With so many free fonts, I have never bought a font. - After typing the title, then I try difficult sizes and fonts to match the style of the font to the style or mood of the page. A font size of 28 to 48 is a good start. Dividing the title into two or three lines often fits on the page better than one lone line. The top line can be in a bigger (or smaller) font size for emphasis. Some words can be bold, italics, or both for effect.
Other features to try
- The "Word Art" feature (found under insert, picture, word art) can produce some very weird or attractive titles, and it takes some practice.
- The border feature (found under format) can be put a border around a title, text, or caption.
- The title can be printed in black or color on cardstock or clear sticker paper and then attached to a scrapbook page. Sometimes I print directly on the scrapbook page, but alignment can be tough.
Experimentation is easy with Word, and my first choices of font, color, size are rarely my final choice.
1/30/2008
Text for travel scrapbook pages
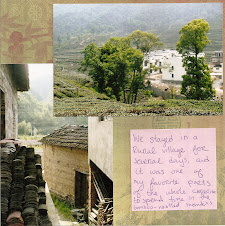
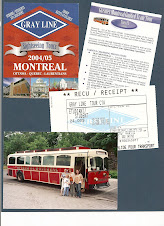
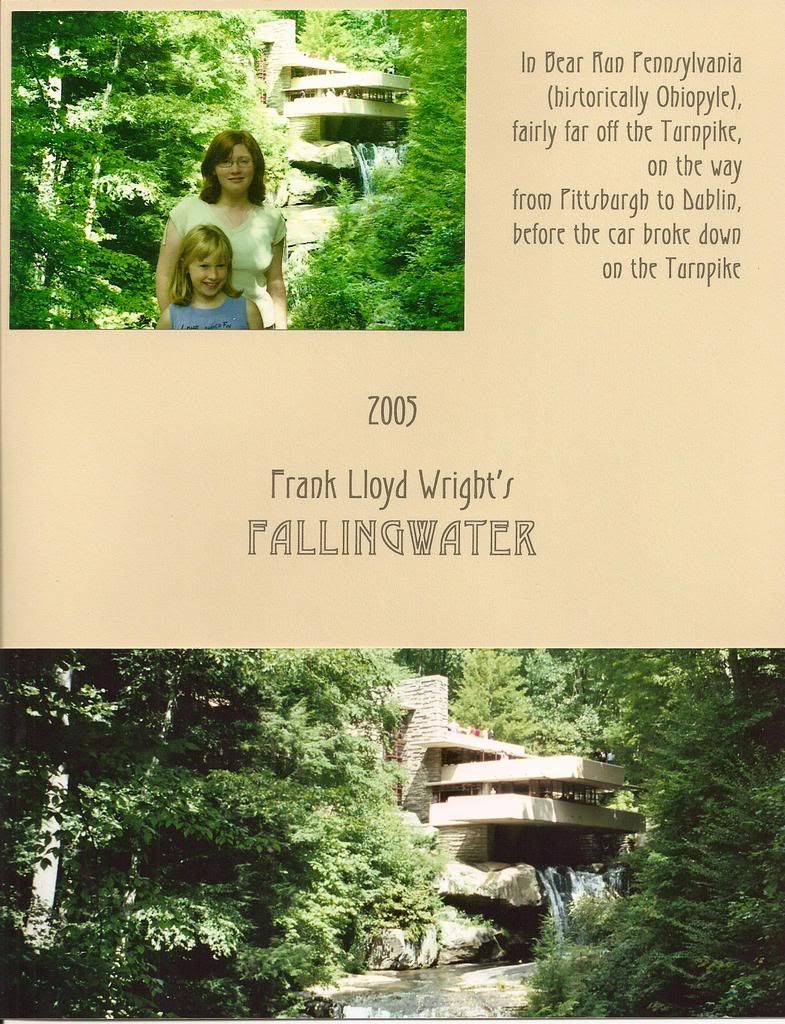
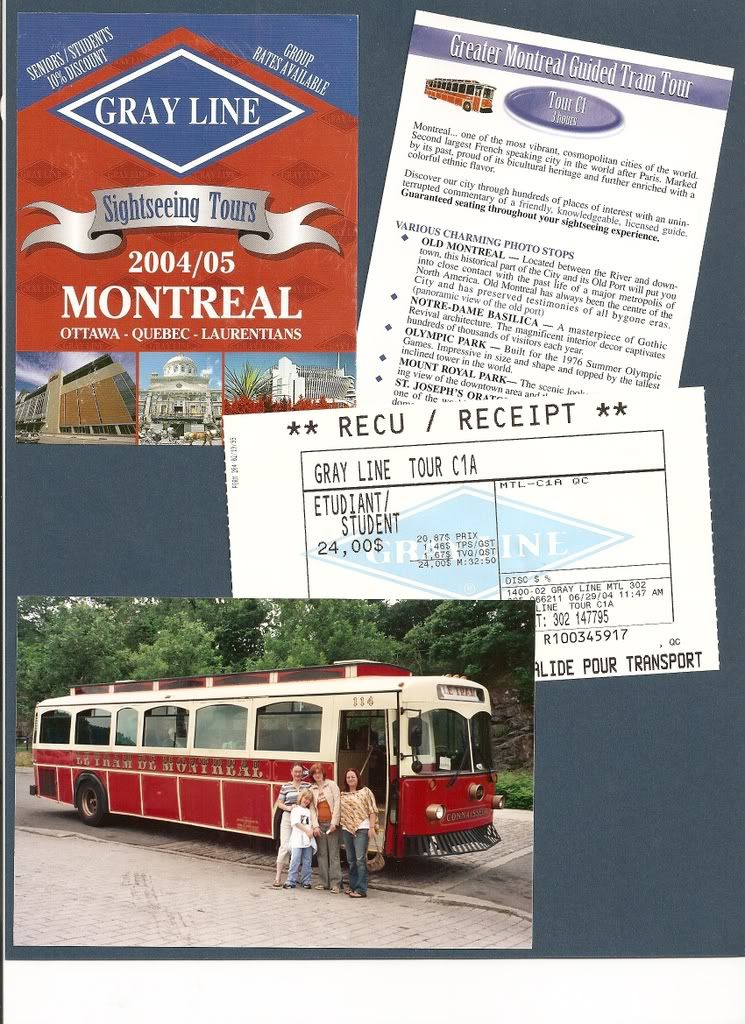
When assembling a scrapbook about one trip I usually include the month and year on the cover. It's boring to include the date on every page, but I try to sprinkle dated receipts, programs, and pamphlets throughout the pages.
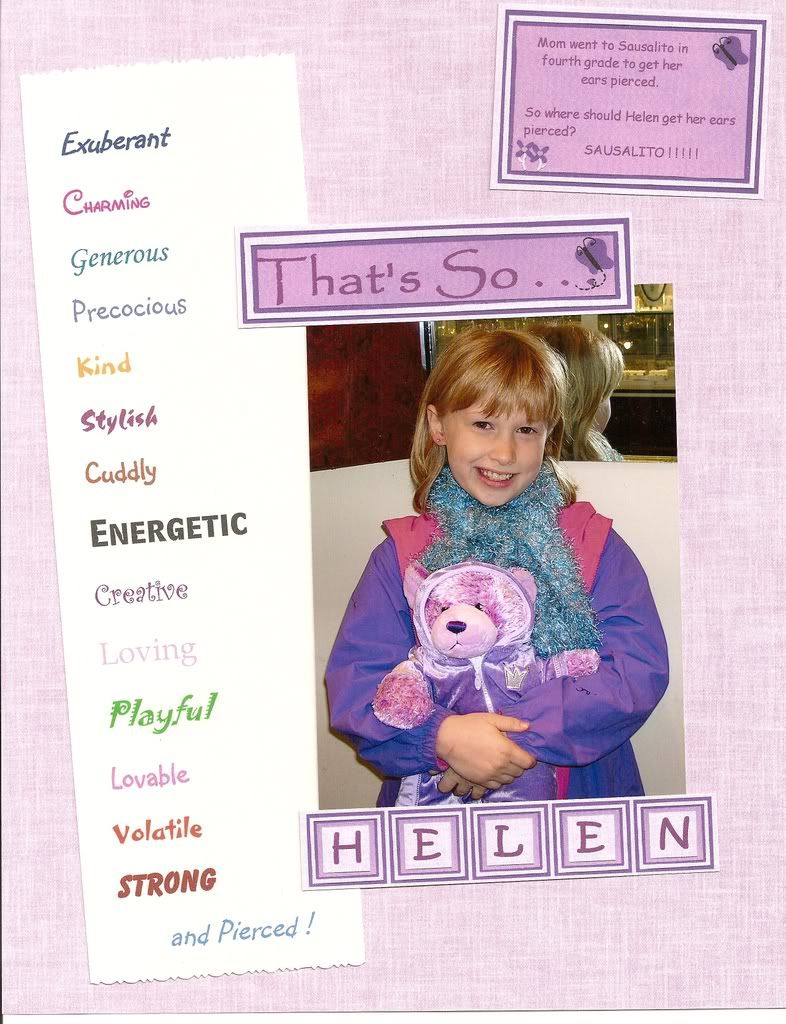
It's also boring to identify every person on every page, especially when it's the same family group, but I have been surprised at how I have later misidentified a child in an unlabeled photo. Using people's names in titles and captions is helpful and less monotaneous than listing everyone.
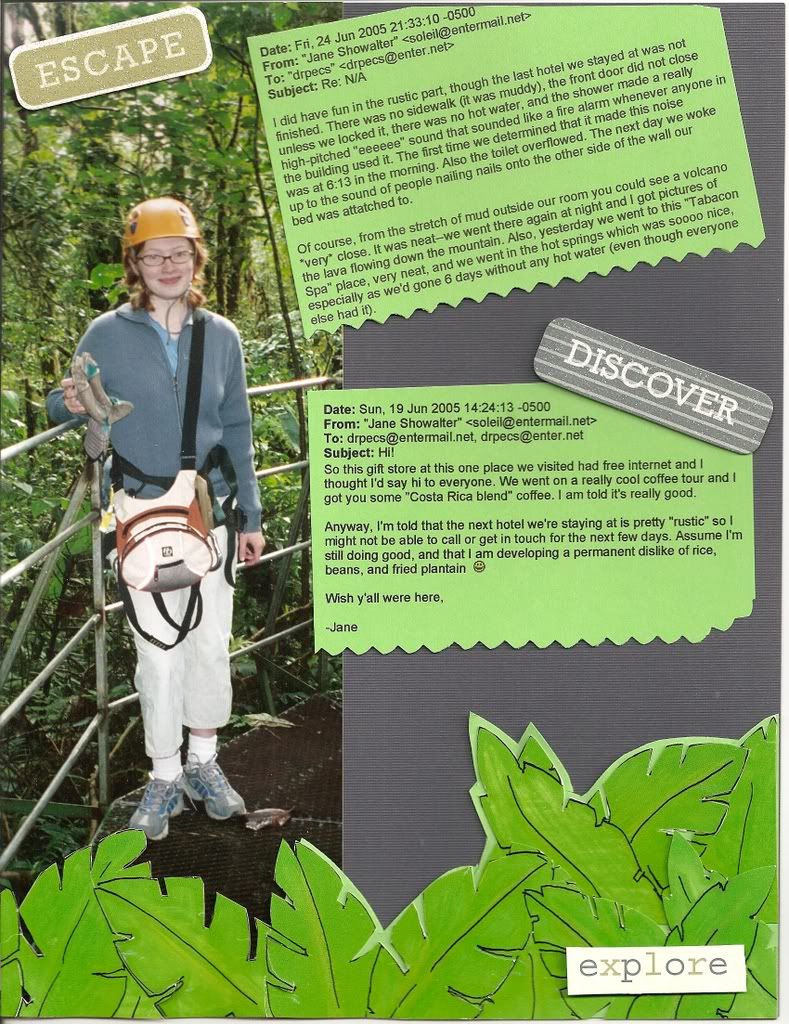
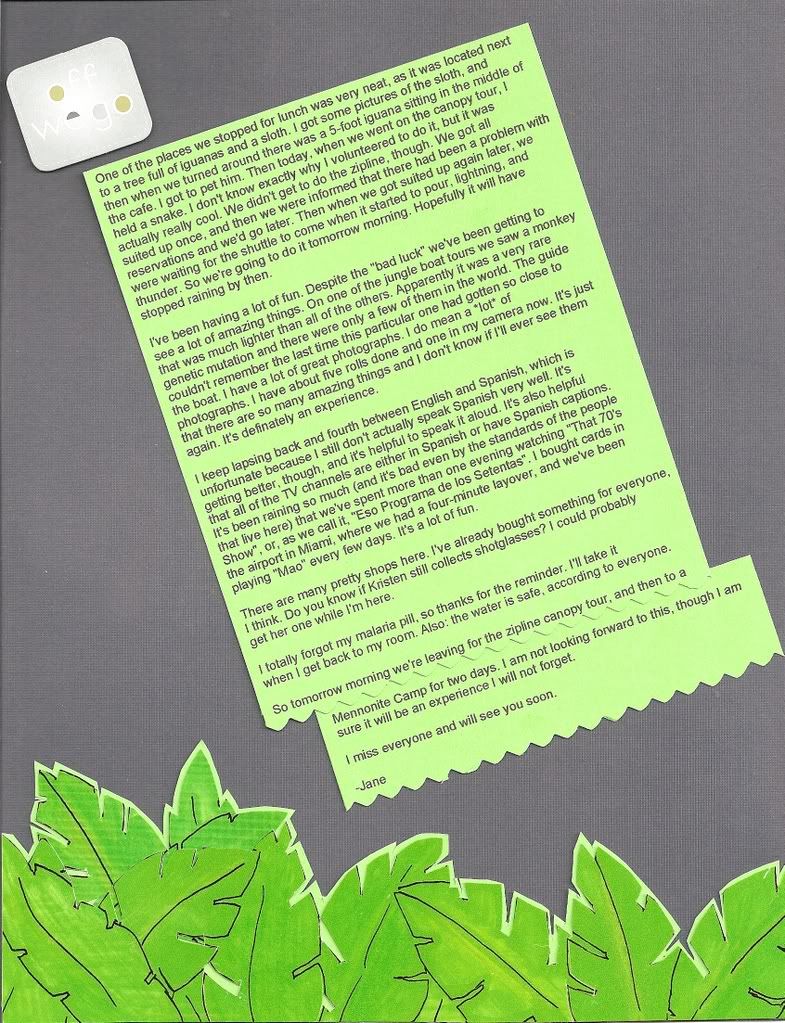
Some people like to write about their experiences while travelling. They can write (save, and not lose) descriptive paragraphs while travelling or later write recollections or insightful summaries. Their handwritten, typed, or e-mailed travelogues can be copied or printed onto cardstock for inclusion into the scrapbook, either as a textbox or the main page itself with an embellishment.
There are some techniques to help those like me who do not write interesting or entertaining travel descriptions:
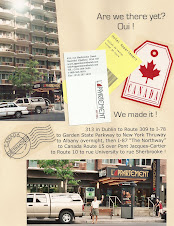
- ask people to save the postcards you send them, photocopy the message and mount with the picture side of the postcard
- print-out e-mails you send or receive along the trip
- print the itinerary in a large interesting typeface
- compose lists and print them in large interesting types faces
- collect quotes along the way and include them in the pages
- write down your impressions on menus, bills, programs, tickets as you collect them for later use on your pages
- assign children to write about their day, save their writings to include in pieces or whole.
- fill-out customer satisfaction forms in great detail, then don't turn the forms in.
There are many ways to fill in the details of a trip that are not told by the photos !
1/18/2008
Text -- Titles, captions, and "journalling"
The amount of my text on the scrapbook page -- titles, captions, and "journalling" varies from page to page. Text can be placed directly on the scrapbook page or created on separate paper, cropped, then applied to the page. More and more frequently I use the "create it separately" method to create my scrapbook text because that method is more flexible and forgiving.
Text can be created by hand writing, word processing, applying alphabet letters, using stickers or die cuts, photocopying or downloading descriptions, photocopying the message sections of postcards, printing out e-mail, copying letters, painting, embossing, and probably more ways.
My handwriting is almost never lovely enough for me when I use a marker to write a caption. I prefer word processing, especially the ability to try different fonts, colors, wording, spacing, and sizes before I adhere the final version to my scrapbook page.
I use my standard Microsoft Office Word program -- it has so many features useful for scrapbooking -- few of which I ever used while typing my reports for work or school. With word and my color printer I happily can create most of my text.
I use alphabet stickers to create titles or captions only when the stickers are so unique that I can't resist or when I can't easily re-create the style or patterns with Word. My daughter loves Photoshop Elements for creating elaborate titles, but so far I only use it for special photo editing projects.
Scrapbook stores have abundant supplies of cute, touching, witty, elegant, historical, whimsical, and topical captions with matching graphics. Each store often has a different selection. Browsing the selection for inspiration is a favorite pastime.
Text can be created by hand writing, word processing, applying alphabet letters, using stickers or die cuts, photocopying or downloading descriptions, photocopying the message sections of postcards, printing out e-mail, copying letters, painting, embossing, and probably more ways.
My handwriting is almost never lovely enough for me when I use a marker to write a caption. I prefer word processing, especially the ability to try different fonts, colors, wording, spacing, and sizes before I adhere the final version to my scrapbook page.
I use my standard Microsoft Office Word program -- it has so many features useful for scrapbooking -- few of which I ever used while typing my reports for work or school. With word and my color printer I happily can create most of my text.
I use alphabet stickers to create titles or captions only when the stickers are so unique that I can't resist or when I can't easily re-create the style or patterns with Word. My daughter loves Photoshop Elements for creating elaborate titles, but so far I only use it for special photo editing projects.
Scrapbook stores have abundant supplies of cute, touching, witty, elegant, historical, whimsical, and topical captions with matching graphics. Each store often has a different selection. Browsing the selection for inspiration is a favorite pastime.
Subscribe to:
Posts (Atom)