Welcome to my world of the practical scrapbooker

Here is ten years of scrapbooking my photos and memorabilia onto actual paper .....without major art projects or (too) complicated techniques.

I blend traditional paper and "new" digital techniques to tell the stories of my family's fun, travels, and history.

Here are my thoughts as I sort, shop, crop, organize, arrange, journal, and decorate my scrapbook pages.

1/30/2008

Text for travel scrapbook pages

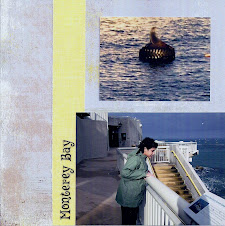
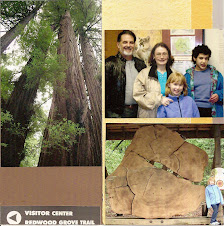
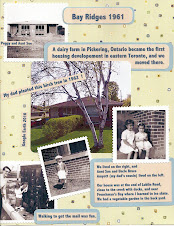
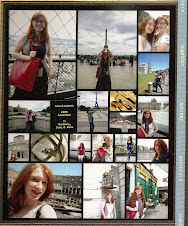
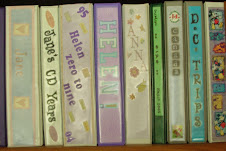
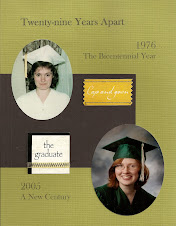
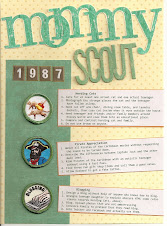
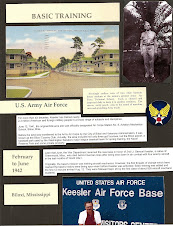
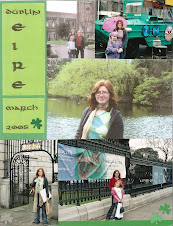
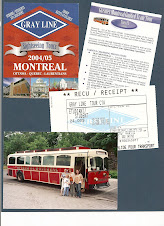
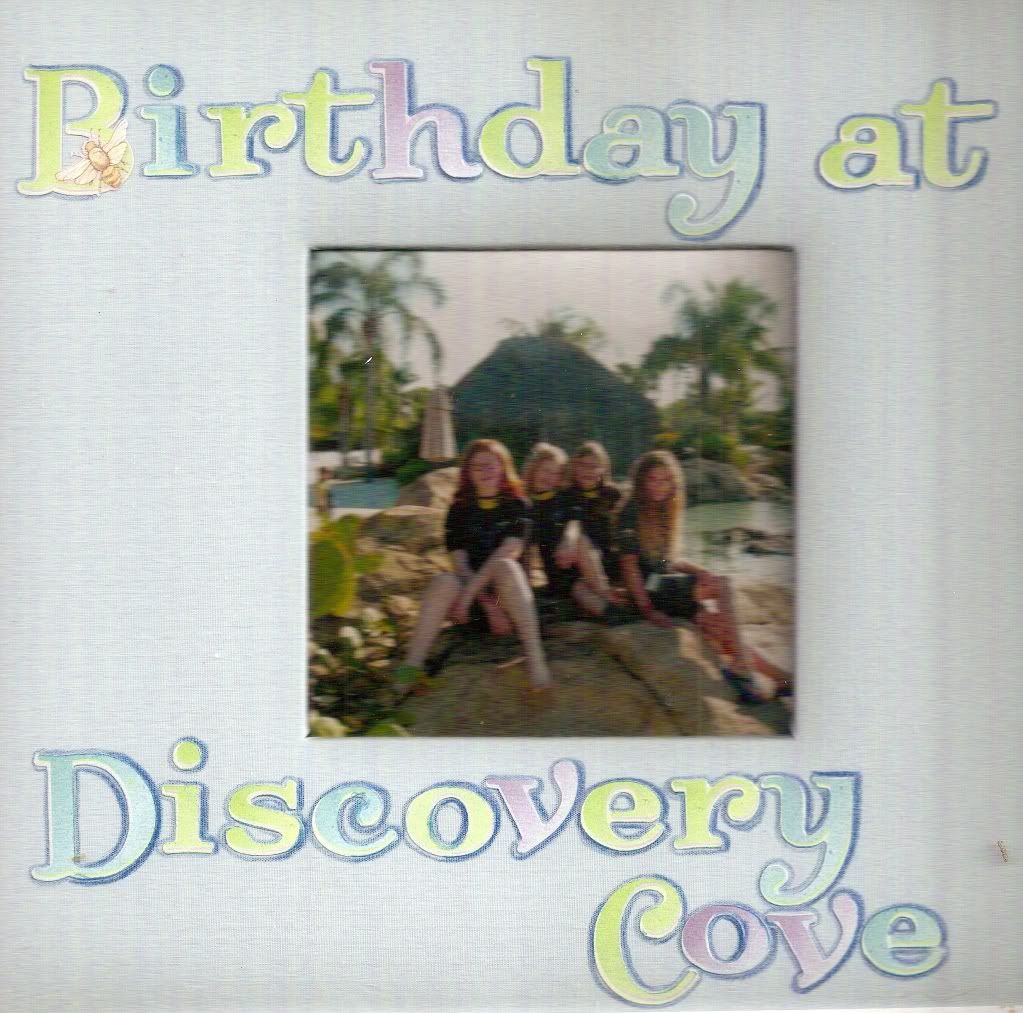
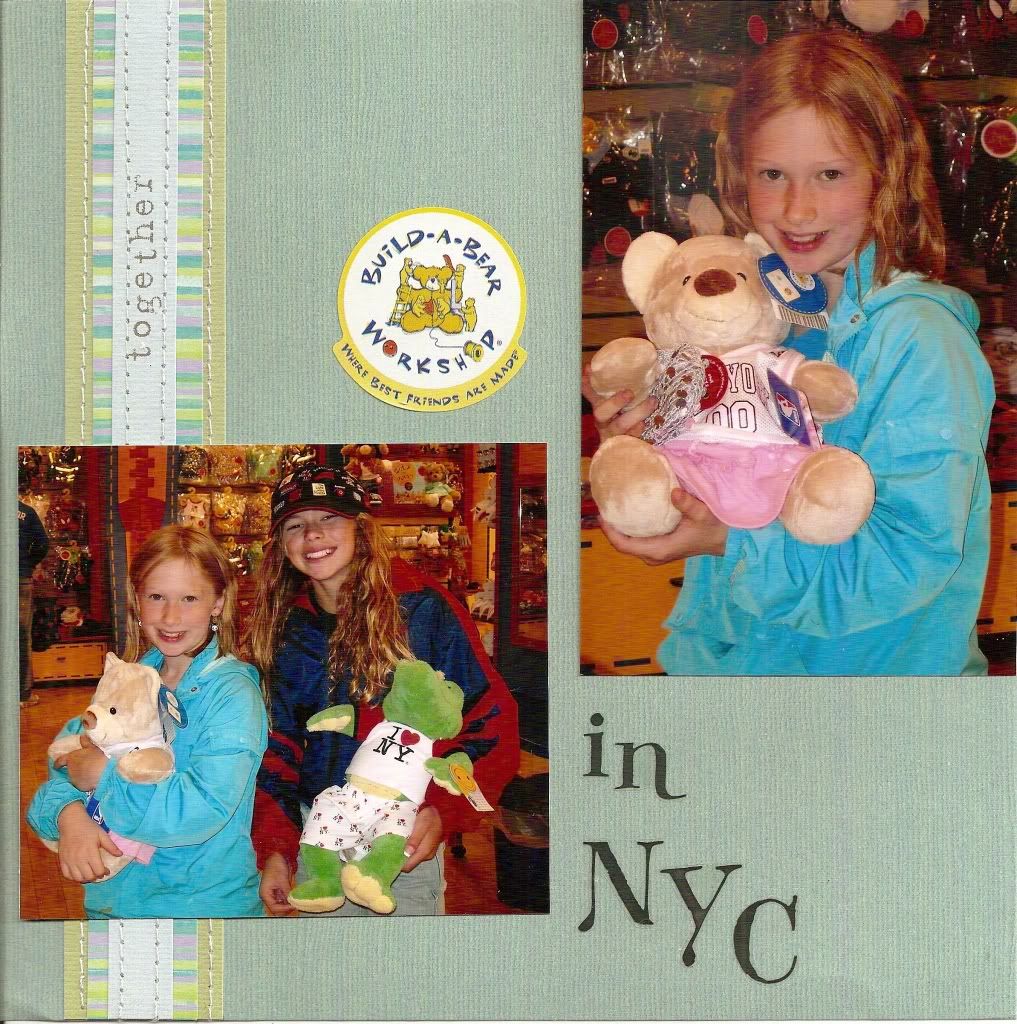
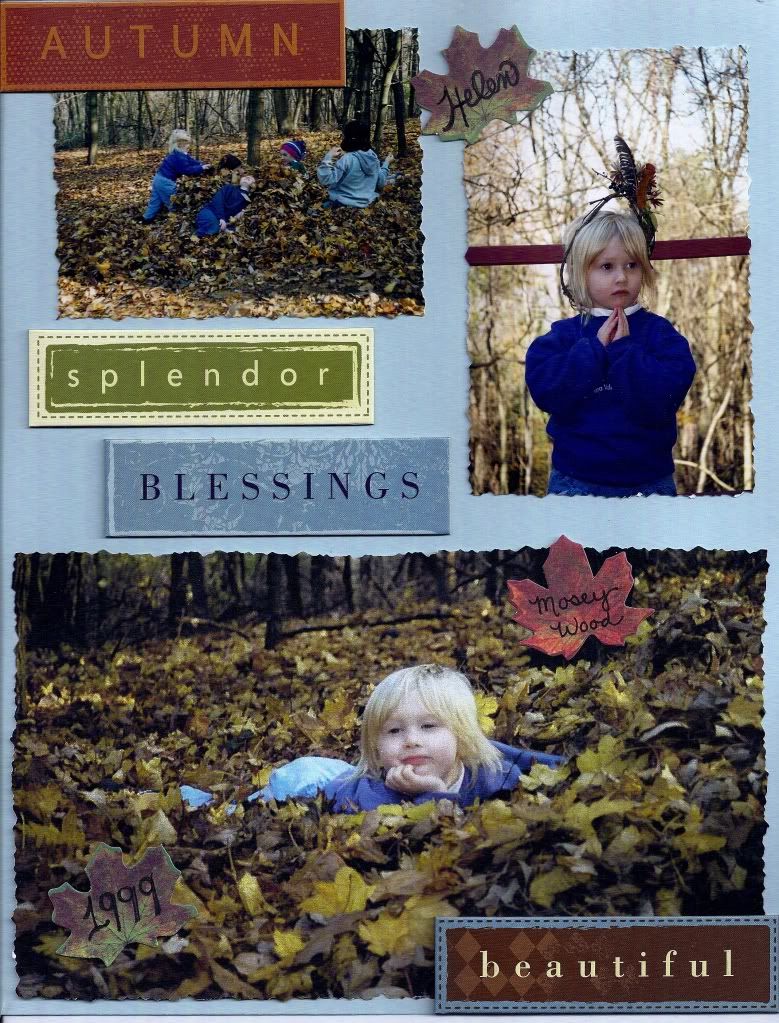
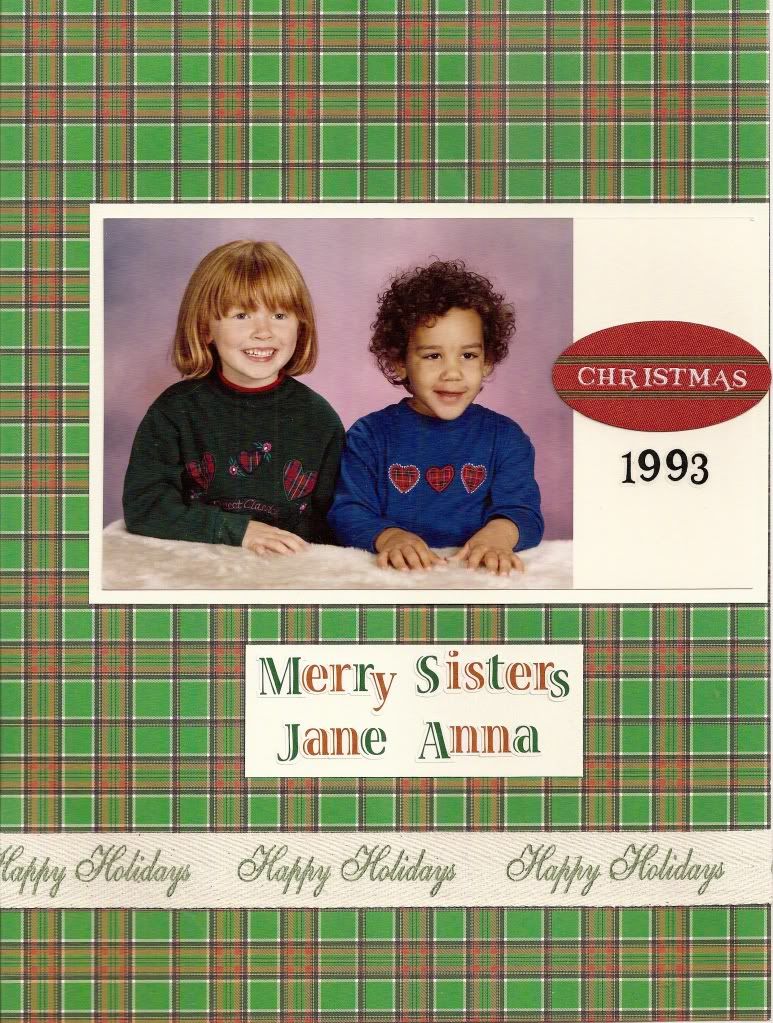
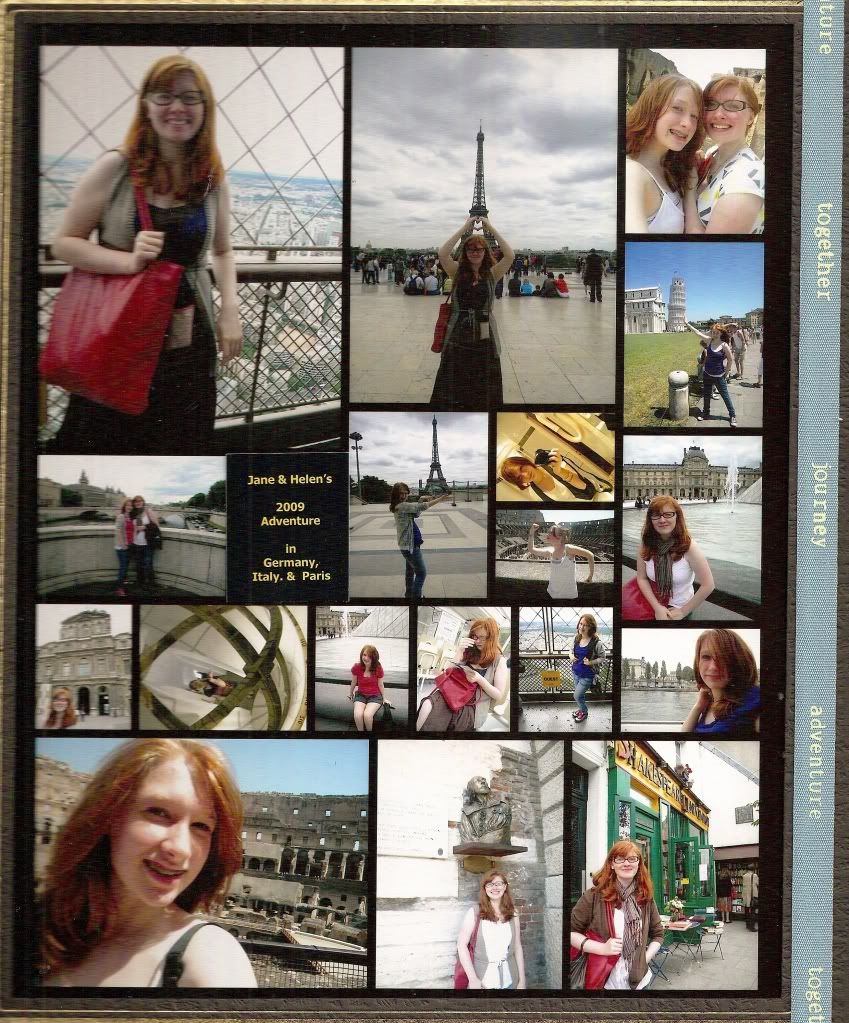
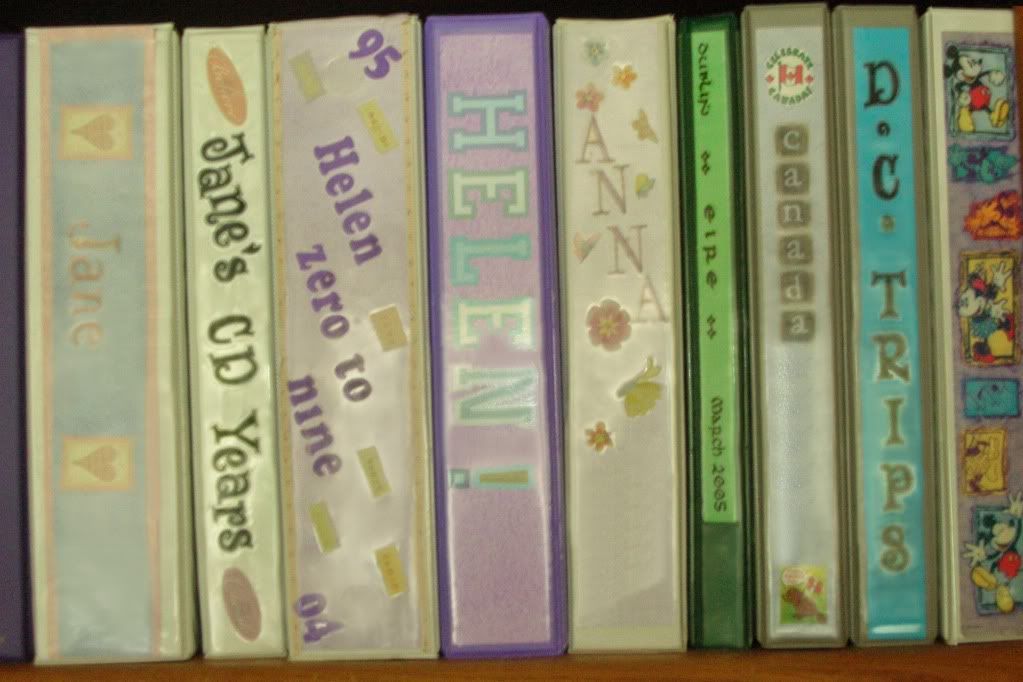
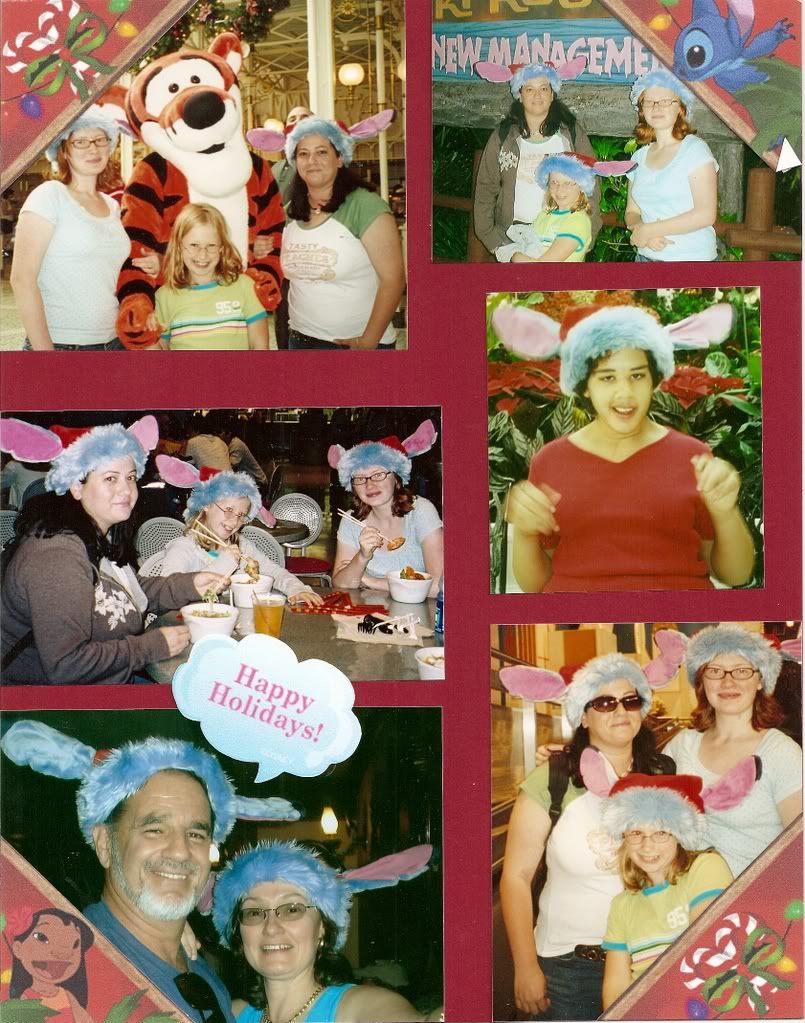
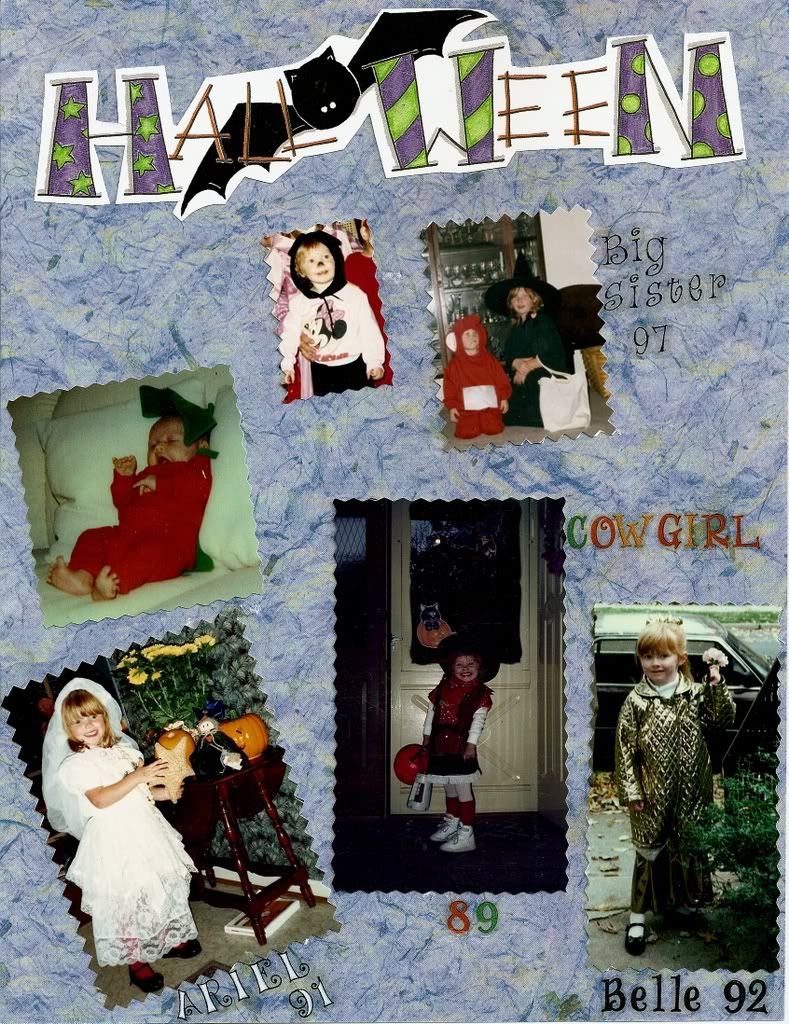
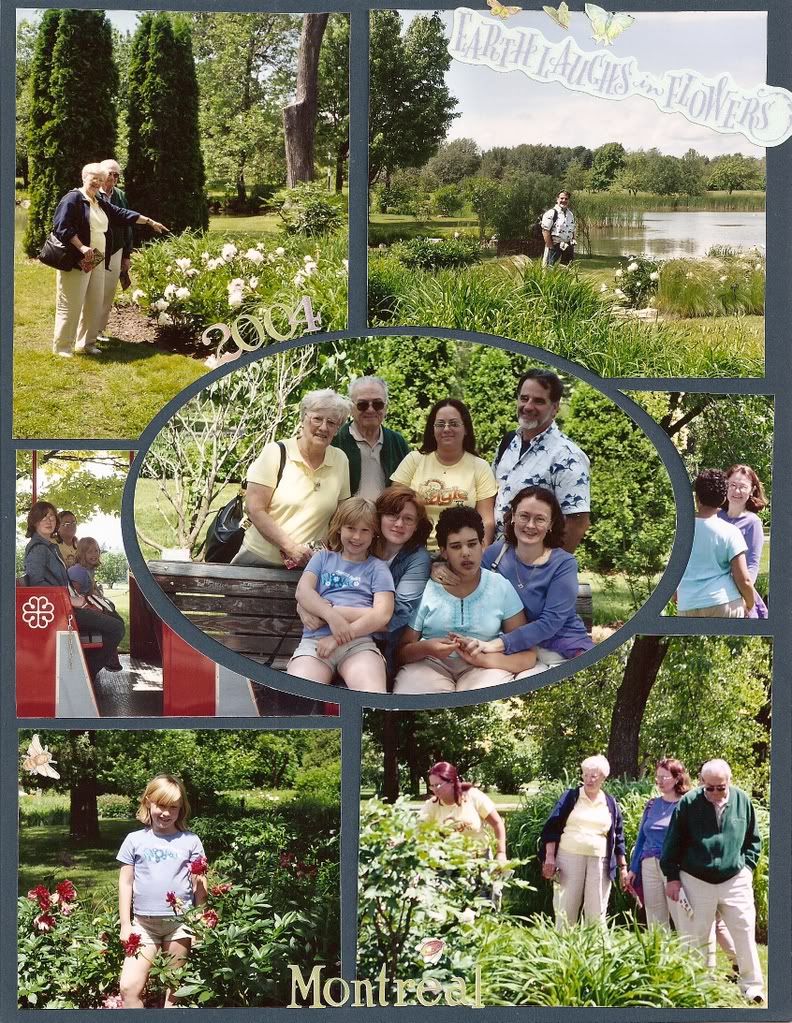
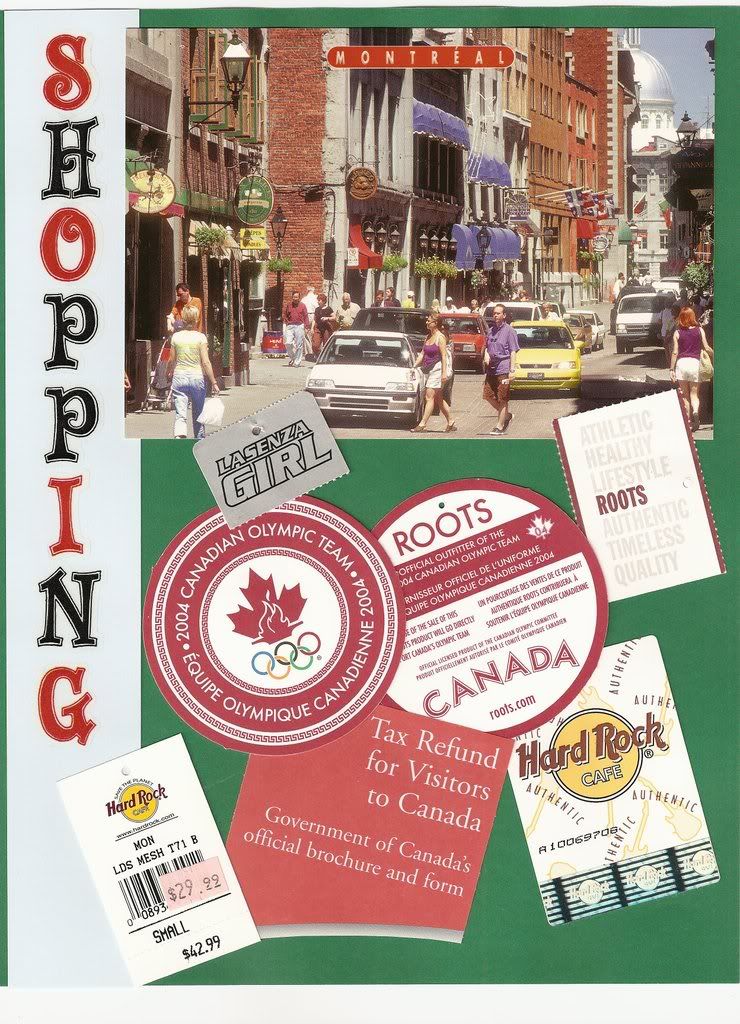
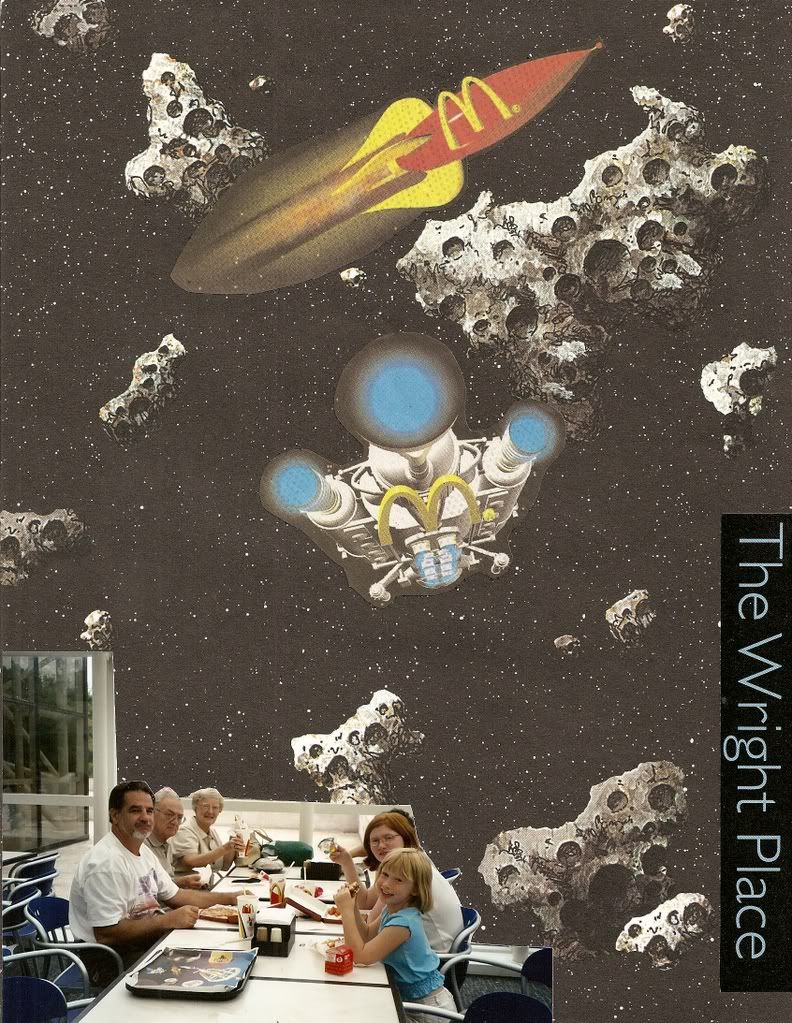
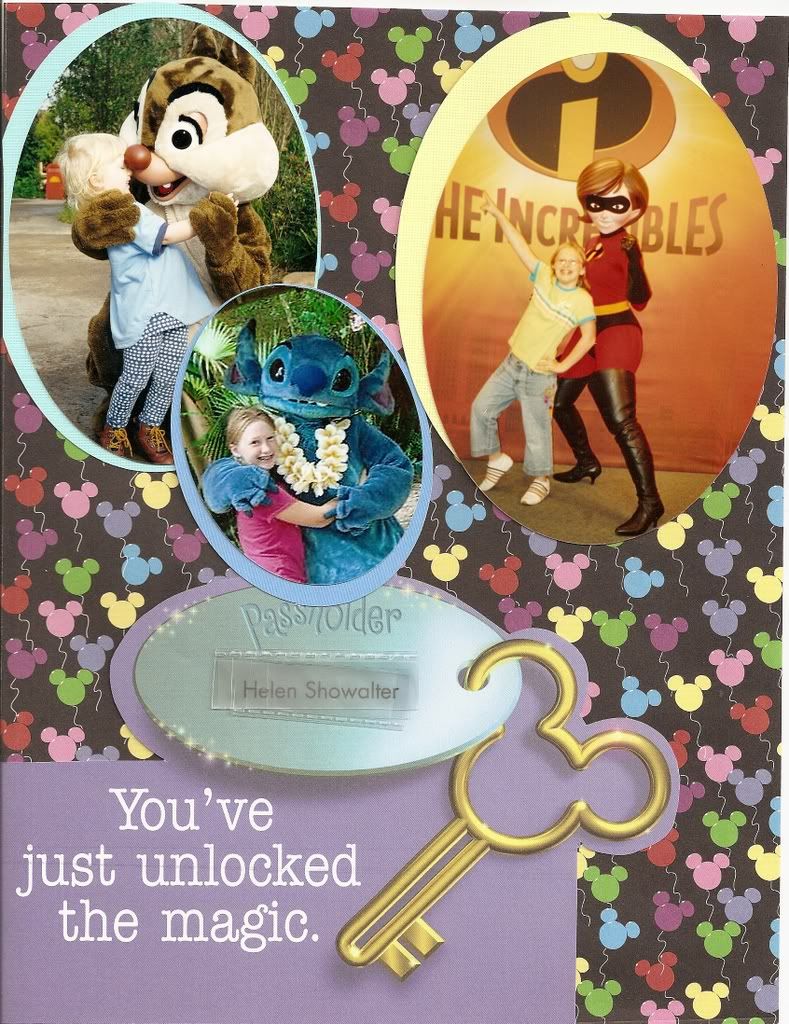
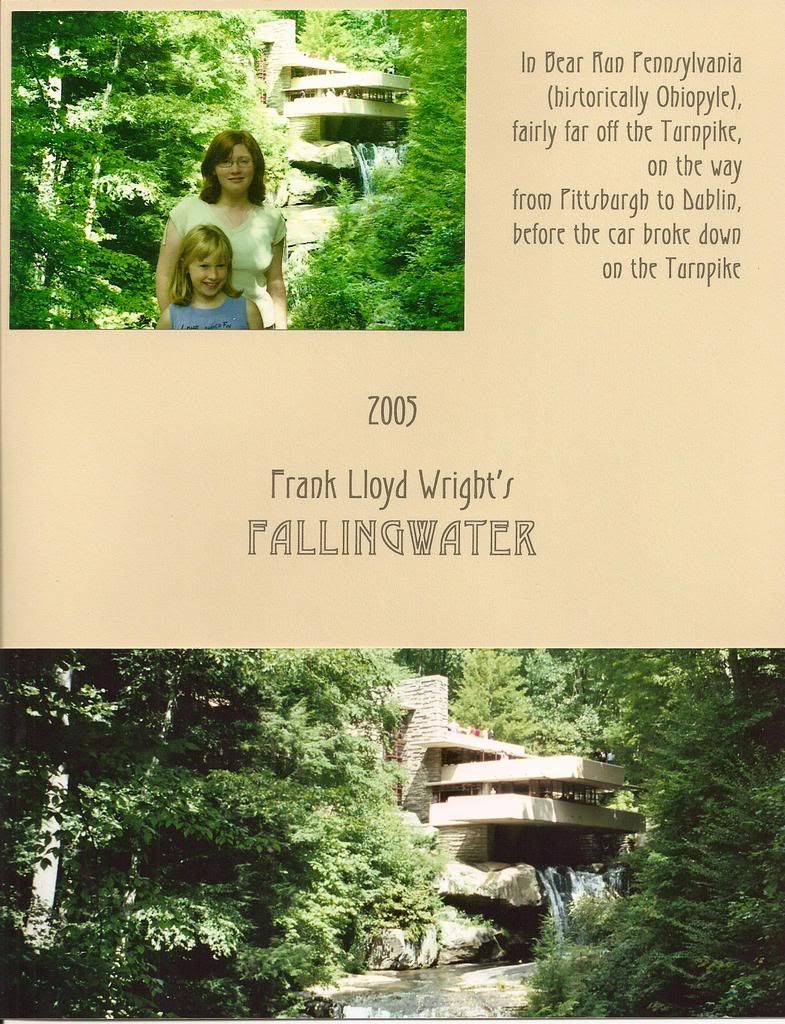
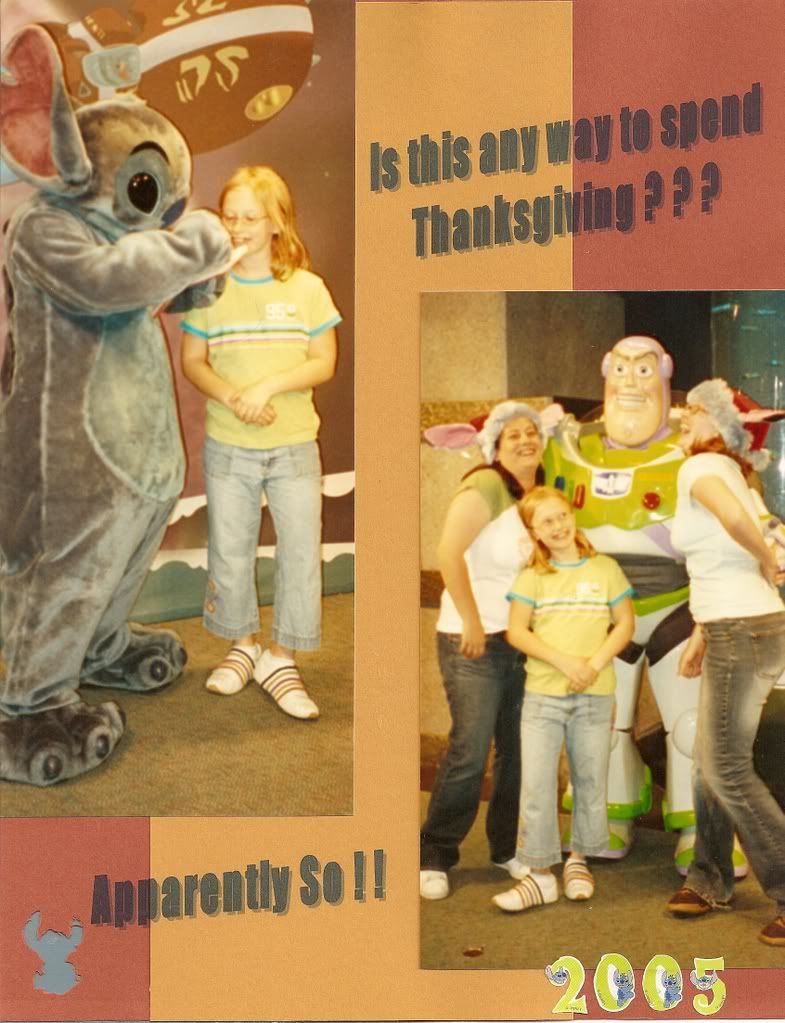
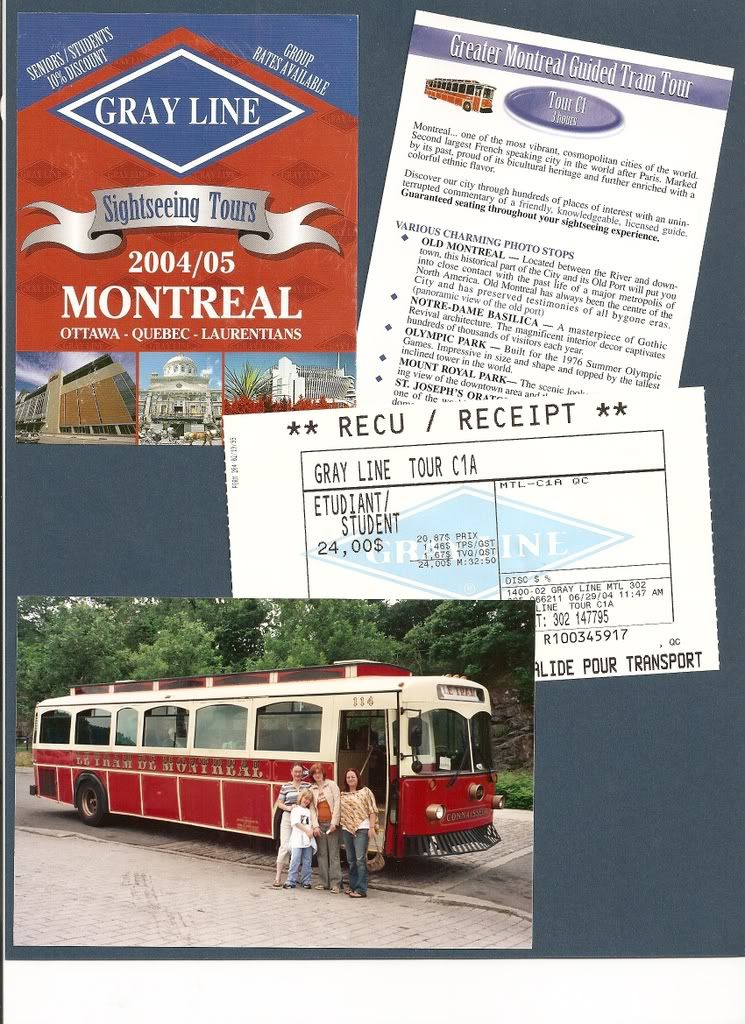
When assembling a scrapbook about one trip I usually include the month and year on the cover. It's boring to include the date on every page, but I try to sprinkle dated receipts, programs, and pamphlets throughout the pages.

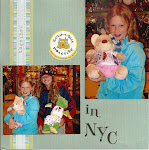
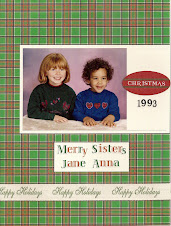
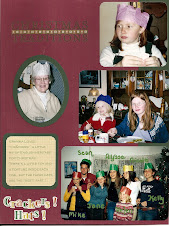
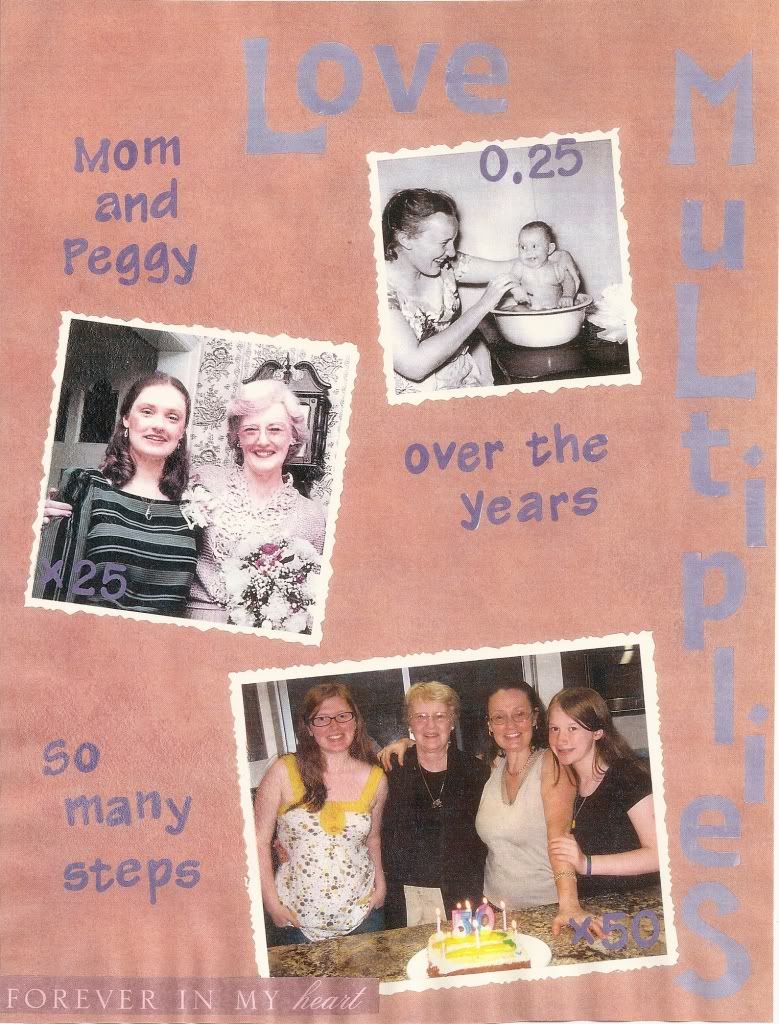
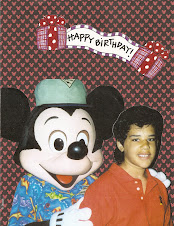
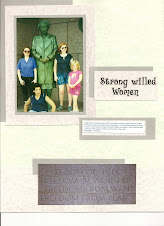
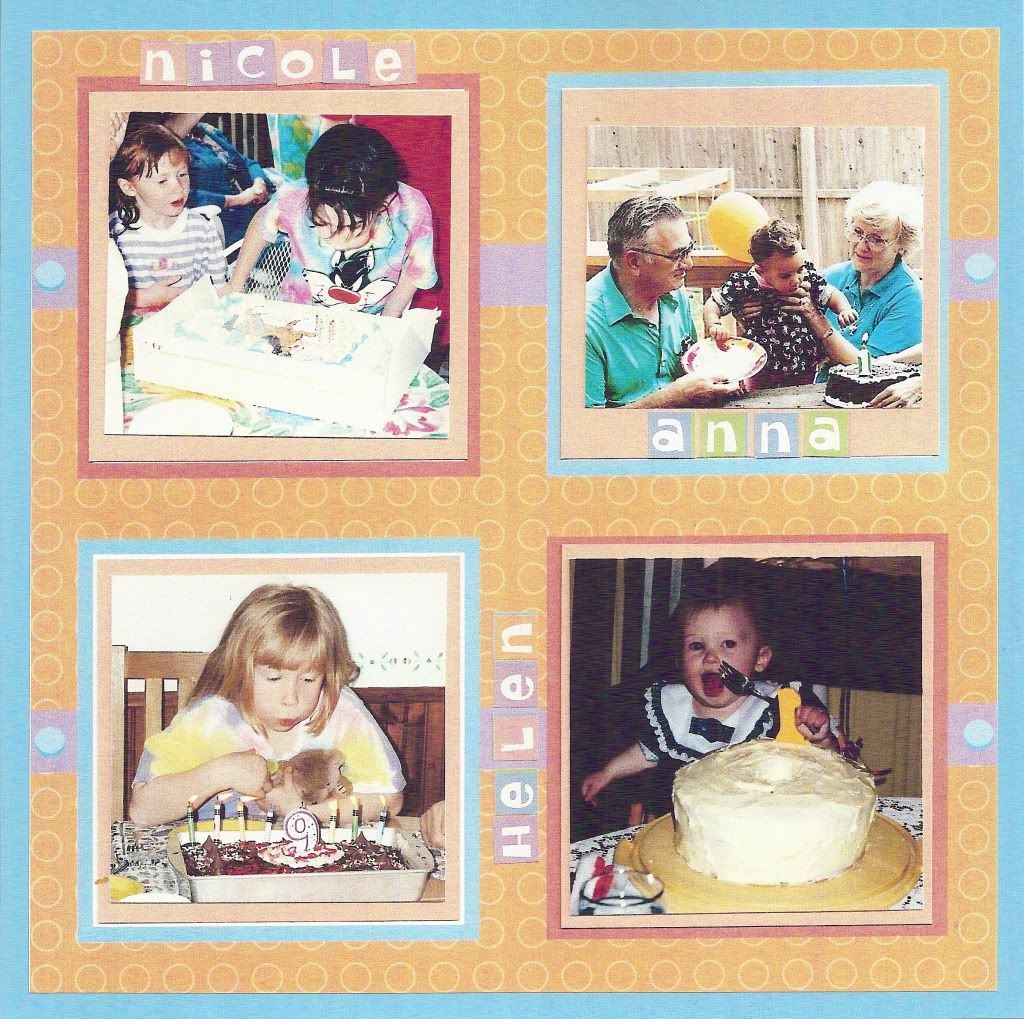
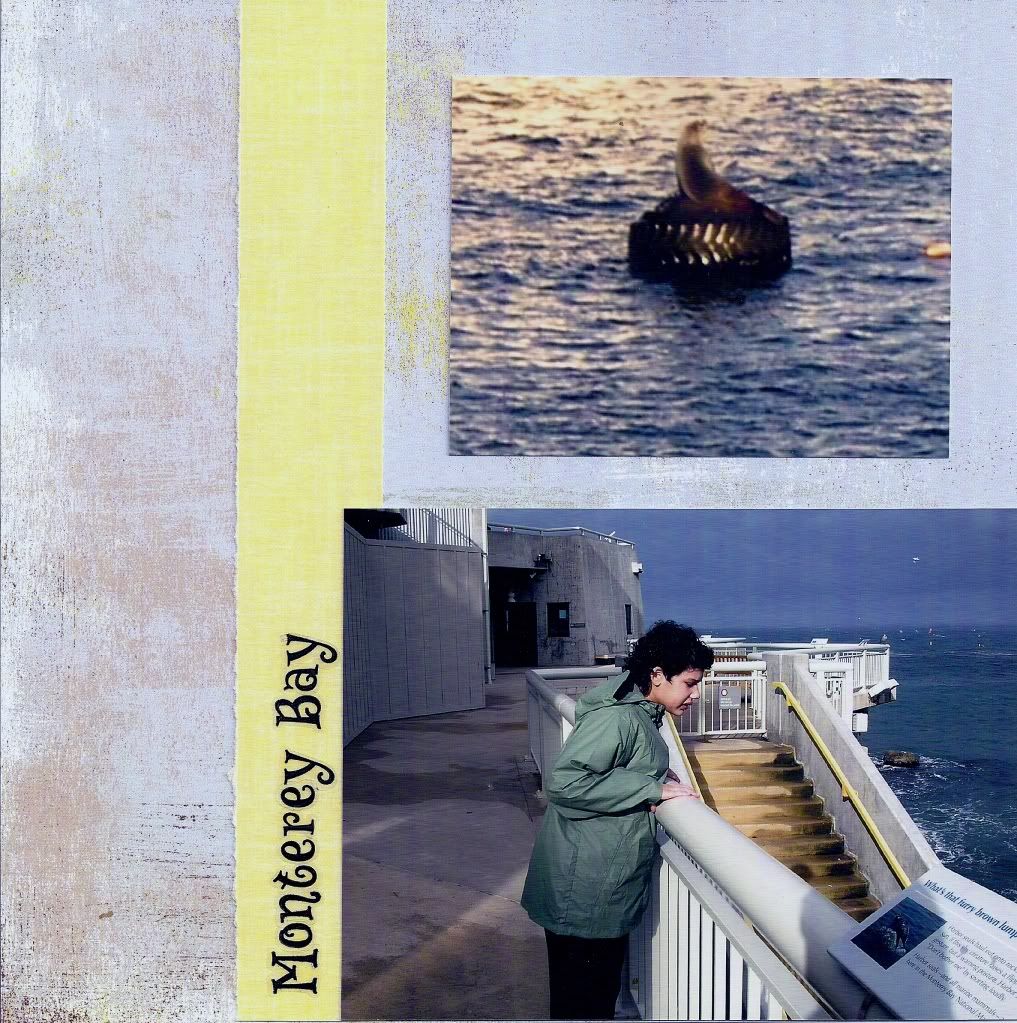
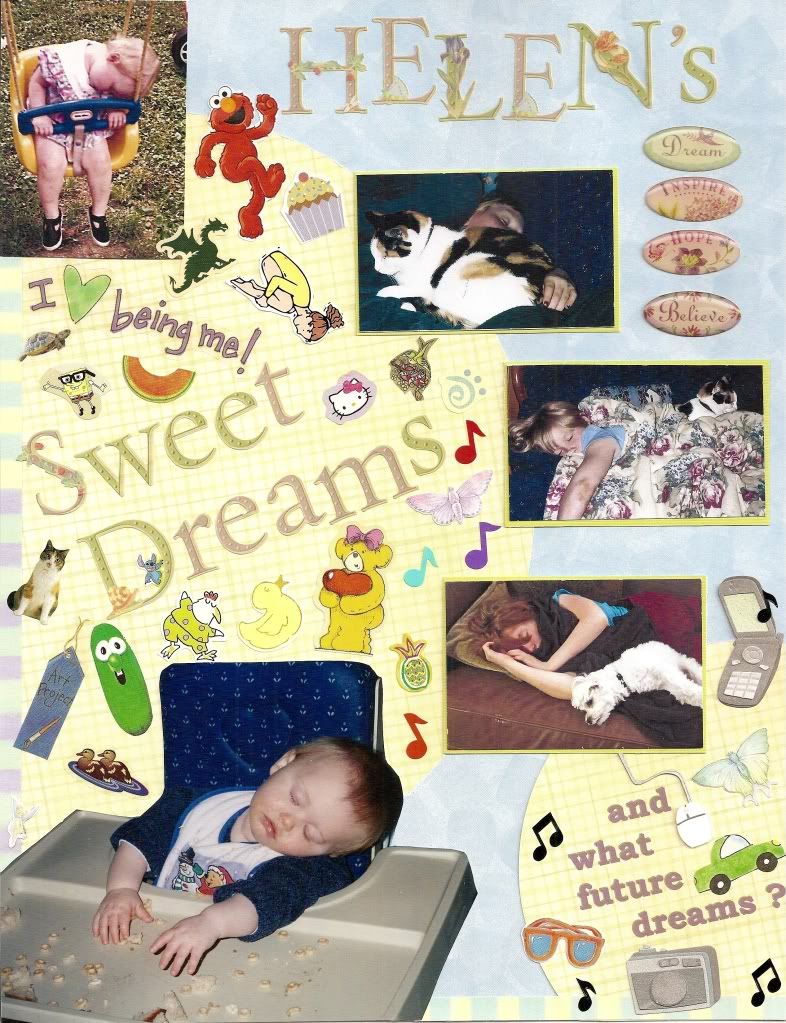
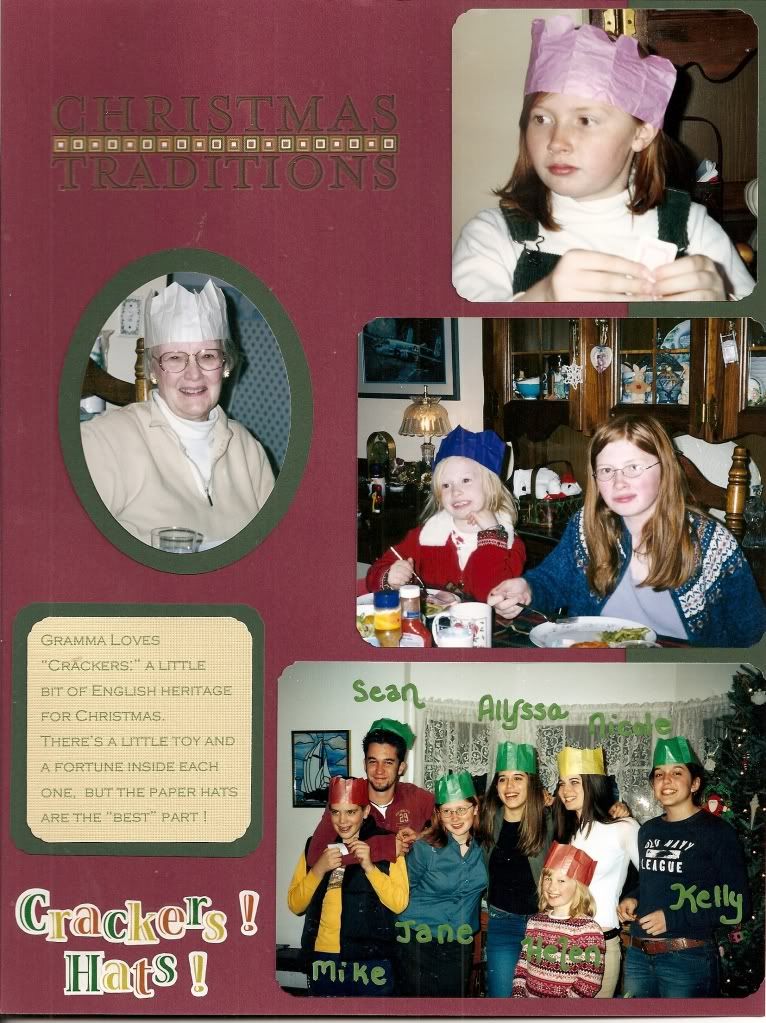
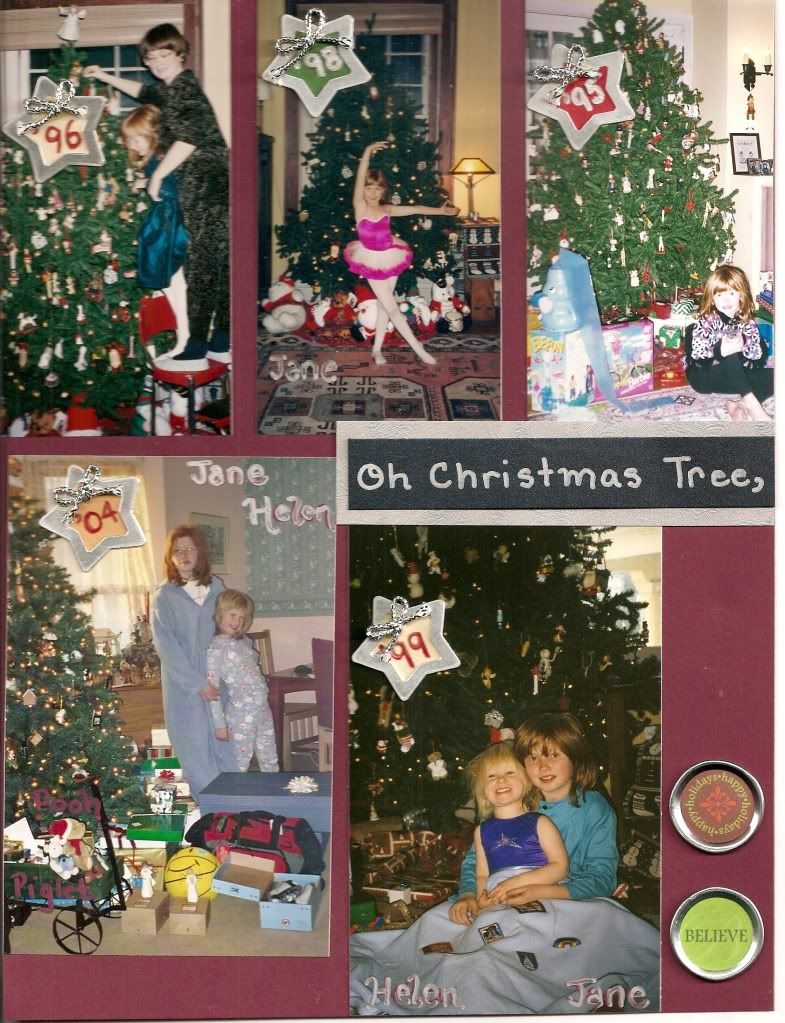
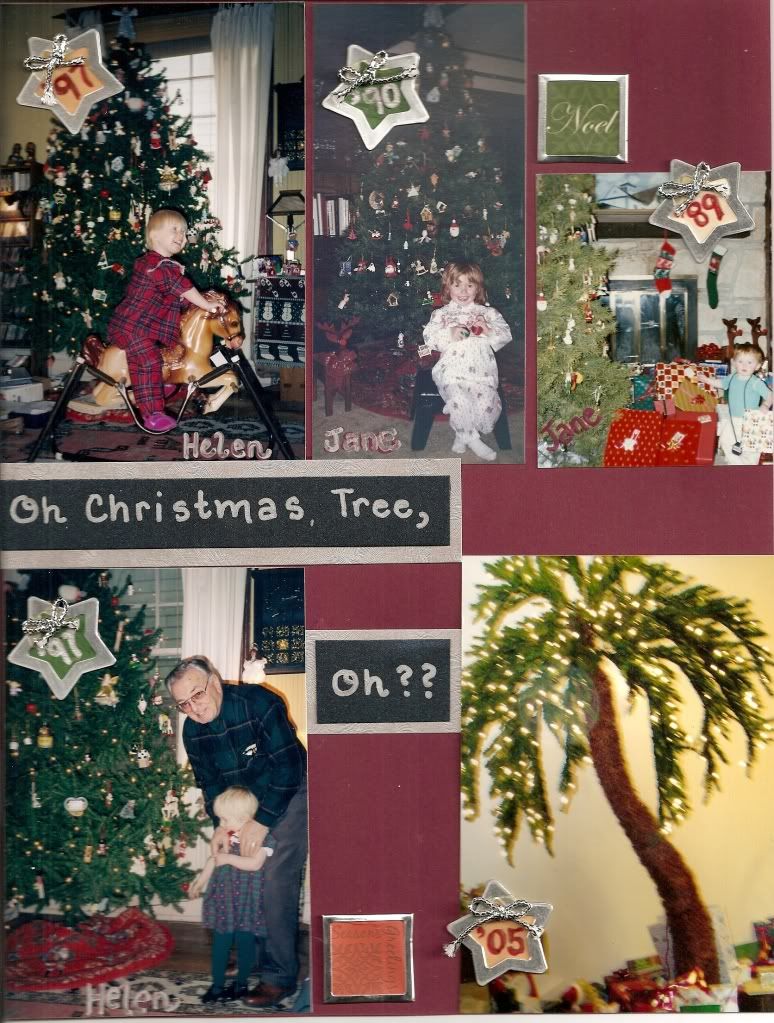
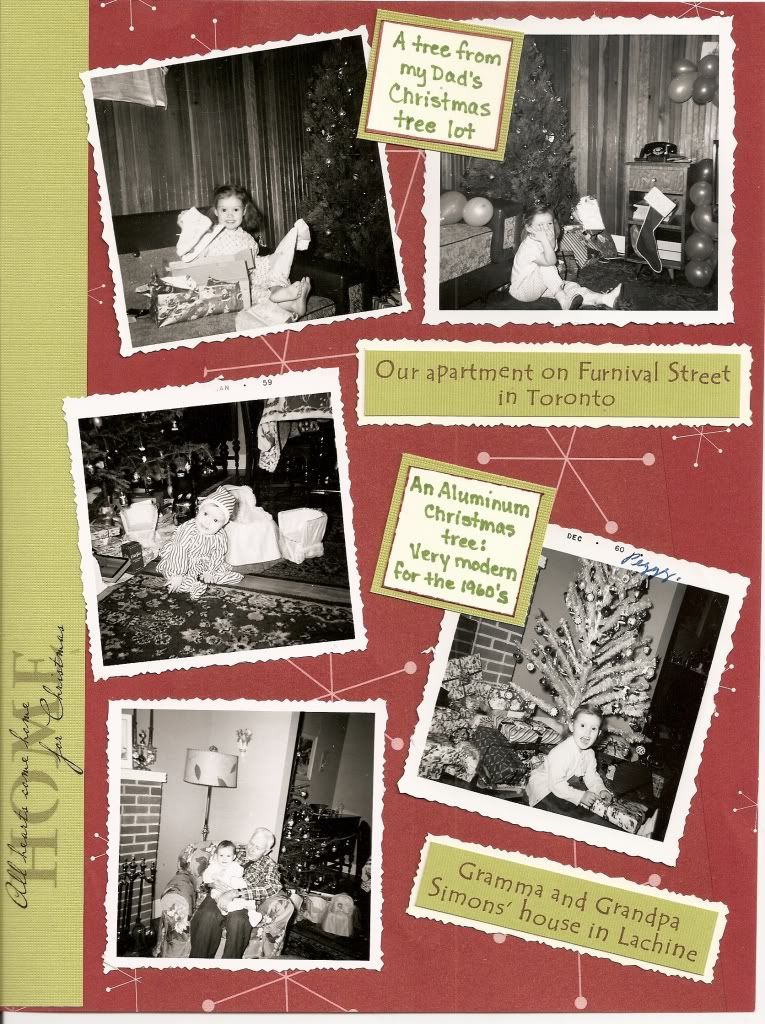
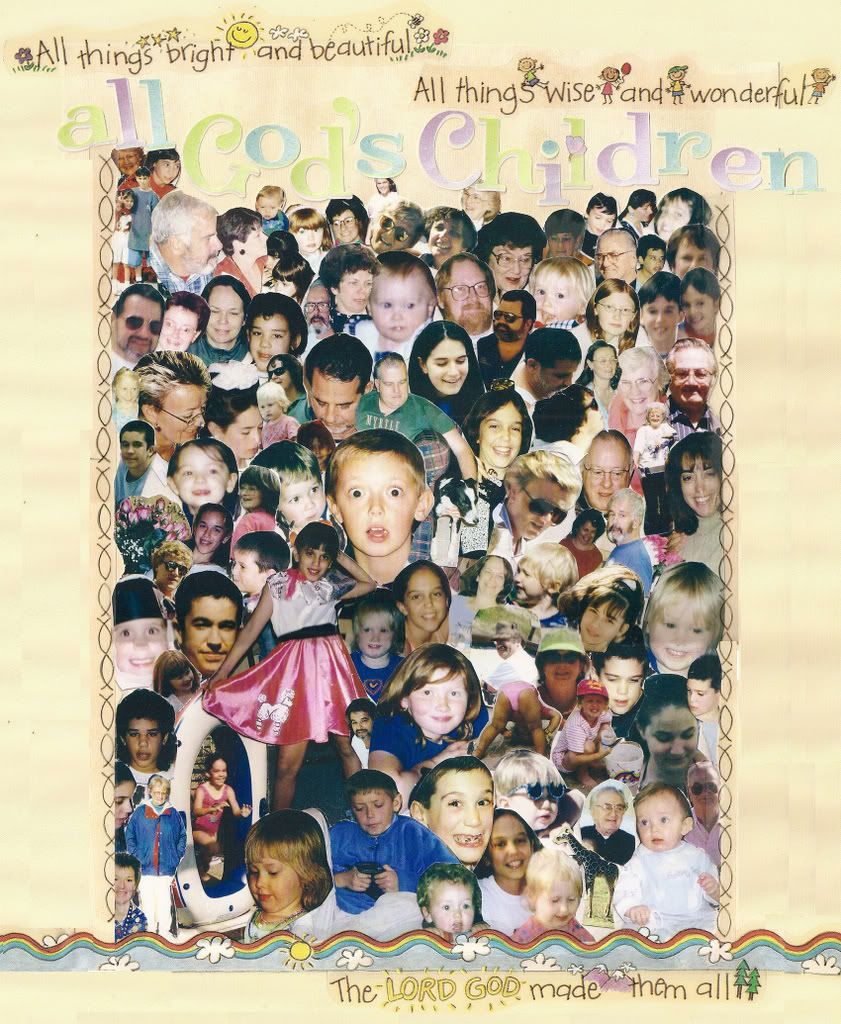
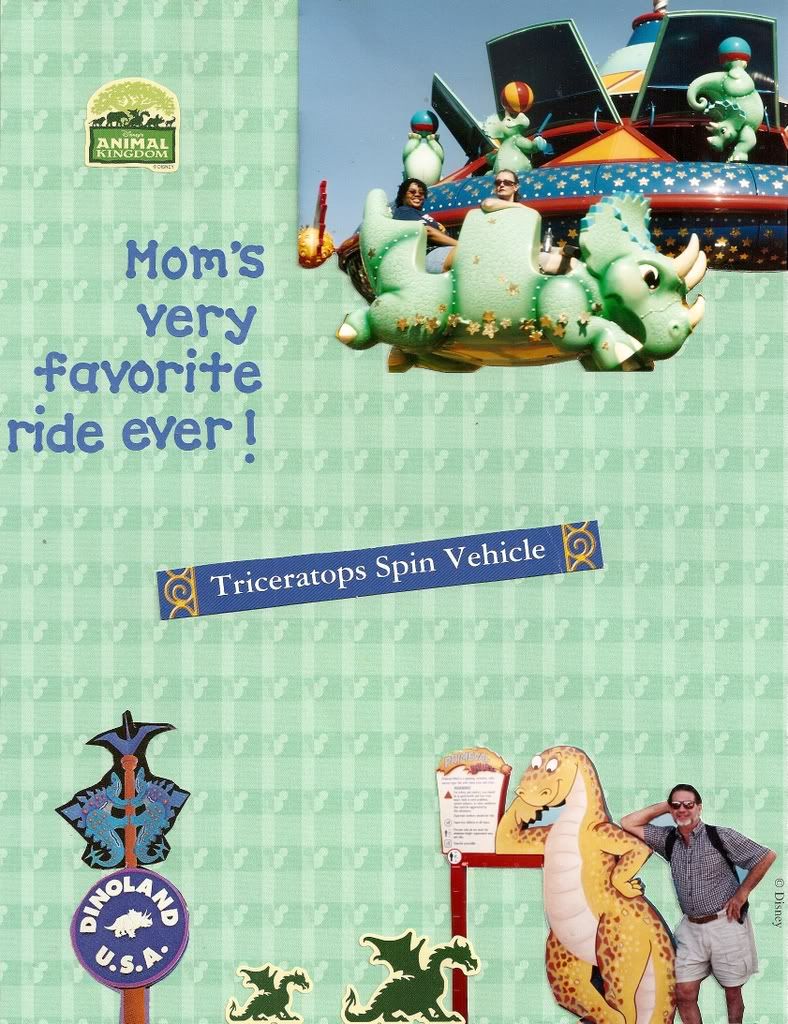
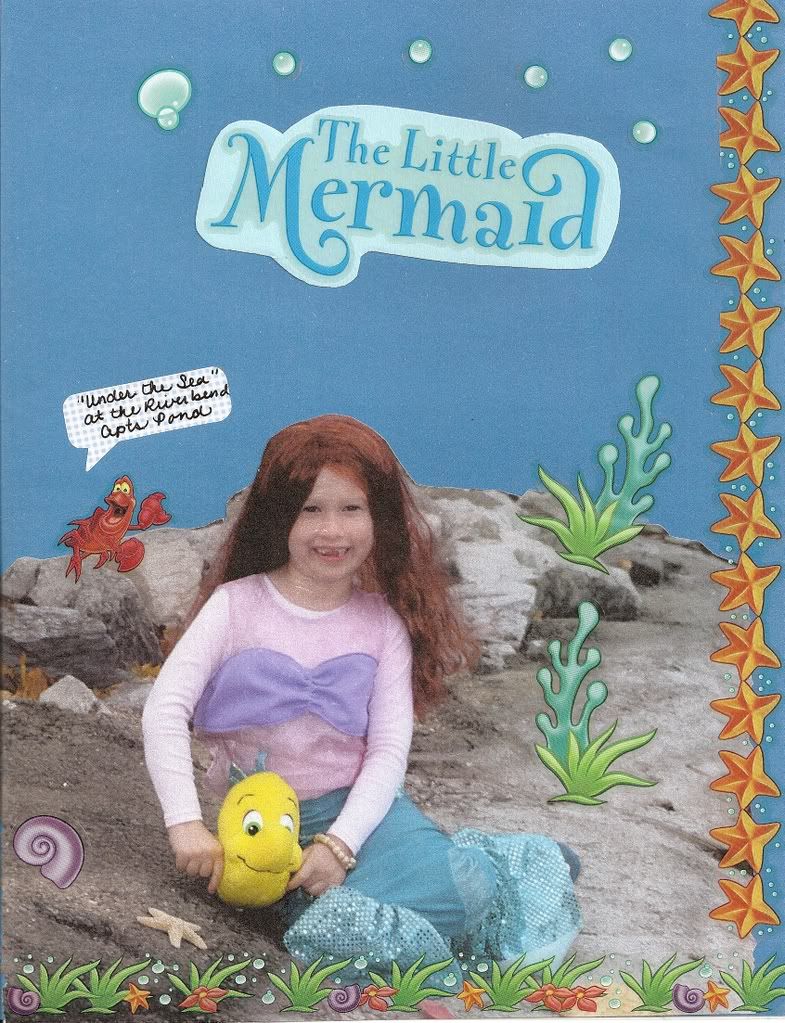
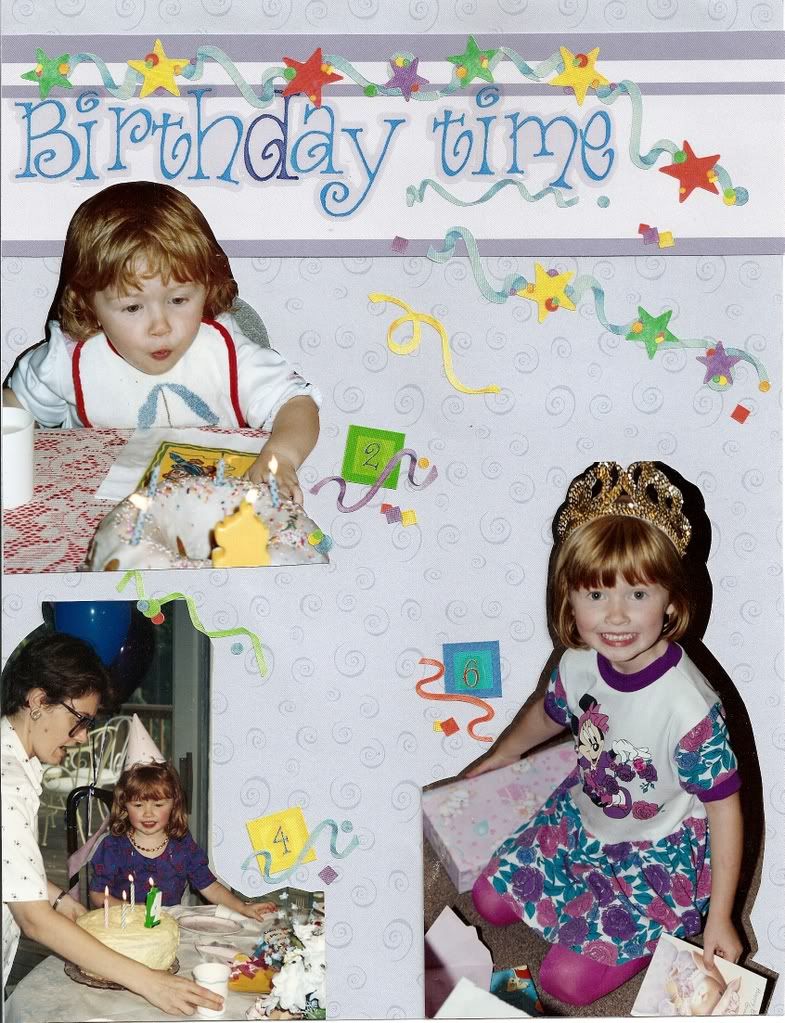
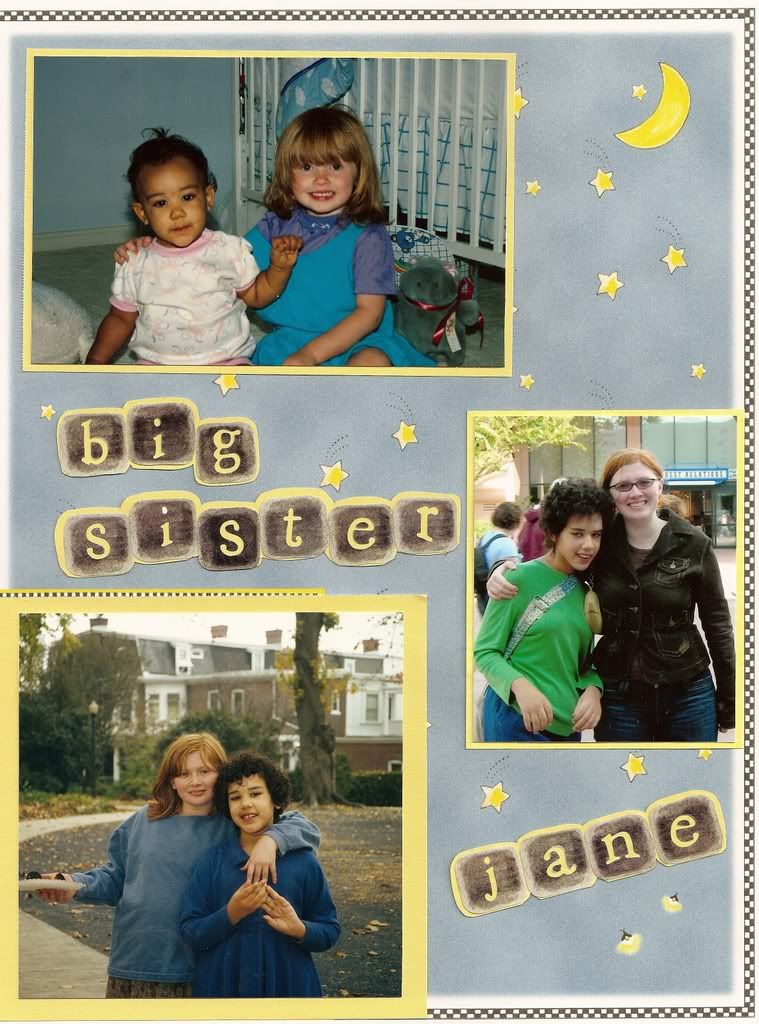
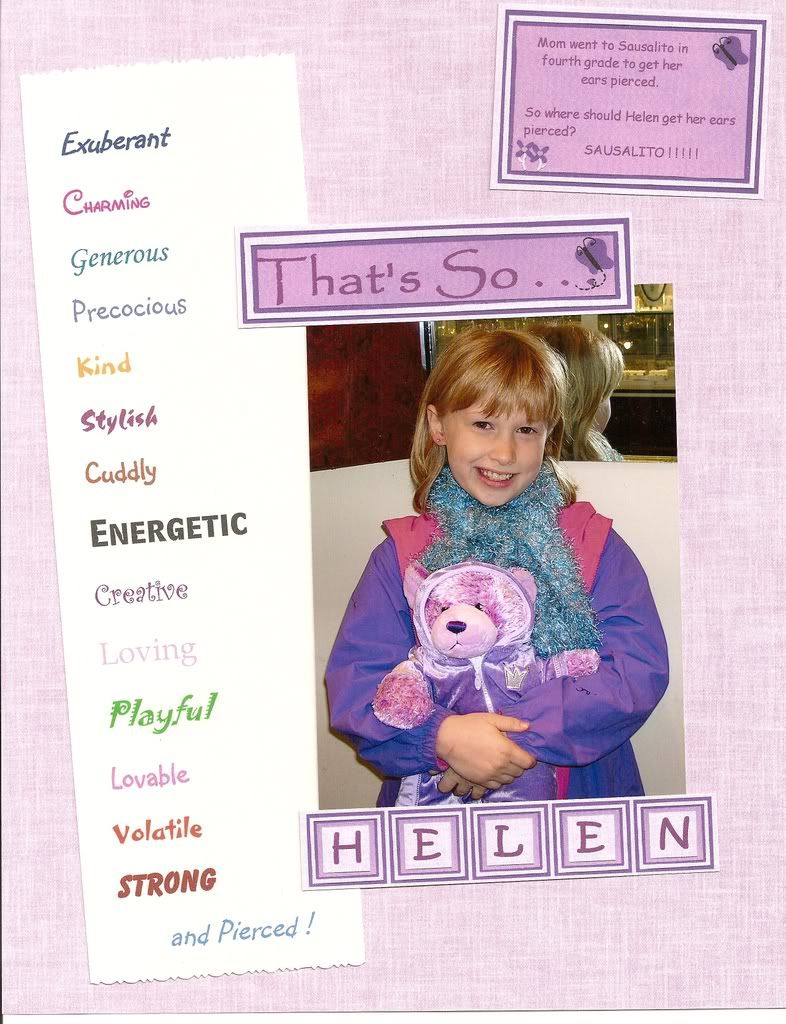
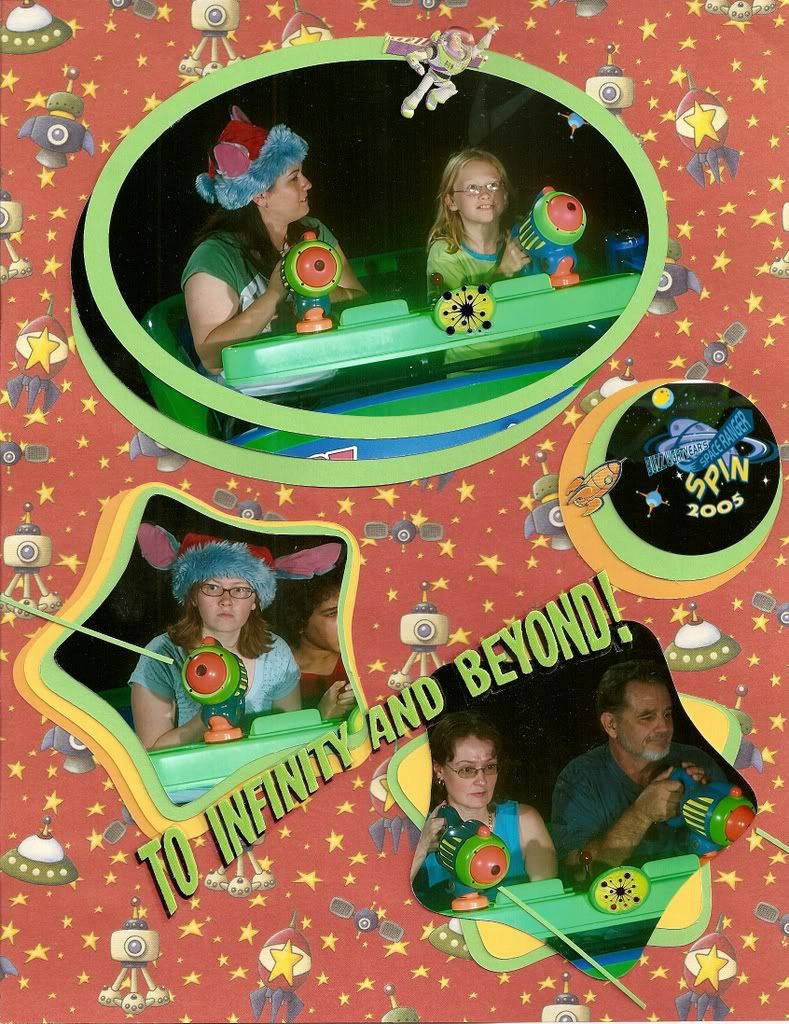
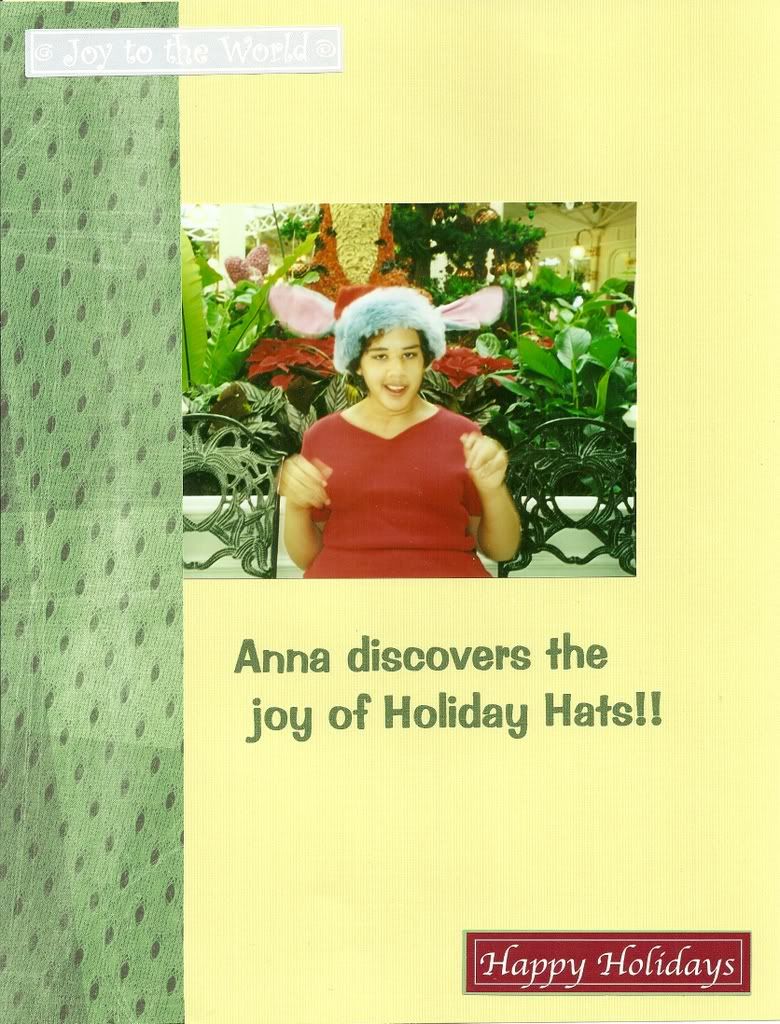
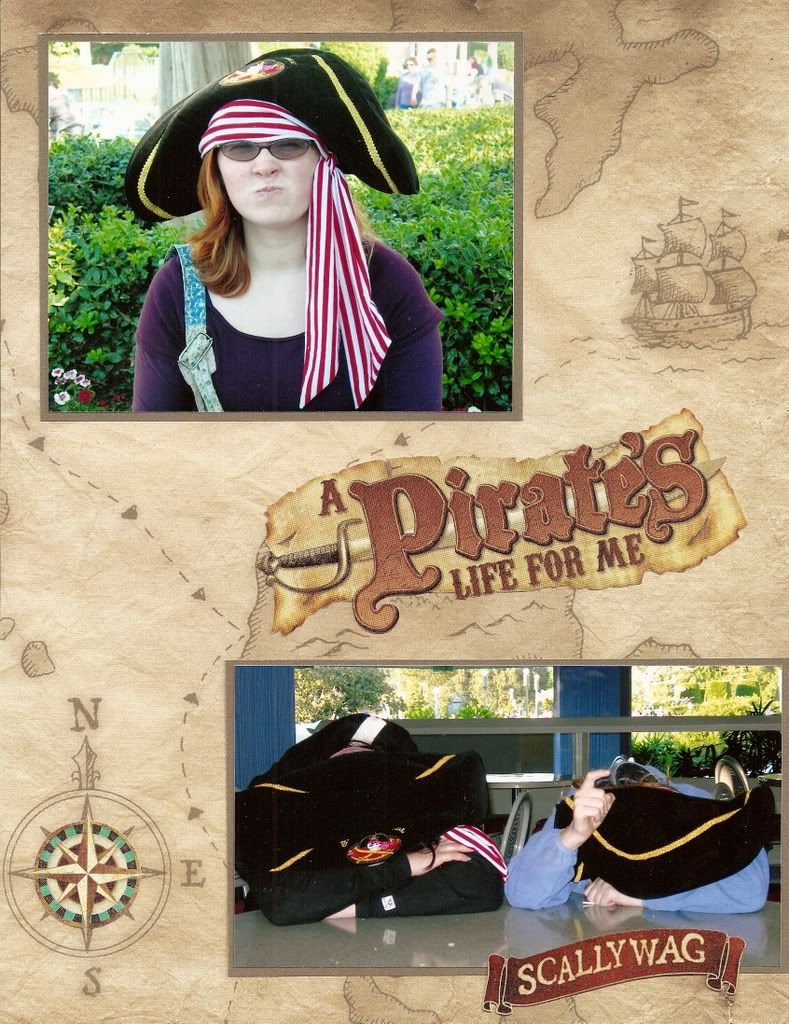
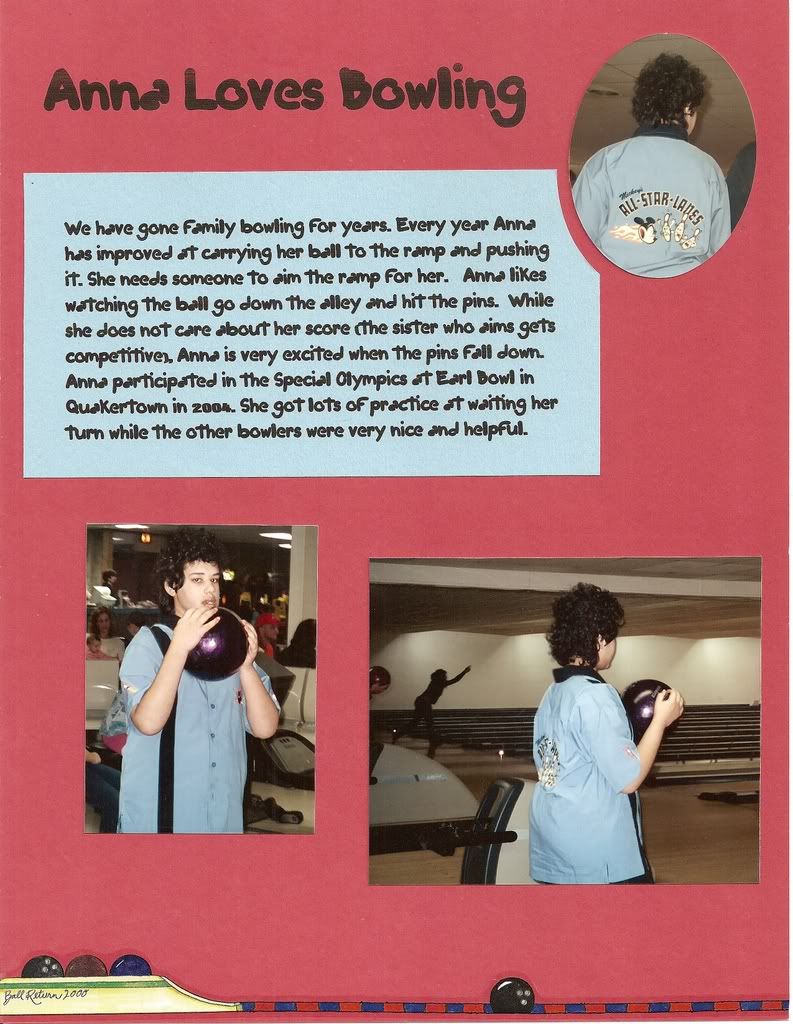
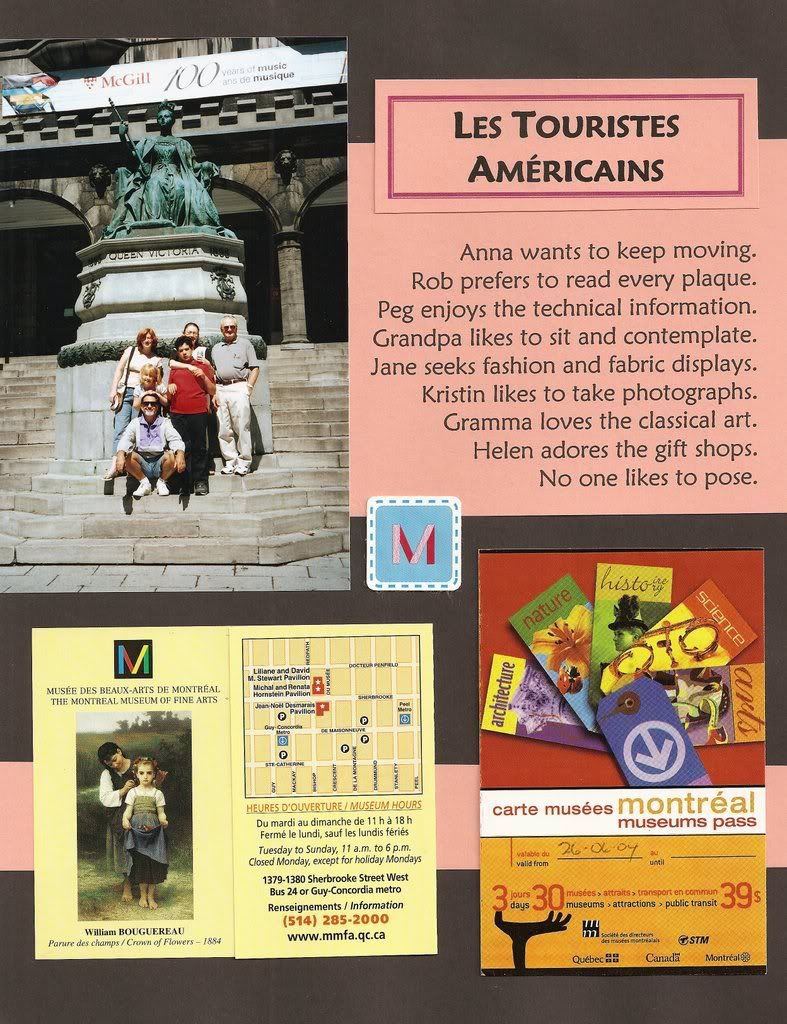
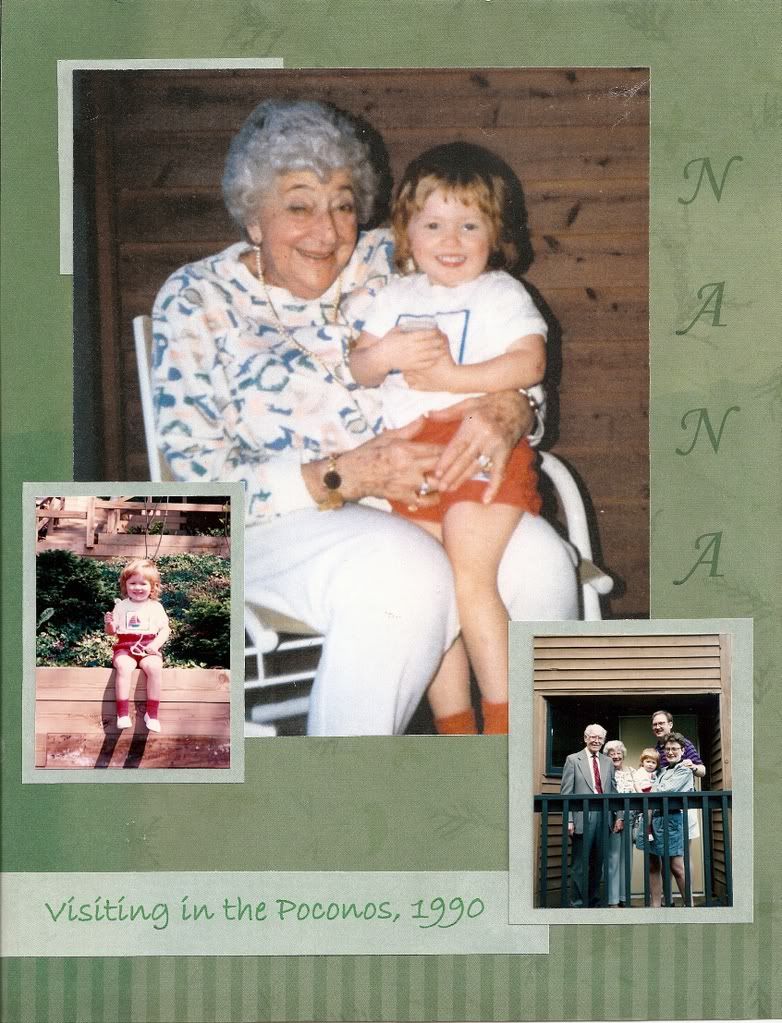
It's also boring to identify every person on every page, especially when it's the same family group, but I have been surprised at how I have later misidentified a child in an unlabeled photo. Using people's names in titles and captions is helpful and less monotaneous than listing everyone.


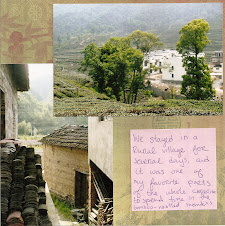
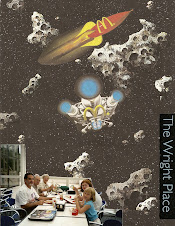
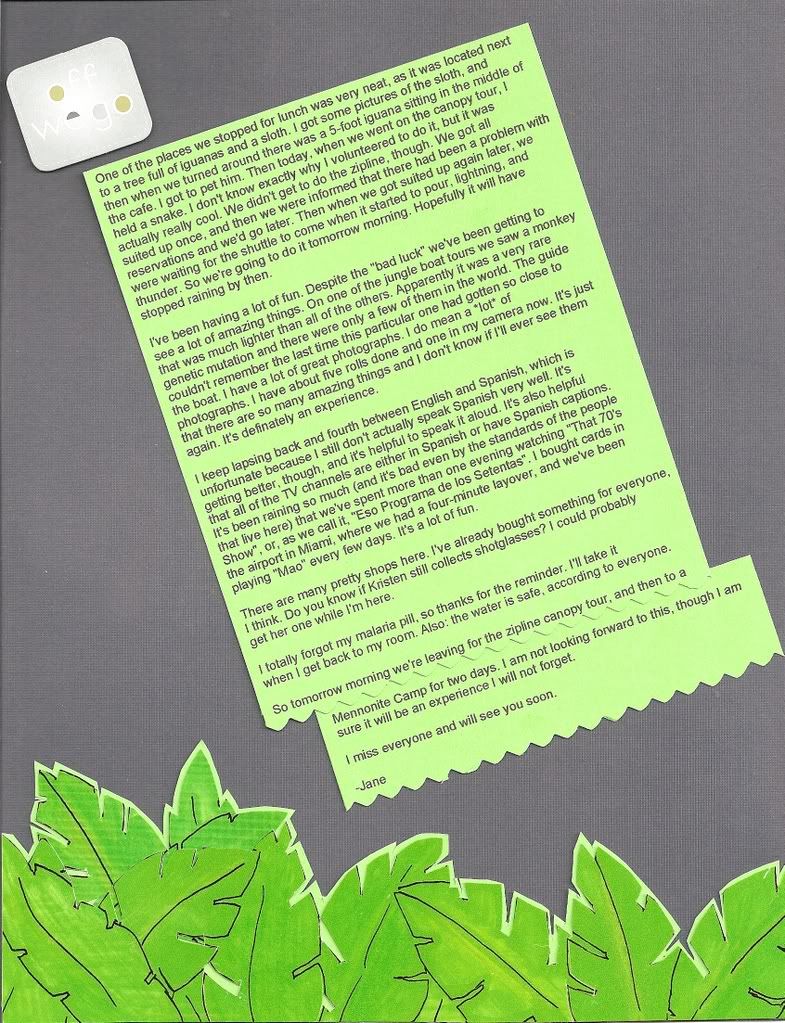
Some people like to write about their experiences while travelling. They can write (save, and not lose) descriptive paragraphs while travelling or later write recollections or insightful summaries. Their handwritten, typed, or e-mailed travelogues can be copied or printed onto cardstock for inclusion into the scrapbook, either as a textbox or the main page itself with an embellishment.


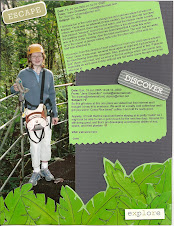
There are some techniques to help those like me who do not write interesting or entertaining travel descriptions:

  • ask people to save the postcards you send them, photocopy the message and mount with the picture side of the postcard
  • print-out e-mails you send or receive along the trip
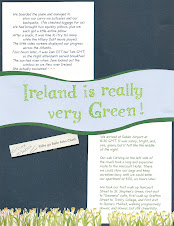
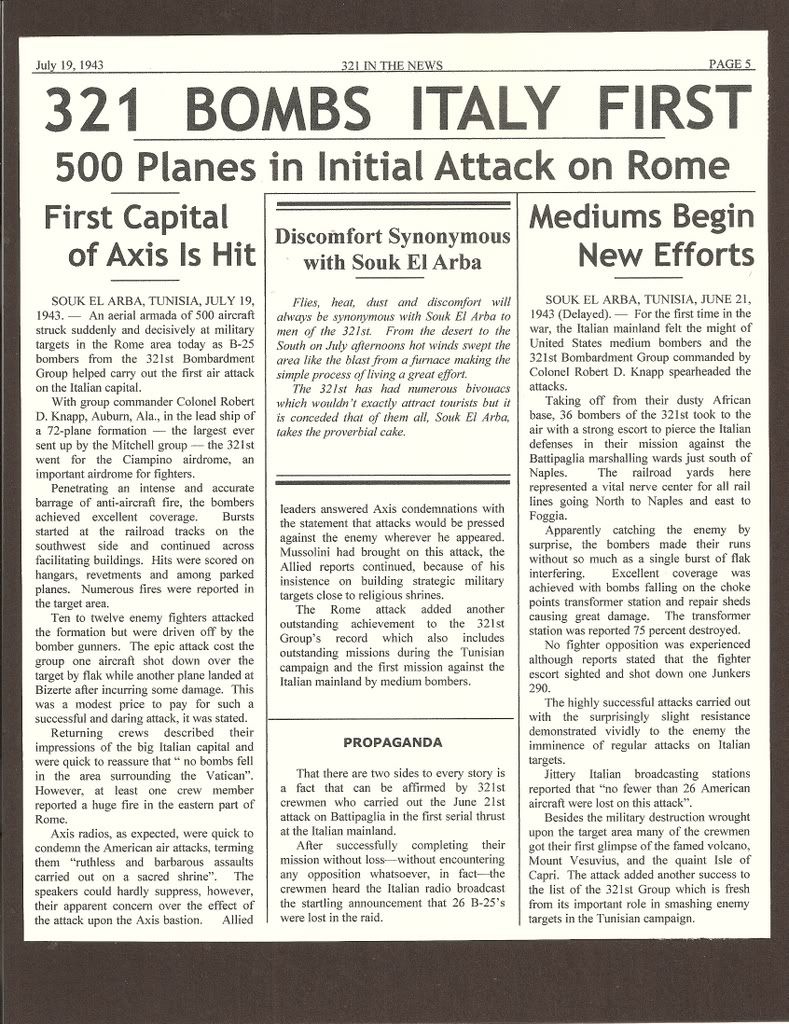
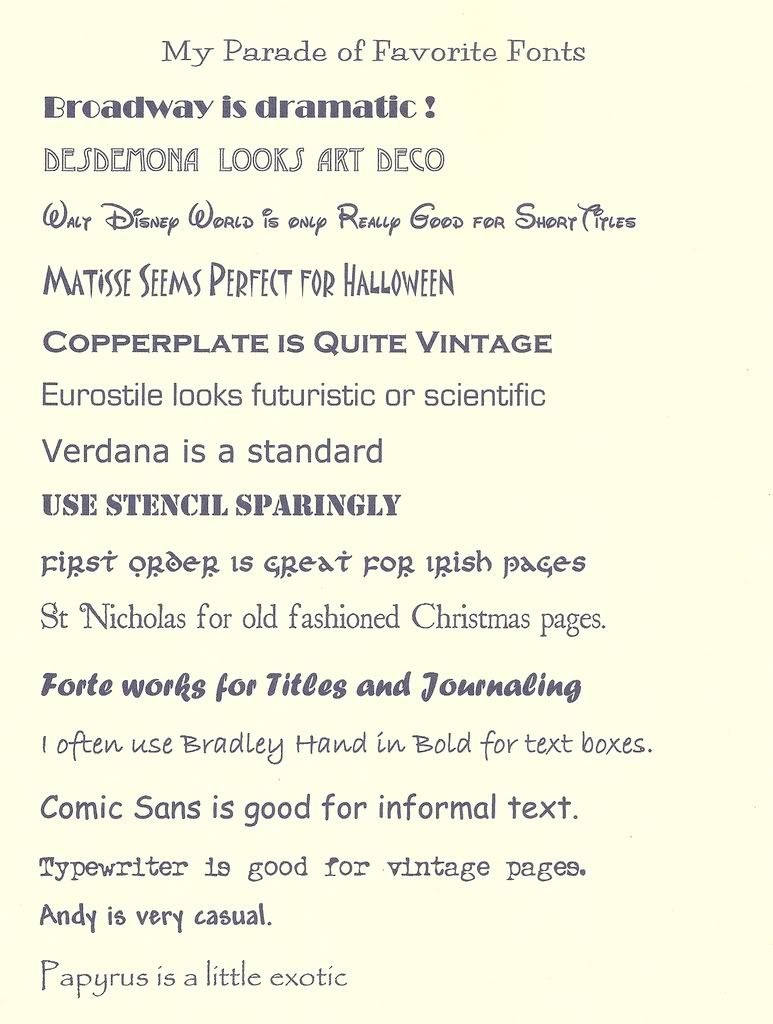
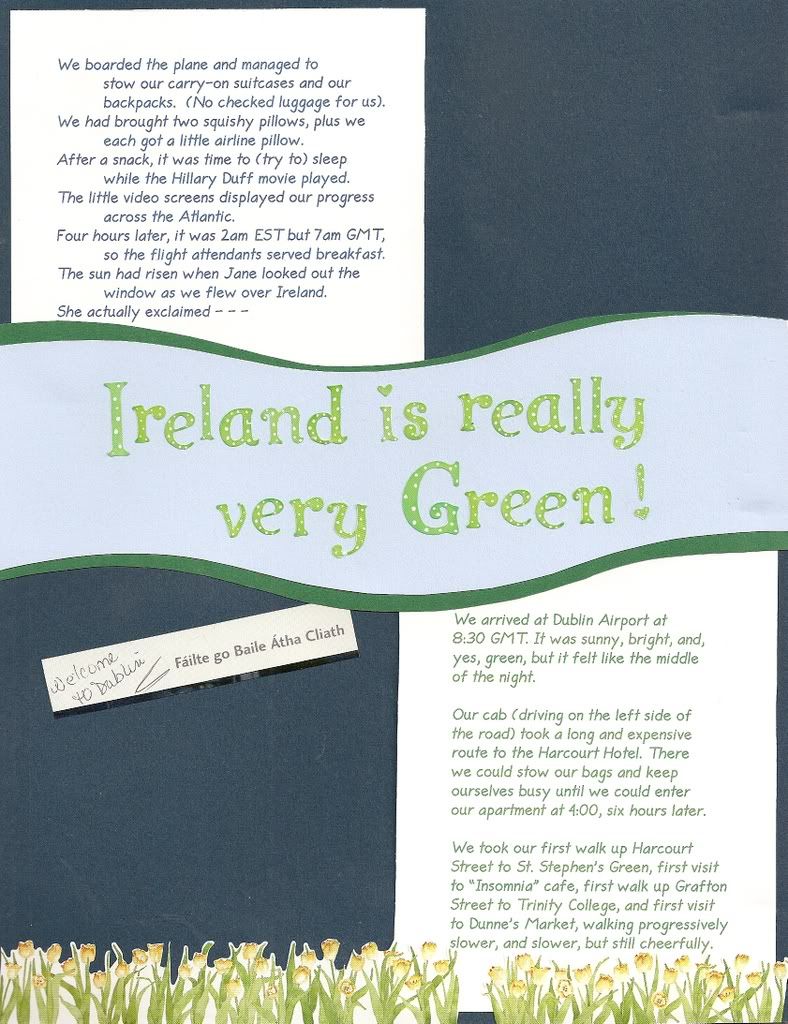
  • print the itinerary in a large interesting typeface
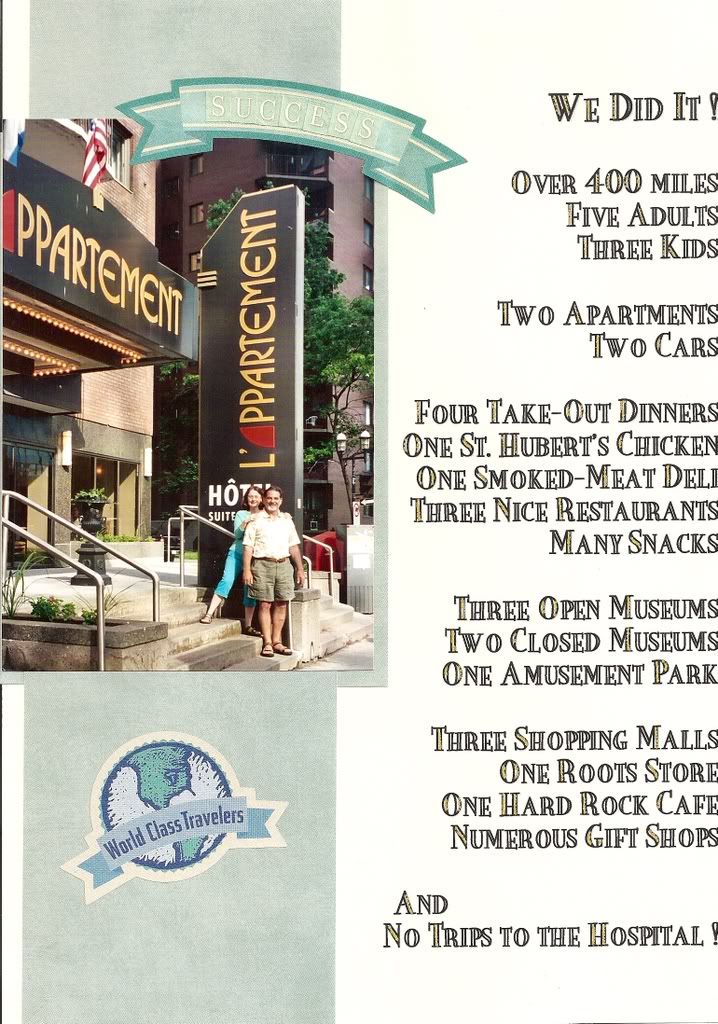
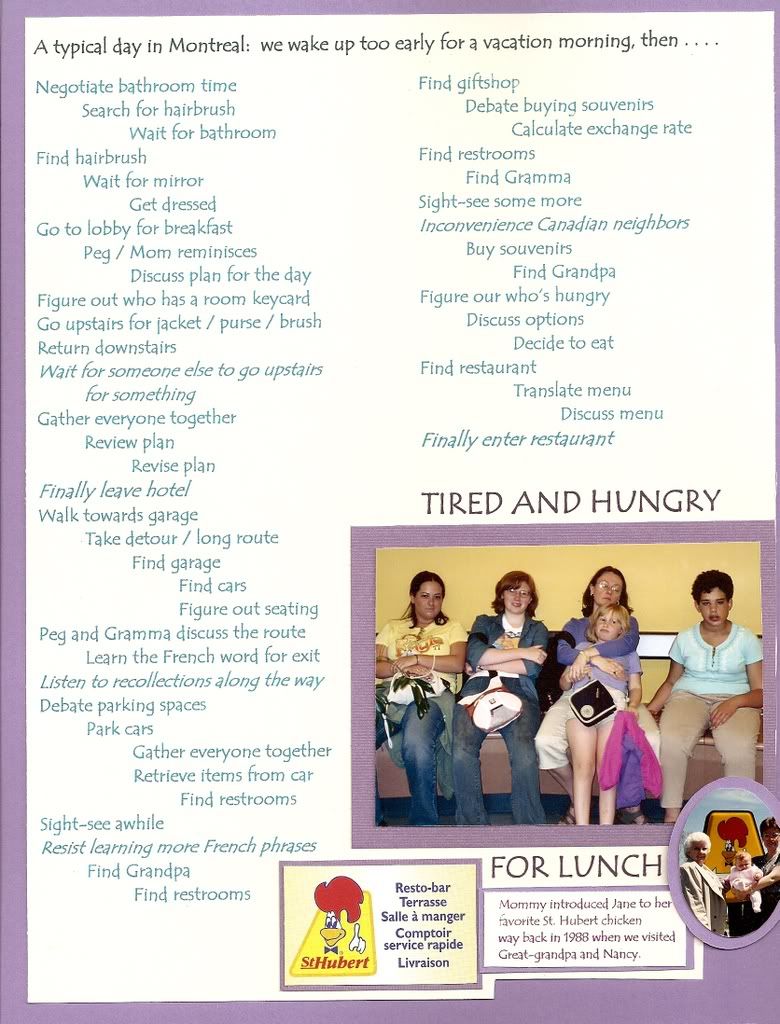
  • compose lists and print them in large interesting types faces
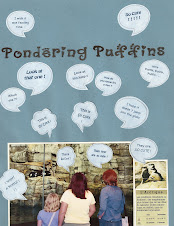
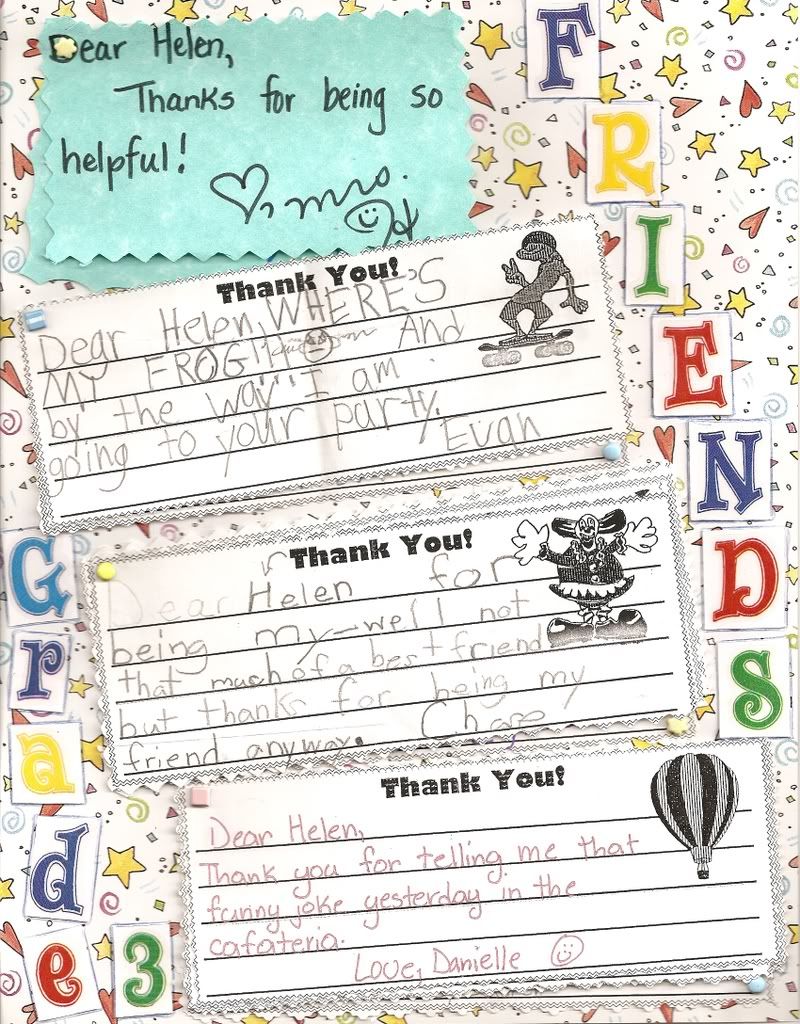
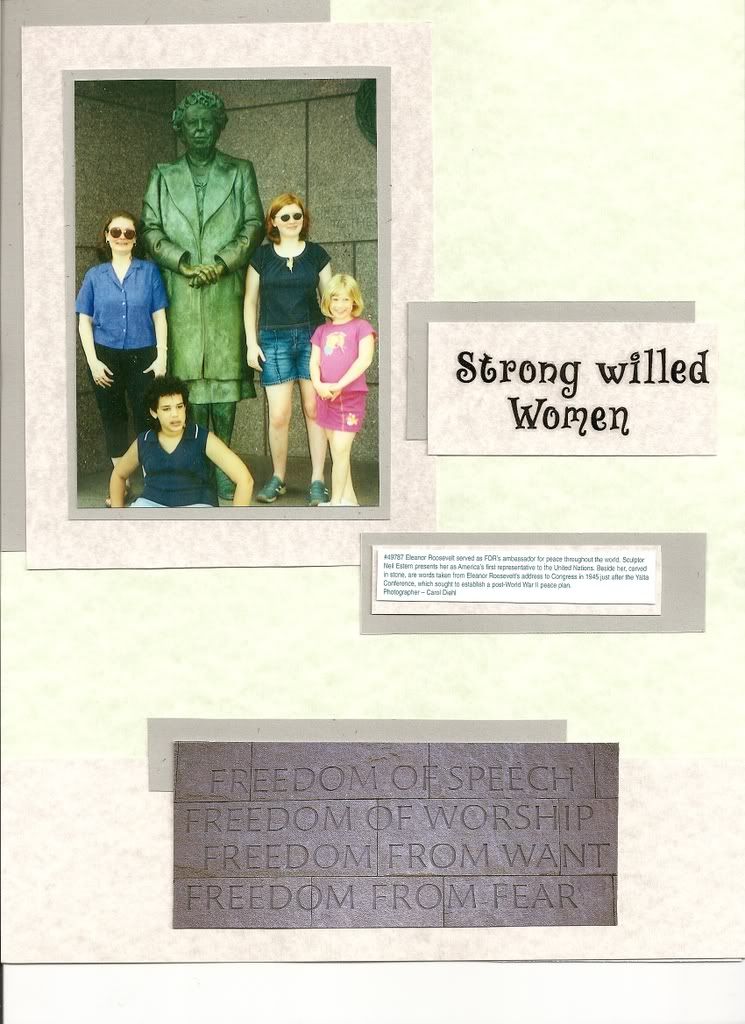
  • collect quotes along the way and include them in the pages
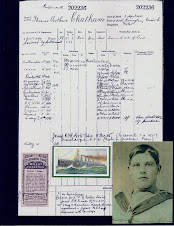
  • write down your impressions on menus, bills, programs, tickets as you collect them for later use on your pages
  • assign children to write about their day, save their writings to include in pieces or whole.
  • fill-out customer satisfaction forms in great detail, then don't turn the forms in.

There are many ways to fill in the details of a trip that are not told by the photos !

1/25/2008

What can I do with these photos ?

A practical scrapbooker can always put four cropped photos on a page with captions and mats to make a pretty page, but even a practical scrapbooker sometimes may want to put a little more drama or with their photos on a page.

Flipping through the pages of an actual scrapbooking magazine is a pleasant pastime that has given me ideas, inspiration, and some help. I enjoy magazines that have layouts and suggestions that are plausible to do if I had the time, supplies, and interest.

My two favorite scrapbooking magazines are Simple Scrapbooks and Scrapbooks Etc. I prefer the paper magazines to their websites that are very full and busy and a little overhwelming with ideas; but their websites are my favorite websites.

1/23/2008

Assembling the scrapbook into an album

After creating some pages, the scrapbook can be assembled.

  • The pages need to be put in order and slipped "back to back" into page protectors. Facing pages need to be compatible but not matching. Often shuffling is necessary. I leave some blank colored cardstock for "future pages" that I may have in mind.
  • Most of my scrapbooks are kept in 3-ring binders. The cover of the binder is larger than 8 1/2 x 12, so I trim a 12 x 12 piece of paper that will slip into the front "clear view" pocket. I create the cover and decorate the spines of the scrapbook.

You can buy 8 1/2 x 11 scrapbook albums of an expandable "post style" with pre-printed, fabric, or leather covers. I find shuffling and adding pages more difficult, so I use the post style scrapbook albums for completed projects that I do not expect to modify much in the future (but I could, and have, and will). I only did one scrapbook that was spiral bound -- too much pressure to have the pages and order correct from the start !

1/21/2008

What is matting photos ?

Matting photos is a way to put a colored margin around the photo to make it stand out from the background paper and also raise the photo a tiny bit to add some 3D dimension to the page. I mat. A lot:

  • usually 1/8 or 1/16 of an inch looks good to my eye. Wider margins are good for writing a caption. Much wider margins can be very artistic. A slightly wider bottom margin helps "ground" the photo.
  • Mat colors of white, grey, light blue, cream, and black seem to work best. 4x6 pads of neutral color cardstock papers are good staples. After cropping photos and selecting the background page color, try different colors to see which color seems to complement the photos and the background color.
  • To actually mat the photo, adhere the photo (I use one photo adhesive square on the back of each corner) to the lower left of the mat, keeping the left and the lower margins equal. Then only the right and top margins need to be actually trimmed.

I use special matting is used less frequently to keep it "special:"

  • Double matting a stacking a neutral color close in a thin margin close to the photo and a more vibrant wide color on the bottom.
  • Asymmetrical matting of the left and top margins thinner than the wider right and bottom margins really frames photos that you want to be the center of attention.
  • Very bright mat colors work with very bright photos and subject such as children's parties or Disney theme parks.
  • Cropping photos square, matting in white, then trimming with "perforated edge" scissors creates the look of "vintage" 1950's and 1960's snapshots.
  • Trimming mats with lacey or scalloped edge scissors creates a fantasy or princess look.

1/19/2008

What's that tool

Sometimes I know from the start that I want to add borders, graphics, embellishments, or other extras. Browsing scrapbook store supplies can provide a lot of inspiration or intimidation. Being intimidated sucks all the fun out of the hobby. I make small purchases. Individually owned stores provide a lot more personal attention and help, especially if you are feeling artistic. Using any technique too frequently makes pages seem gimicky or dated later on. Here are some supplies to investigate --

  • decorative edge scissors -- use to trim the edges of photos, mats, or borders. I am partial to my "torn edge" or "jagged" scissors. I use scalloped and other patterns on occassion.
  • stickers -- highly addicting, should enhance the page, not clutter it. it is ok to use just two off of a page.
  • die cuts -- decorative paper shapes that you have to adhere yourself.
  • ribbon -- for a border or a decoration. Some is self stick, others needs two sided tape to adhere it.
  • corner punches -- my favorite is used rounds the corners, create dovetail corners, or intricate lacey patterns for paper corners.
  • shape punches -- for decorations -- I often find use a specific punch for a specific page once, then never again.
  • equipment that cuts photos into ovals and circles should be tested first to see if you find it as easy as advertised. After lots of searching, I love my Creative Memories brand cutting system. The only shape I use with any frequency is the oval. I find circles hard to use.

Only use the tools and techniques that are simple and fun for you !

1/18/2008

Text -- Titles, captions, and "journalling"

The amount of my text on the scrapbook page -- titles, captions, and "journalling" varies from page to page. Text can be placed directly on the scrapbook page or created on separate paper, cropped, then applied to the page. More and more frequently I use the "create it separately" method to create my scrapbook text because that method is more flexible and forgiving.

Text can be created by hand writing, word processing, applying alphabet letters, using stickers or die cuts, photocopying or downloading descriptions, photocopying the message sections of postcards, printing out e-mail, copying letters, painting, embossing, and probably more ways.

My handwriting is almost never lovely enough for me when I use a marker to write a caption. I prefer word processing, especially the ability to try different fonts, colors, wording, spacing, and sizes before I adhere the final version to my scrapbook page.

I use my standard Microsoft Office Word program -- it has so many features useful for scrapbooking -- few of which I ever used while typing my reports for work or school. With word and my color printer I happily can create most of my text.

I use alphabet stickers to create titles or captions only when the stickers are so unique that I can't resist or when I can't easily re-create the style or patterns with Word. My daughter loves Photoshop Elements for creating elaborate titles, but so far I only use it for special photo editing projects.

Scrapbook stores have abundant supplies of cute, touching, witty, elegant, historical, whimsical, and topical captions with matching graphics. Each store often has a different selection. Browsing the selection for inspiration is a favorite pastime.

1/16/2008

Mixing photos and souvenirs

Mixing pamphlets, handouts, brochures, maps, postcards, and tickets from our travels with photos on a scrapbook page helps to tell the story of your trip or event. Often one page or part of a brochure is best for visual impact or information sharing. I color photocopy it page onto white acid-fast scrapbook paper. Some ideas are
  • A collage of tickets or a large menu on a scrapbook page may include only one photo to help personalize the otherwise impersonal paper items.
  • A logo can be cut from a photocopied brochure or even a paper napkin (they often have cute logos printed on them) to use as an embellishment or decoration.
  • Postcards often show views that the average tourist or traveller cannot take. A postcard can be cropped and used as one photo on a layout.
Miscellaneous souvenirs are so much better on scrapbook pages than in boxes or drawers !

1/13/2008

Arranging photos on the scrapbook page

An easy to assemble scrapbook page holds one to four cropped photos. Moving the photos around the page and leaving "some" space for text and title helps me decide which layout arrangement looks best. No lay-out is "wrong," but some arrangements do look "better."

Some pages may need a lot of space for a lot of explanation or story. For some pages brief captions or dates are enough. The more text, the fewer photos will fit comfortably on the page. I rarely write long journal entries and prefer to "stick to the facts," often from a humerous perspective. Only a few pages of my pages seem to need a big title across the top. Here are some of my favorite layout basics:
  • In general a layout looks "correct" when photos seem to flow on a diagonal along the page from the upper left to the lower right. That leaves space in the upper right (and sometimes lower left) for text.
  • Many photos look better against the edge of the scrapbook page, and others look better with the scrapbook page serving as a border.
  • If you have a photo with sky, it often looks best flush against the top edge of the scrapbook page, so no color shows between the edge of the sky and the edge of the page.
  • Similarly, if you have a photo with half a head, tree, or building on one side, put it flush against the page edge.
  • Some photos look better "grounded" against the bottom edge.
  • You may need to crop some more (small slices at a time !) so the photos fit on the page and the areas around the photos be uniformly spaced.

1/12/2008

Selecting a page color

Comparing a group of photos on different colored papers helps decide which page color makes the photos "pop" off the page. Solid colors or subtle patterns are easiest. I avoid "matching" the photos to page color because they will blend together too much.

If there is a small interesting item with a distinctive color in the photos, try that distinctive color as the page color. The color of a shirt, sign, flower or sneakers may be a color choice. Try a page color that is complementary to the main color in your photos. Complentary (or contrasting) color pairs include shades of green/red, yellow/blue, green/purple, and blue/orange. You can search for a "color wheel" of 12 colors ito download to use as a guide.

1/09/2008

Cropping / trimming existing photos

Placing a blank piece of paper to cover the sides of a photo can give you some idea of what the photo will look like after parts have been cropped / trimmed / cut off. The final photo should be a nice rectangle or square photo that has the subject of the photo about one third up the photo. Very tall and narrow photos or very long and short photos should be used sparingly. A panoramic photo can be trimmed to 8 1/2 x 4 to create a page border.

To crop / trim a photo, position it against the top of the paper cutter / trimmer to trim a thin slice off the selected side with the blade. Reposition and take thin slices off any other sides. Taking several thin slices gives you more ability to adjust your result.

While arranging the photos on their page, some additional trims can be made.

It is very easy to get too enthusiastic about cropping photos and take out too much background, chop off an important person or item, or make the photo too small. It's essential to enjoy cropping, but not get carried away.

1/08/2008

Cropping is cutting or trimming photos

Cropping existing photos is best done with a paper cutter/trimmer and removing thin slices from the edges. Cutting is permanent! There are so many computer programs that crop and correct digital or scanned photos. It is not practical to scan, correct, enhance, crop, and reprint in various sizes all my photos from the pre-digital days. The photos that are worth the full digital treatment are collected a day devoted to scanning, Picassa, and Photoshop Elements. I never physically cut a "priceless" photo. I scan it and work on the copy. For most existing photos, physical cropping will improve them by trimming to
  • remove patches of bad lighting
  • eliminate unnecessary clutter
  • remove a distracting building, head, sign, or pedestrian at the side or corner
  • remove sky, grass, beach, or pavement that overwhelms the subject
  • put horizons at a line one third or two thirds across the photo (never across the middle)
  • make several photos small enough to all fit on a page.

Sometimes I group photos for a page, then crop them. Sometimes I crop a whole stack of photos and then select the groups for each page. Sometimes I flip between the two strategies.

1/06/2008

From a stack of photos to first draft

After buying the basic supplies for your scrapbook, it's time to start sorting and placing the photos on each page to create a first draft of your scrapbook. Place each piece of colored cardstock into a page protector and put it into the 3 ring binder. At this point, the order of the colors does not matter. Then it's time to deal with the stack of photos that you selected for this scrapbook. The general process is:
  • Cropping each photo with the paper cutter / trimmer: your photos will end up different sized rectangles and squares. That’s quite fine. More about cropping later on.
  • Placing the photos in chronological order for the "story" that the scrapbook will tell.
  • Grouping photos that belong together on each page.
  • Selecting a background color for each set of photos for each page.
  • Placing the photos into a page protector with your selected color. Don’t use both sides of the cardstock, because it becomes too hard to shuffle and re-order the pages. Don't worry about arranging the photos on the page yet.
  • Putting the page protectors back in the binder in the correct order.

Now you have your photos on their pages in the correct order for your first draft. Go back and flip through the pages. Is the order correct to tell the story you want to tell?

Full page memorabilia is put in their own page protectors and inserted into the binder at the correct point to tell your story. If any memorabilia or document is priceless I make a color photocopy.

For smaller pieces of memorabilia, they and background piece of cardstock go in the proper place in the binder. I like to mix smaller photos and paper keepsakes on the same page, especially a photo that includes the item and a person.

Now the first draft of your scrapbook is done !

1/03/2008

What scrapbook supplies to buy ?

My basic scrapbook style is photos and other "elements" ("things") mounted on 8 1/2 by 11 (standard size) paper in 3 ring binders. This is a classic (old-fashioned) and very versatile style for practical scrapbookers. My tween daughter loves newer and trendy 12 x 12 paper for her very artistic pages. I find 12 x 12 harder to use because I print some titles and text directly on the page, and 8 1/2 by 11 fits in the printer and 12 x 12 paper requires its own special printer. I have made some 8 x 8 scrapbooks of single events.

Basic "starter" supplies can be bought at large chains such as Target, Joann Fabrics, AC Moore, Michaels, some KMarts, and even some CVS stores. I do not buy basic items on-line unless I have seen the them in person first. For some items there are better selections and prices at office supply stores. Local scrapbook stores tend to be more artistic, and I use them for embellishments (decorations), unique papers, and special tools.

Scrapbookers need paper, specifically "acid-fast," so no construction paper or printer paper.
To start, buy packages of SOLID colored paper labelled "card stock" or scrapbook paper:
  • one package of blues
  • one package of neutrals
  • one package of colors that suits your fancy and your scrapbook event or topic -- jewel tones, pastels, browns, or brights.

There is a bewildering assortment of a la cart papers. Buying and accumulating too much pretty paper for a future undefined project is a real risk. Simpler paper is easier to work than patterned paper. I usually avoid "stacks" of assorted papers because I end up not using a sizable amount. I do buy a "stack" of neutral 4 x 6 cardstock to mat photos.

A large package of 8 1/2 x 11 page protectors is necessary so each piece of paper goes into a page protector in a 3 ring binder as the "working" scrapbook. The one inch size binder is easy to handle. Some have a clear front sleeve for inserting a title page. Pages can be re-arranged very easily.

A significant and important purchase is a paper trimmer /cutter to use for paper and photos. It is almost impossible to trim straight and square with scissors. The trimmer/ cutter should be sturdy, simple, and big enough to cut 12 inch paper. I use an office style.

The final item is appropriate adhesive. I find 1/2 inch square adhesive "photo squares" the simplest to use. They come on a roll of 250 or 500 or 750, and there are several brands. Just one is good for tacking. The "repositionable" ones are handy in case you need to reposition.

I try to avoid the cute titles, stickers, letters, trims, ribbons, pens, and punches without a specific project in mind, but they can be hard to resist. The basic supply list is:

  • packs of solid card stock
  • page protectors
  • a 3 ring binder
  • adhesive squares
  • a page trimmer

1/02/2008

What to scrapbook ?

Deciding "what to do" can be a hurdle when starting a scrapbook. One approach is to pick a topic, then search for the photos and mementos or other material that fit the topic. Another approach is to select a stack of photos and then scrapbook them. Broad topics such as "everything my child has ever done" or "all my world travels" easily become overwhelming. It's possible that several albums will eventually accomplish such a big goal, but it is easier to think simple: one event: a grade, party, holiday, service, or trip.

It is tempting to try to organize ALL the photos and then scrapbook. That's a decision to never scrapbook, because all the photos will never be organized. Scrapbooking a pile of photos is one less pile to file away. While looking through photos, I collect all photos of a topic in its own stack: cat or car or beach house or boat or Halloween photos. Collecting photos for a topical scrapbook album is rarely an afternoon or weekend activity.

I started my first scrapbook in 2001. So far I have (in no particular order) scrapbooks of :
  • our trips to Disney World in one scrapbook, starting with my first trip to WDW in high school in 1974. Mickey Mouse evolves and my kids grow through this scrapbook.
  • our trip to Washington DC with our parents for the opening of the World War II Memorial includes photos, programs, articles about the opening, and some of my step-dad's WWII photos.
  • trips to Washington DC including our 2003 family trip, some 20 year ago day trips, a 1995 Girl Scout trip, and some historic postcards I collected along the way.
  • our 2004 family trip to Montreal with my parents that includes photos from my childhood there for comparison.
  • our 2005 family trip to Ireland
  • trips to California in 2005 and before.
  • my college daughter's trip to Costa Rica and her trip to China. She's an artistic soul and a writer, but she cannot get herself interested in scrapbooking. She gave me her photos with post-it notes on the back and miscellaneous ticket stubs and pamphlets. I printed her e-mails on colored paper to use as her travelogue.
  • birth to high school scrapbook and and then high school scrapbook for each of my daughters. These scrapbooks expand as I find photos and "stuff" and get bright ideas.

My "theme" scrapsbooks are always expanding:

  • all the cat photos I find, starting with my mother's cat "Duffy" in 1950, and including all the (sarcastic) greeting cards that our house cats cats have sent me.
  • decades of "cute animal" photos taken at parks, zoos, forests, beaches, backyards, and fairs. It's popular when kids visit.
  • decades of "cake" photos from birthday parties, weddings, showers, and graduations along with photos of many people blowing out candles. My step-dad has never seen a cake that did not deserve its own photo, usually taken from above while standing on a chair.
  • Santa, Christmas tree, and Christmas morning photos starting with my parent's childhood with a smattering of Christmas cards over the years.
  • "then-and-now" photos of different generations doing the same activity.

1/01/2008

Happy New Year

My blog is for anyone else who wants to

  • keep a New Year's Resolution to "do something" with your photos and paper mementos ?
  • use your photos to show the history of your family, relationship, children, pet, travels, events ?
  • rescue photos from dreary magnetic photo albums ?
  • focus on your photos and their story ?
  • display photos in a visually pleasing documentary style ?

Scrapbooks help me feel creative, productive, and happy. My kids and family spontaneously pick up the albums to recall past memories and share them. My tween daughter has even shown them to her friends. I have some graphic arts experiences and talents that I like to channel through my pages, but my focus has always been on telling our stories through our photos in our scrapbooks. As I have browsed through many scrapbook stores, websites, and magazines, even I have been a little intimidated by the focus on the "art" of scrapbooking. My style of scrapbooking is good for people who don't want

  • complicated artistic processes
  • large investments in supplies (although there will be a shopping list)
  • a close relationship with a consultant / seller of supplies
  • feeling intimidated by racks of expensive paper, albulms, stickers, and tools.

I hope that you enjoy revisiting your happy memories through scrapbooks too.