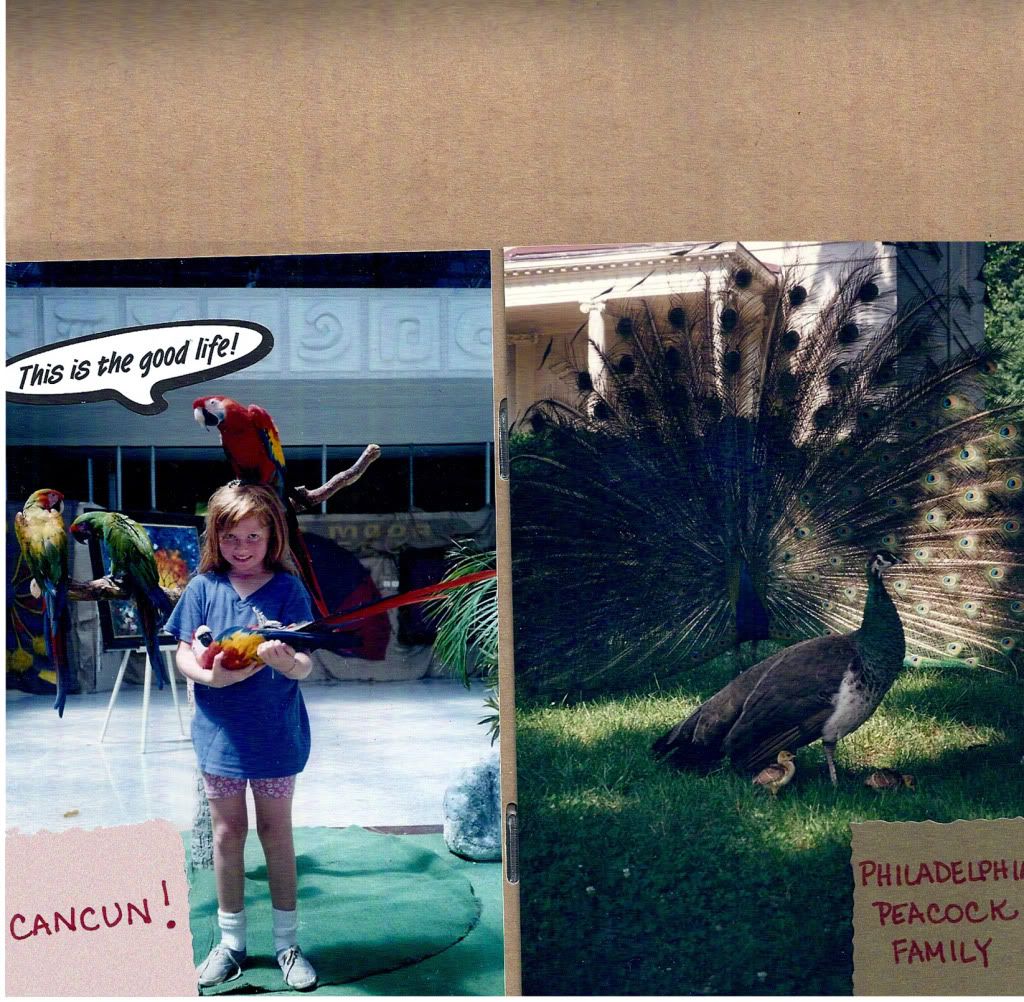
Cropping existing photos is best done with a paper cutter/trimmer and removing thin slices from the edges. Cutting is permanent! There are so many computer programs that crop and correct digital or scanned photos. It is not practical to scan, correct, enhance, crop, and reprint in various sizes all my photos from the pre-digital days. The photos that are worth the full digital treatment are collected a day devoted to scanning, Picassa, and Photoshop Elements. I never physically cut a "priceless" photo. I scan it and work on the copy. For most existing photos, physical cropping will improve them by trimming to
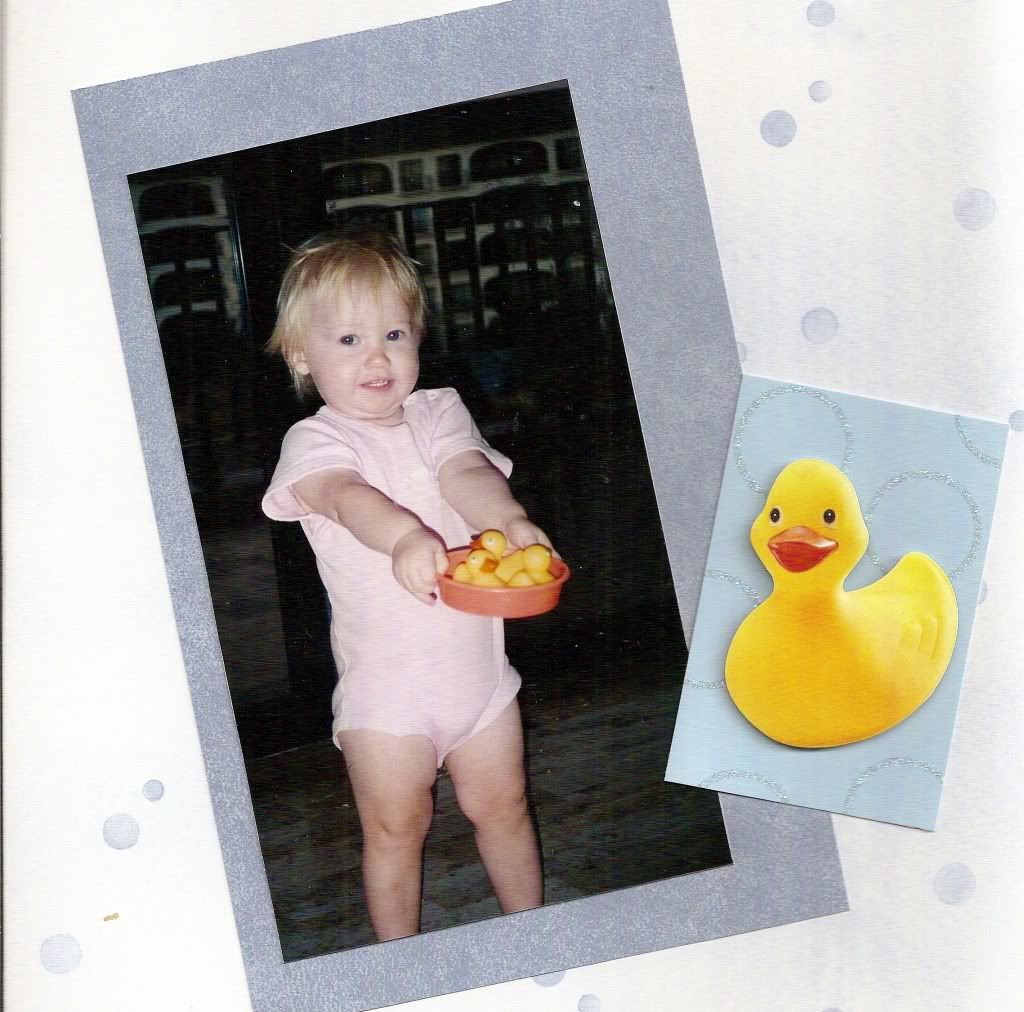
- remove patches of bad lighting
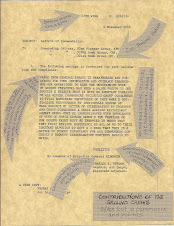
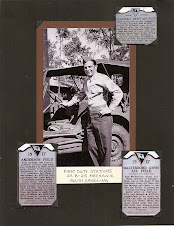
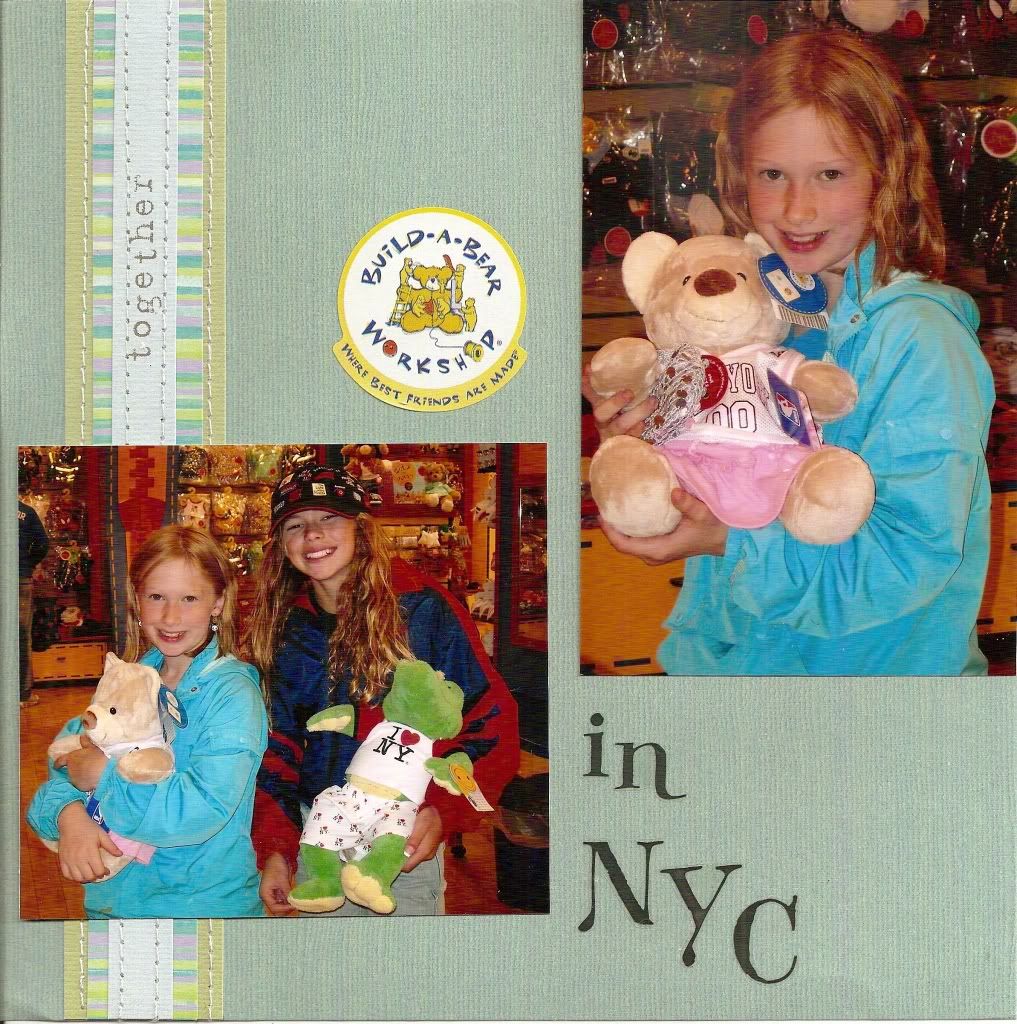
- eliminate unnecessary clutter
- remove a distracting building, head, sign, or pedestrian at the side or corner
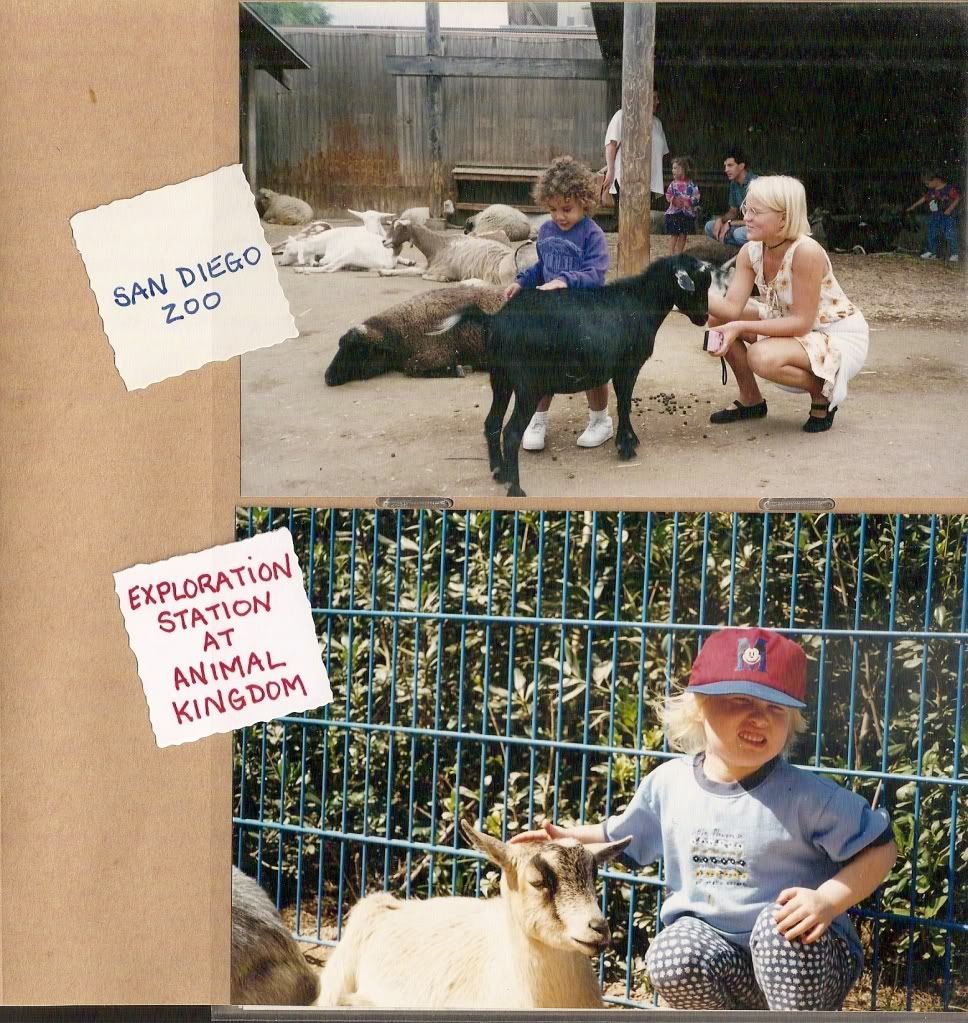
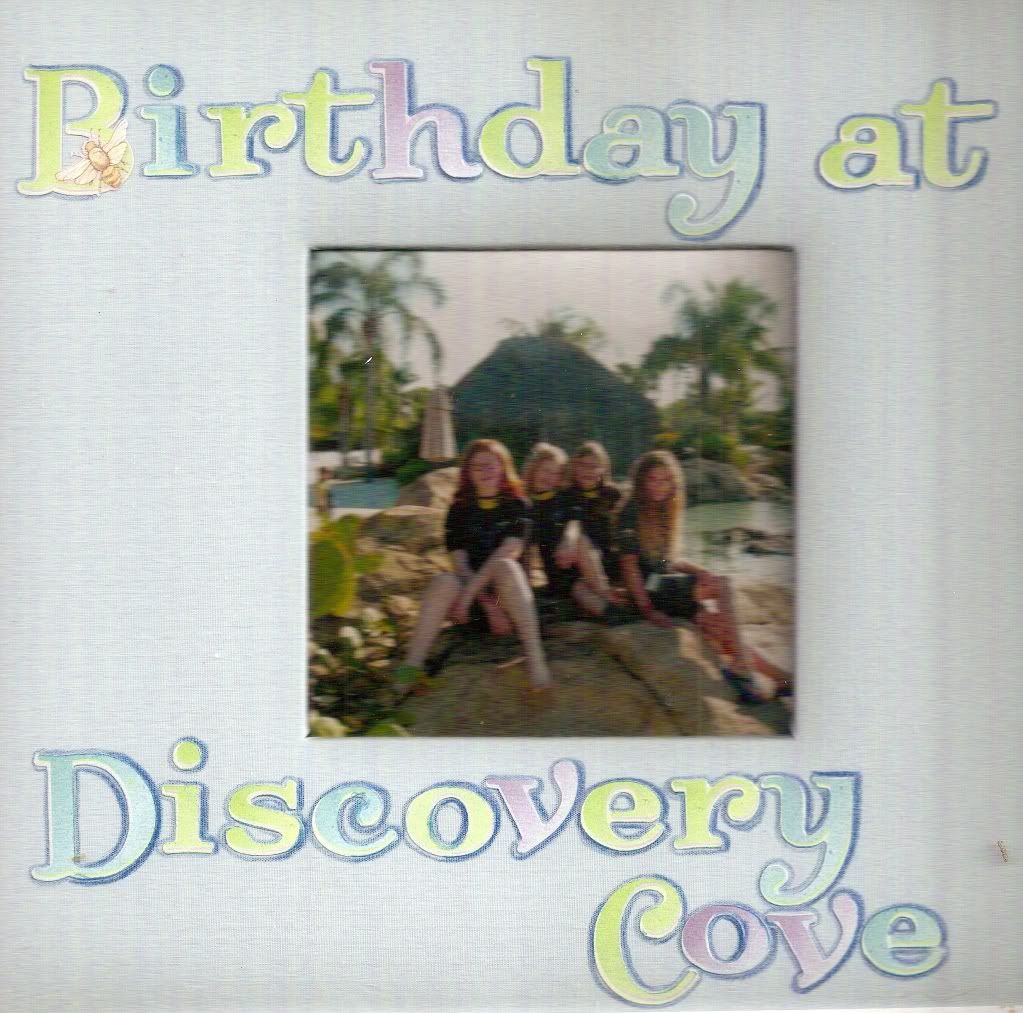
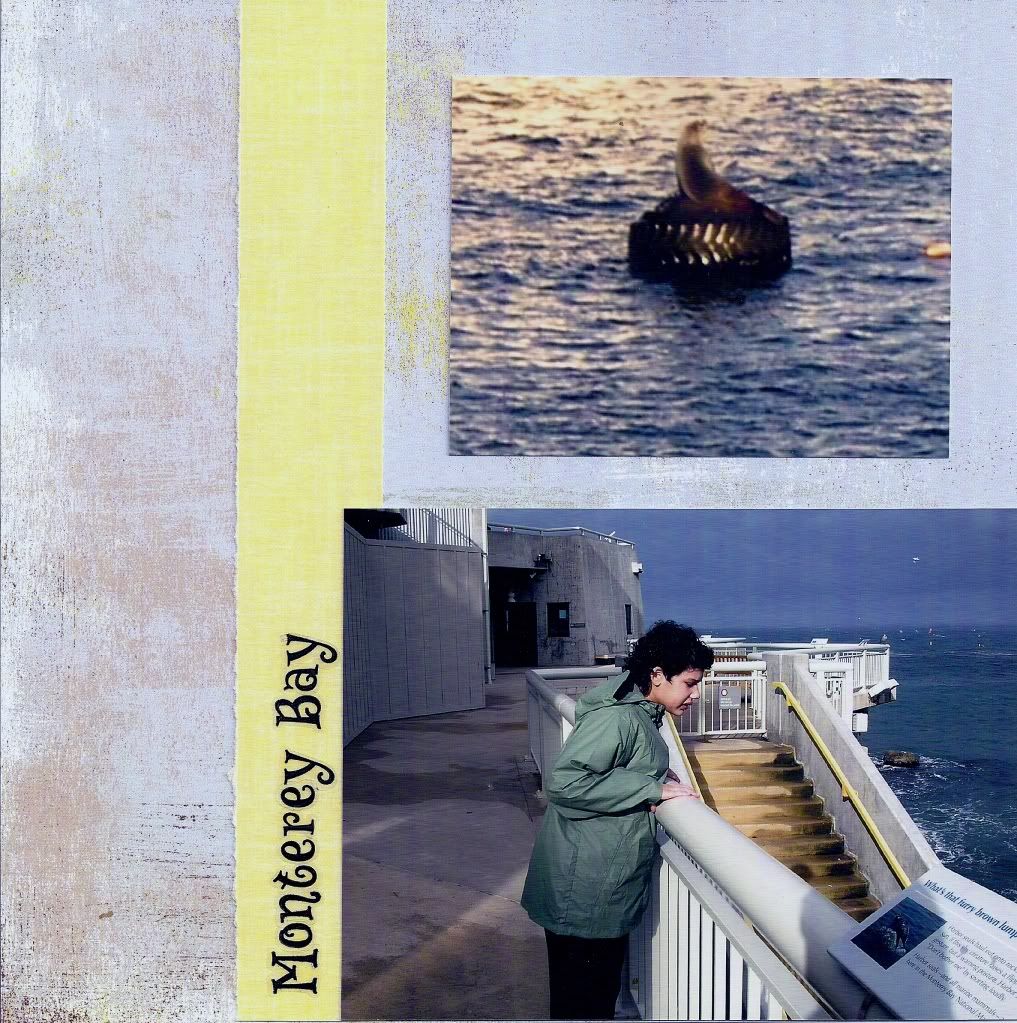
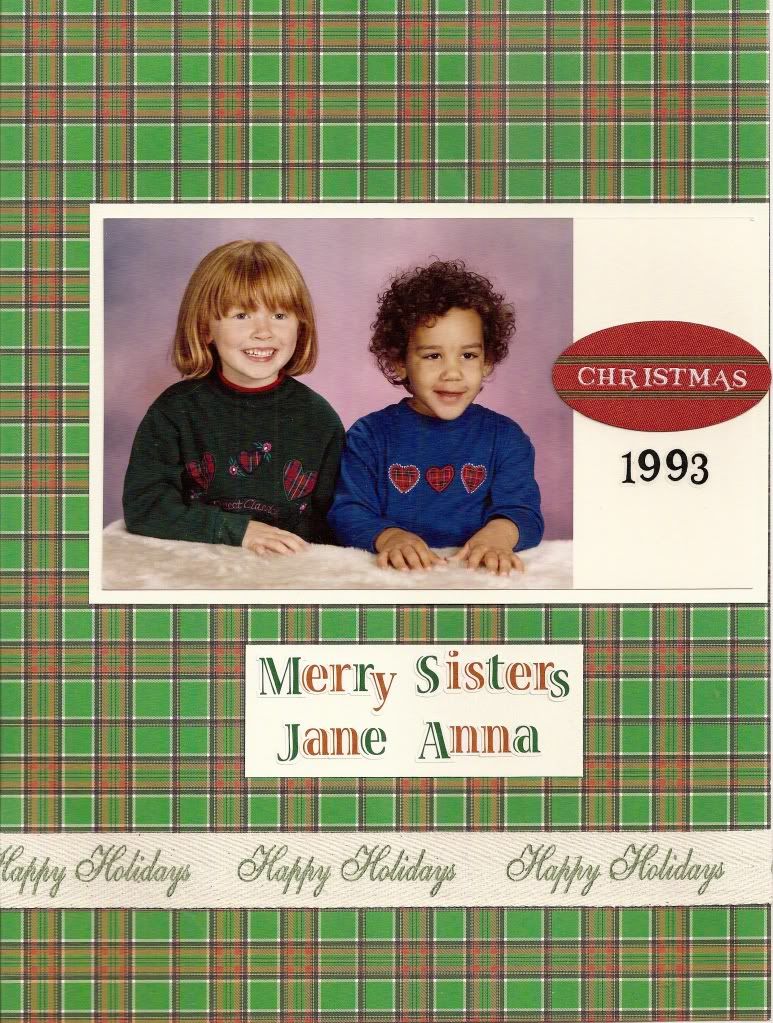
- remove sky, grass, beach, or pavement that overwhelms the subject
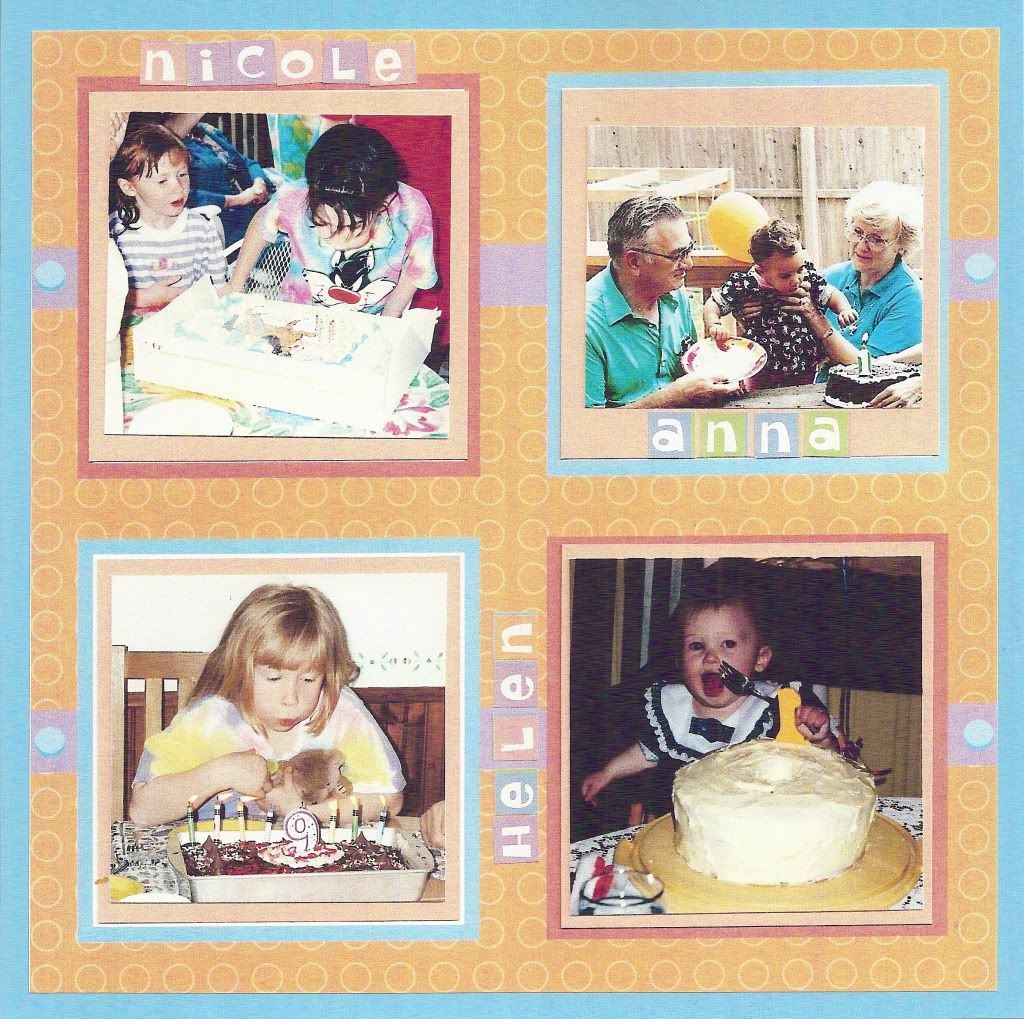
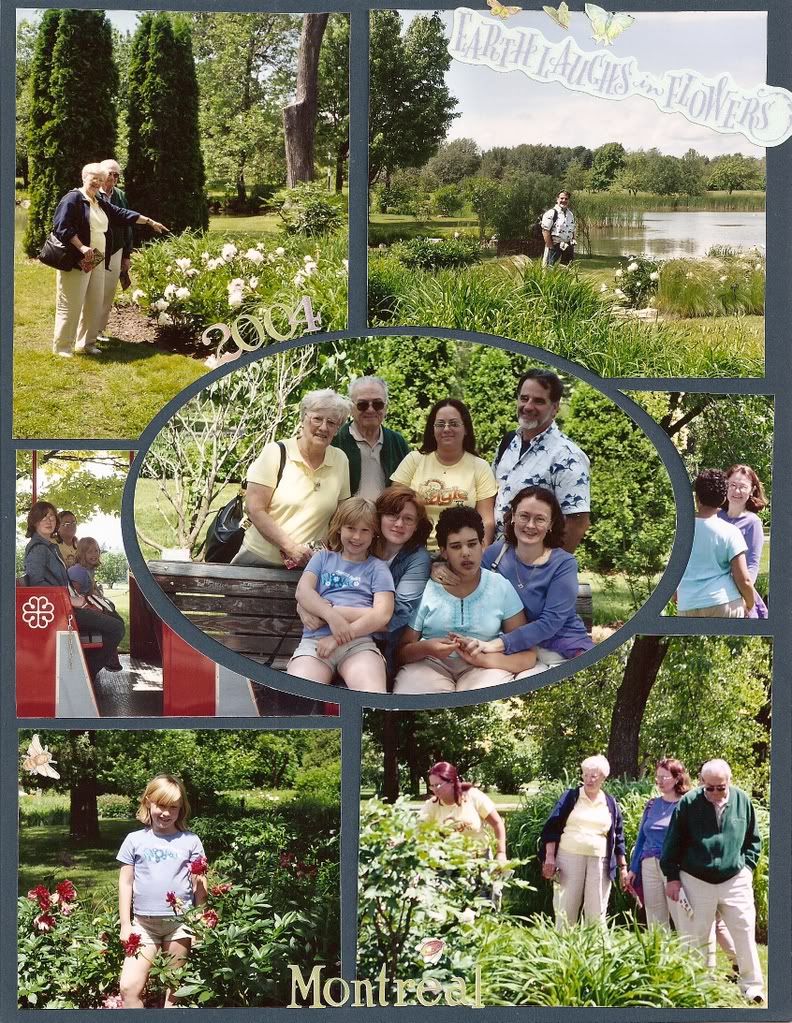
- put horizons at a line one third or two thirds across the photo (never across the middle)
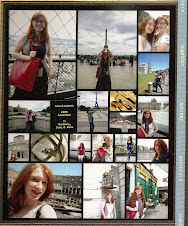
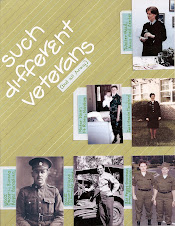
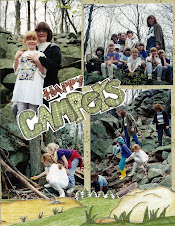
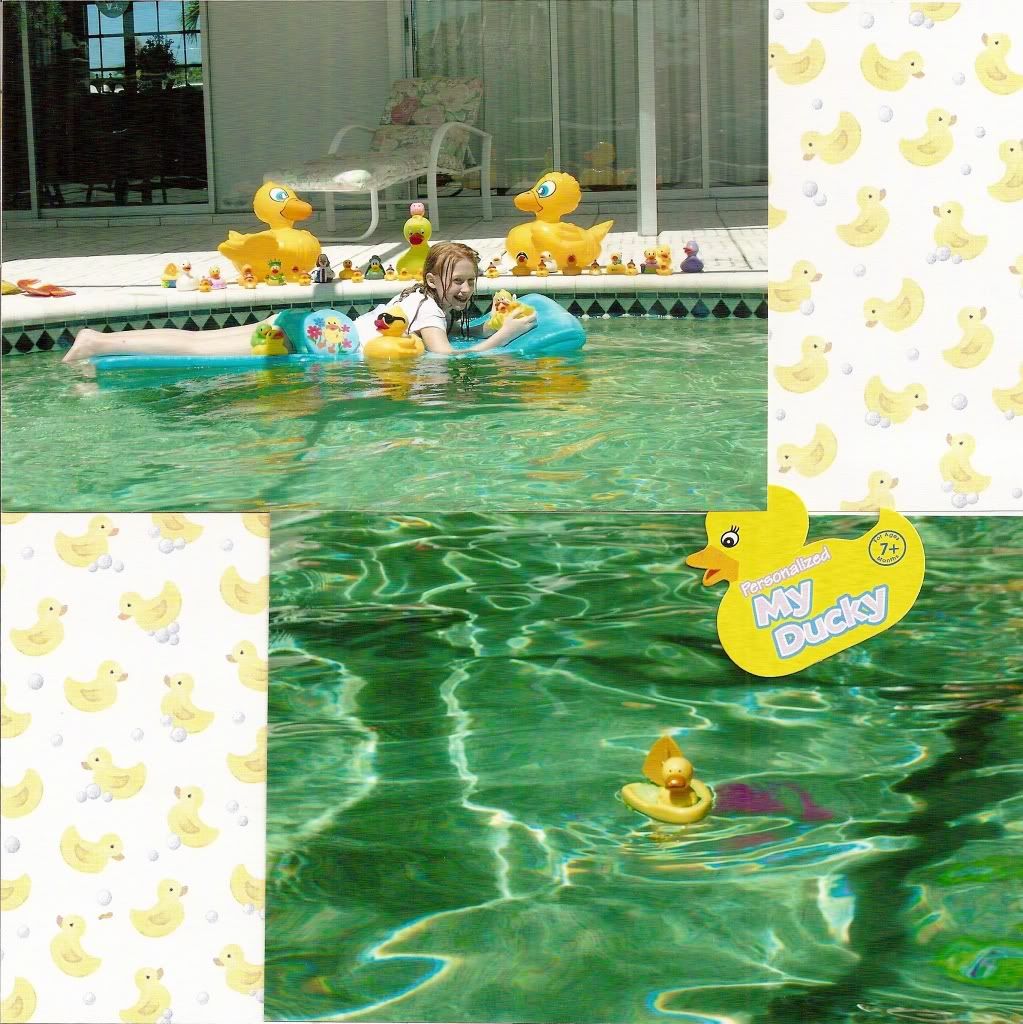
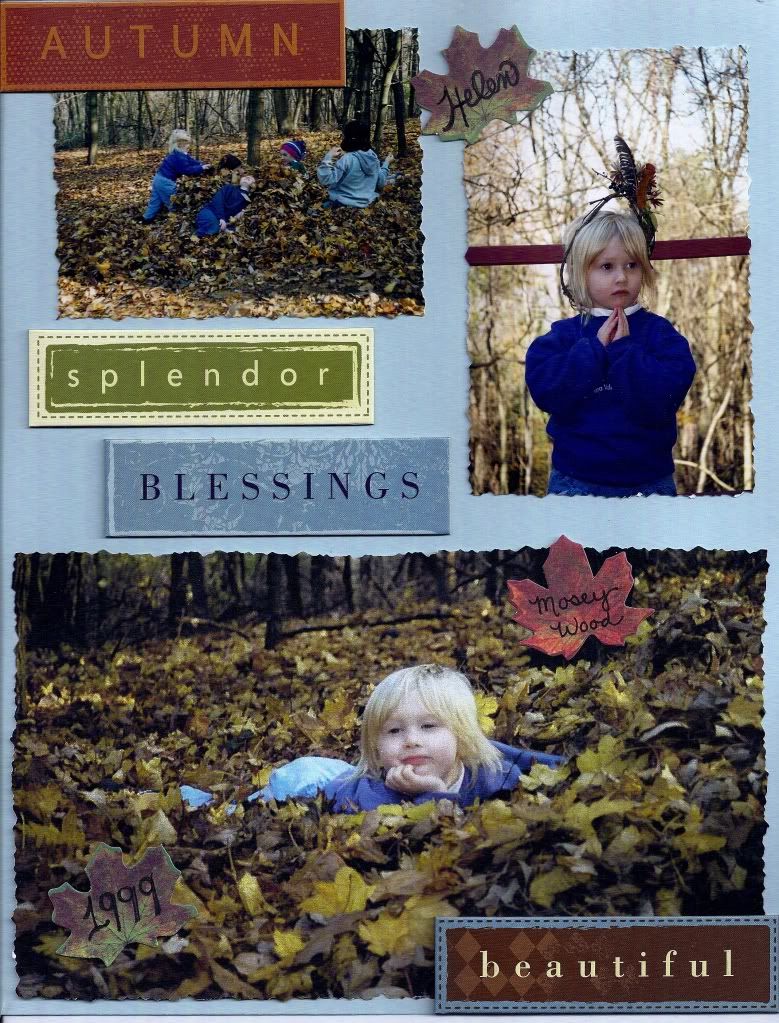
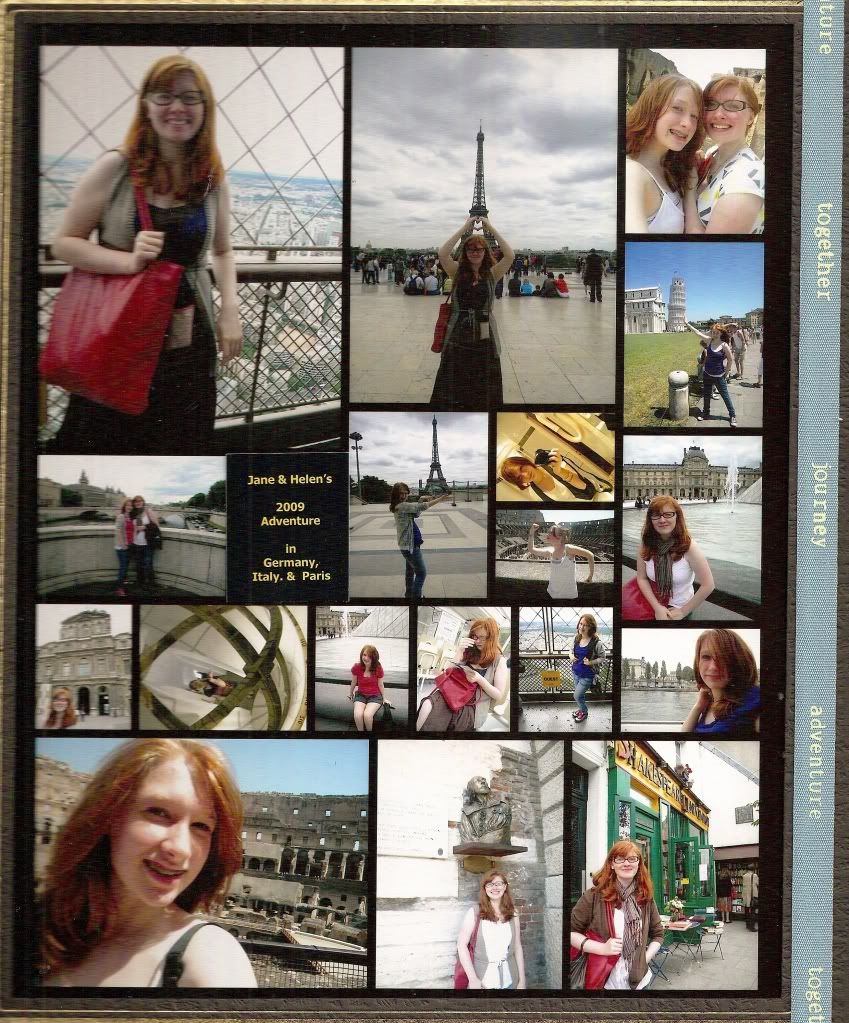
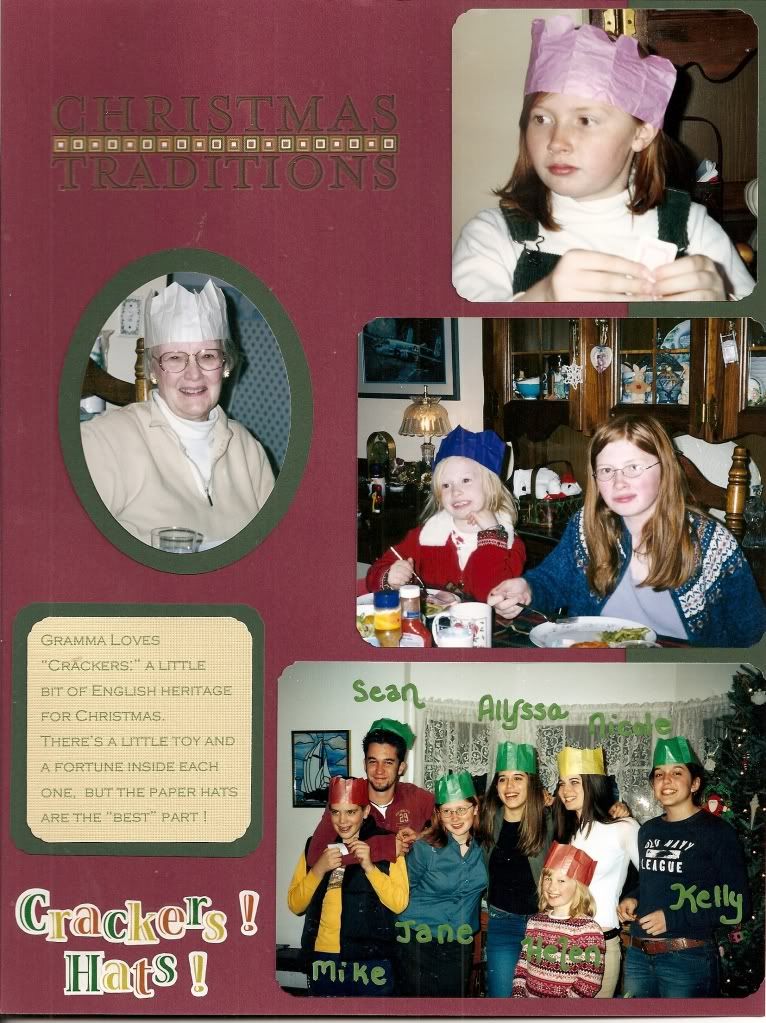
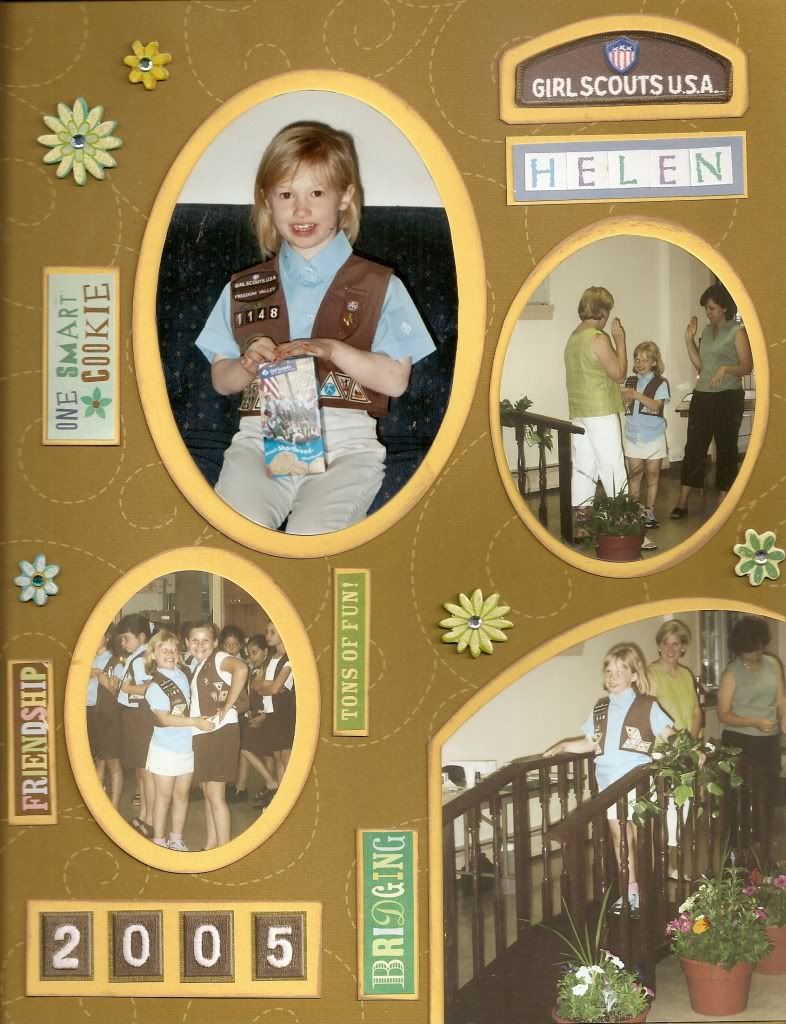
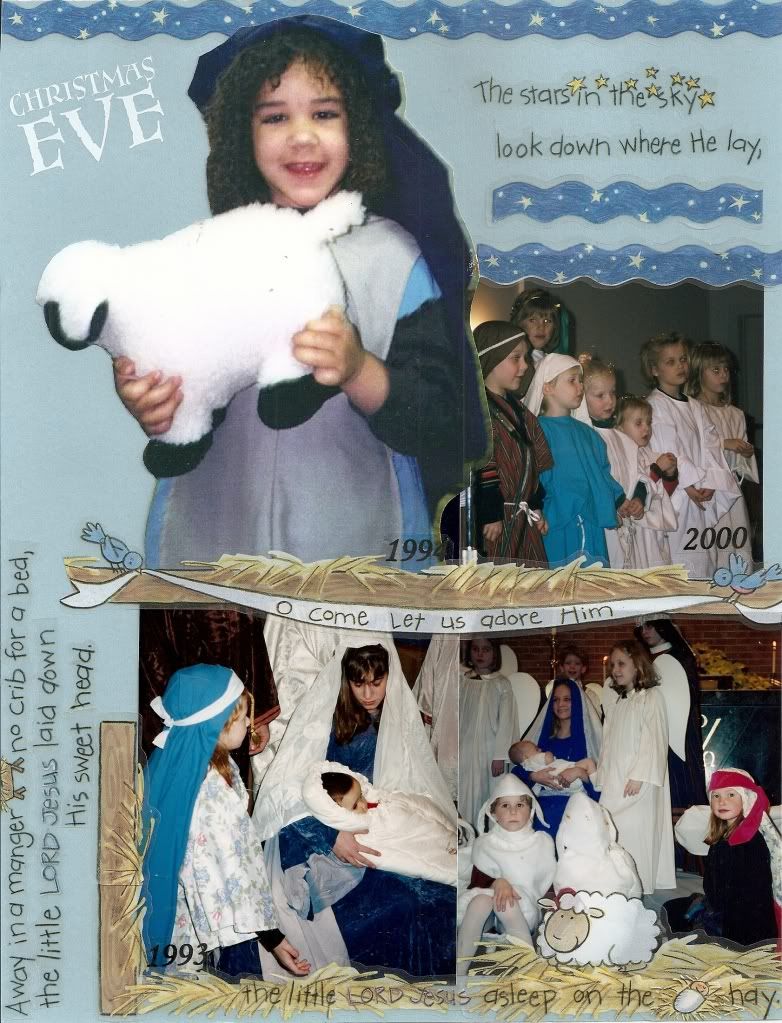
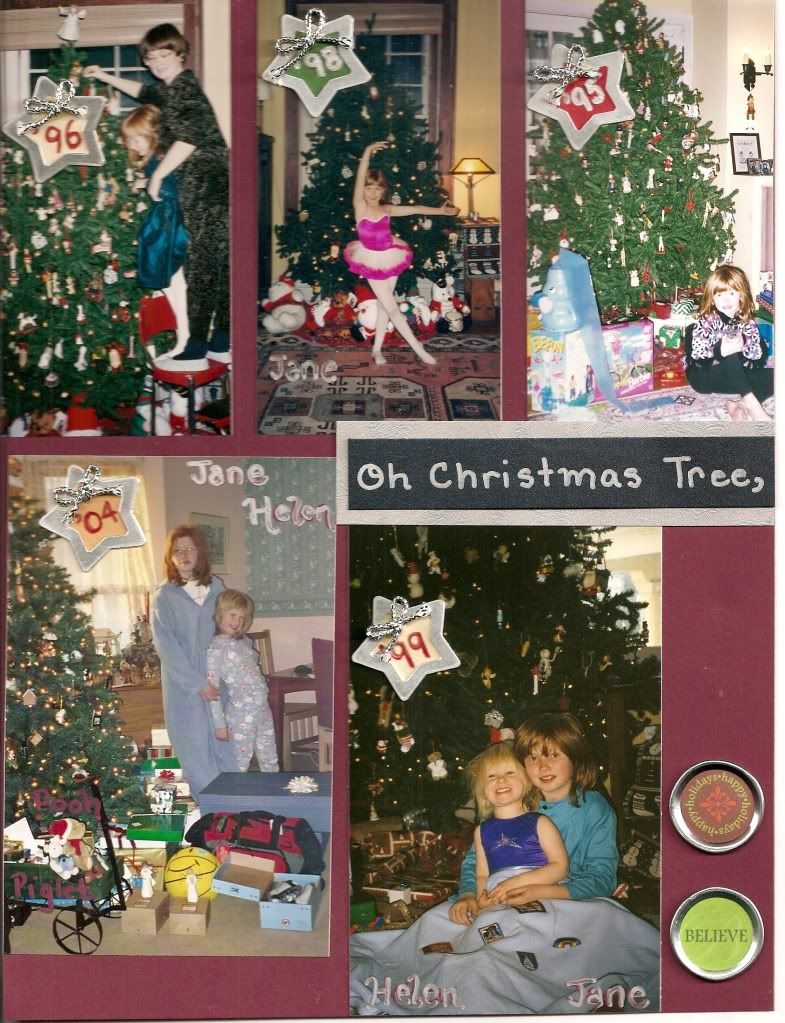
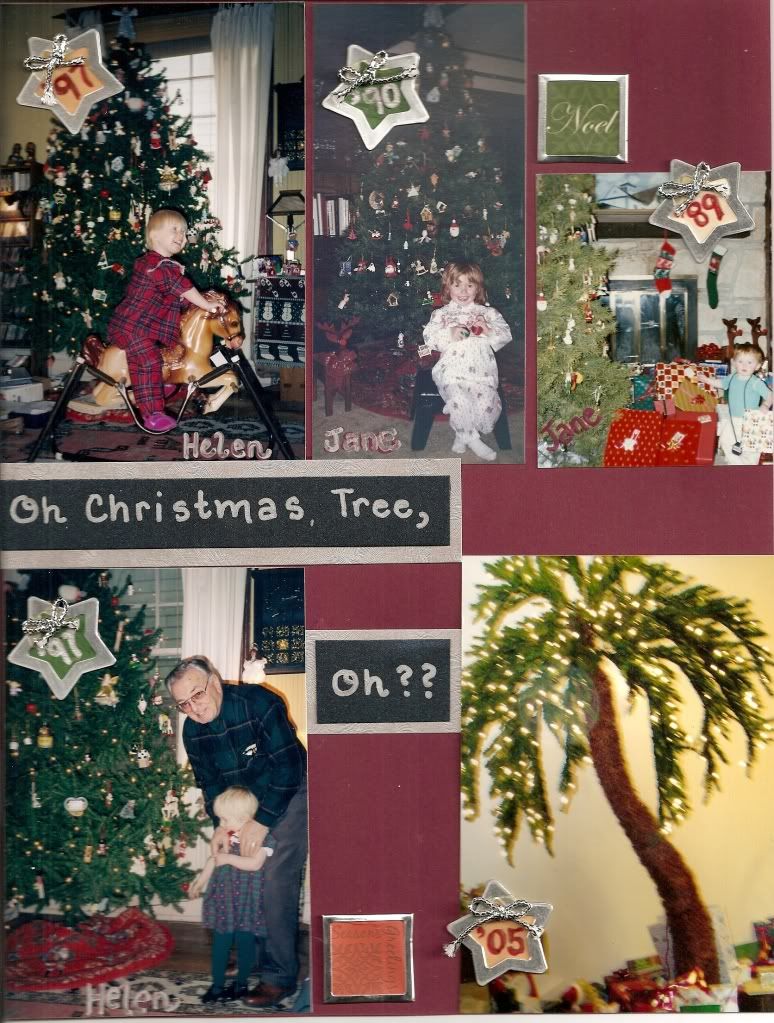
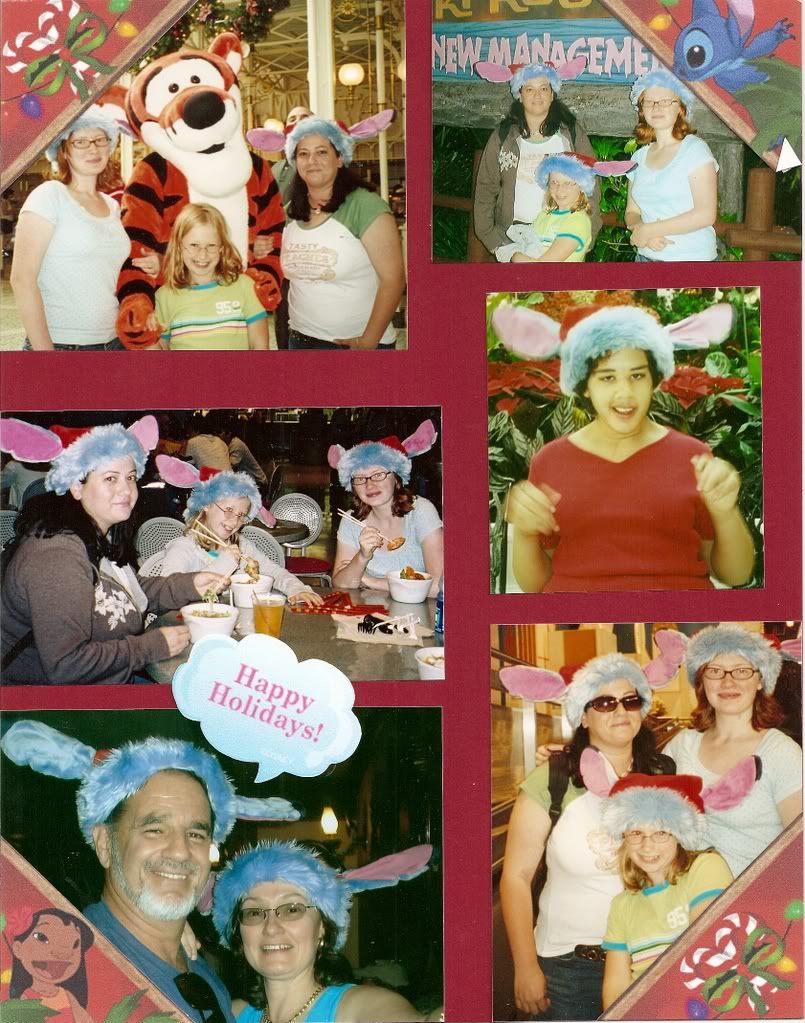
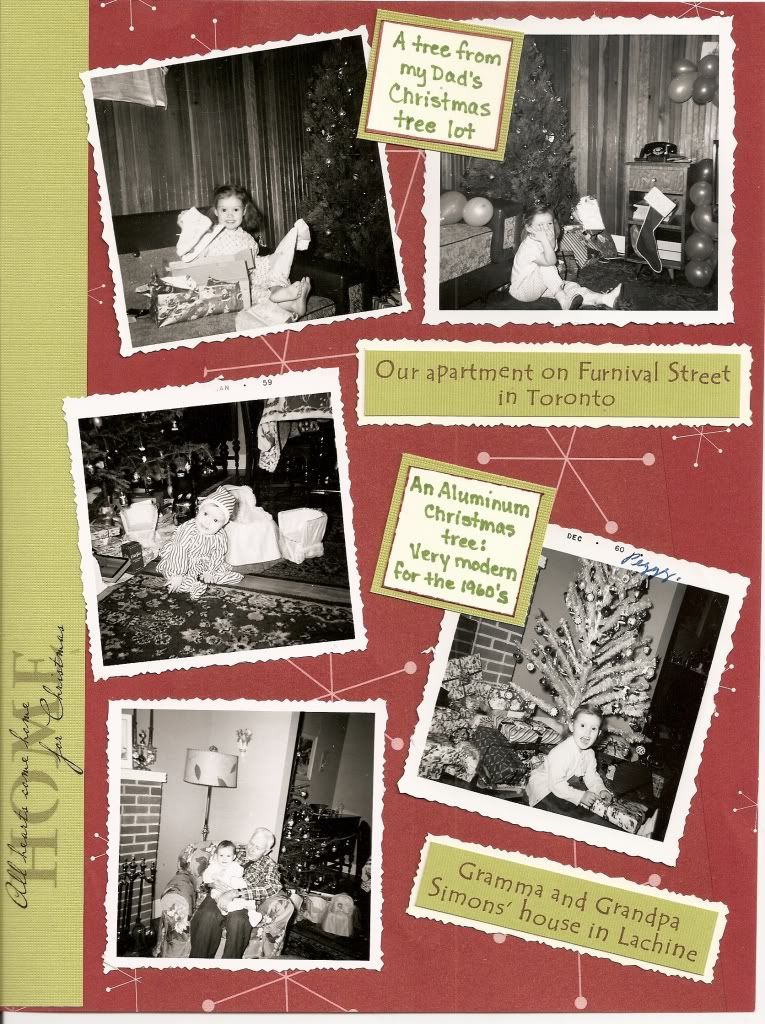
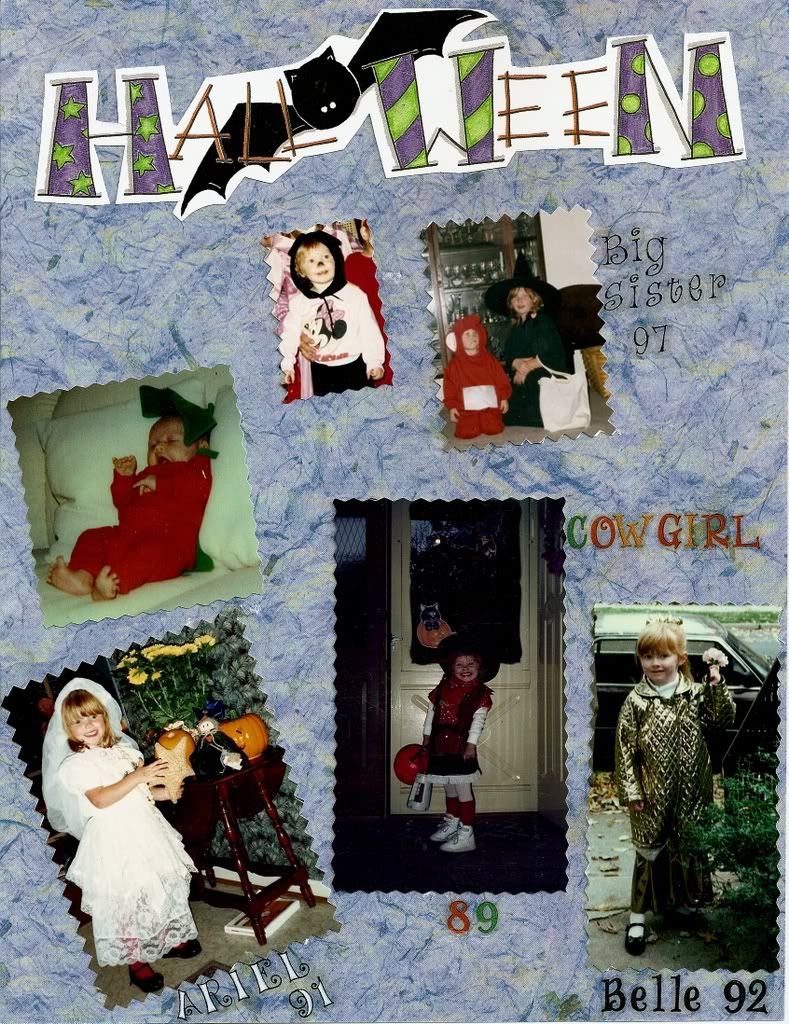
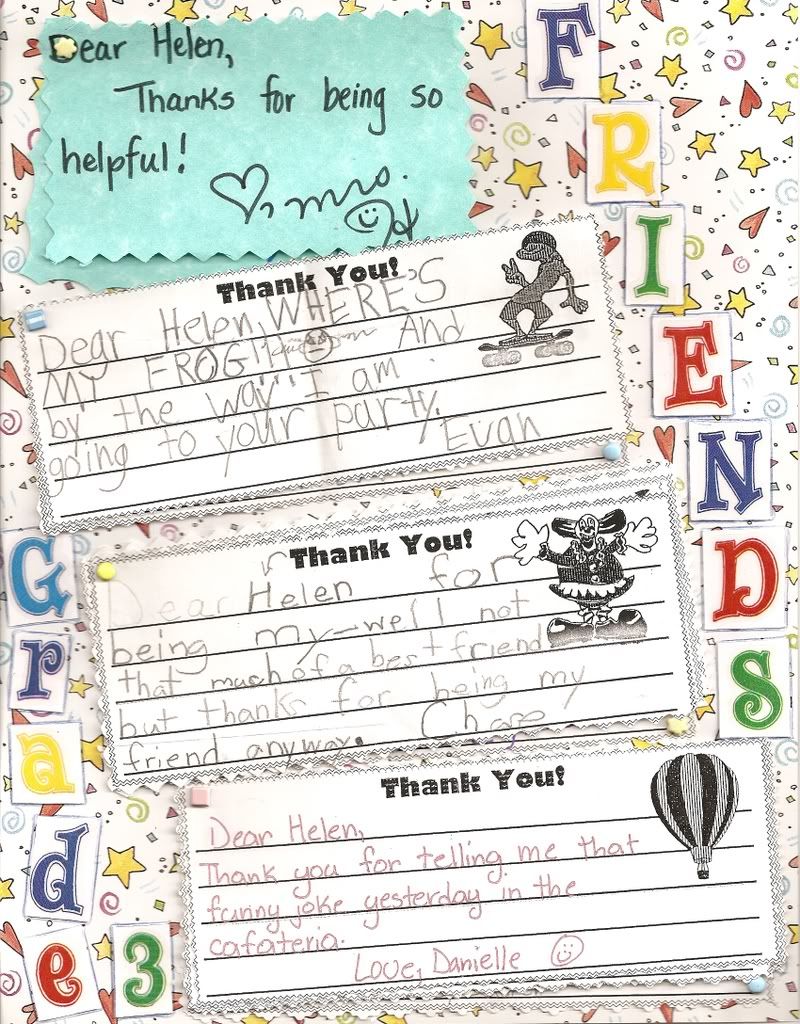
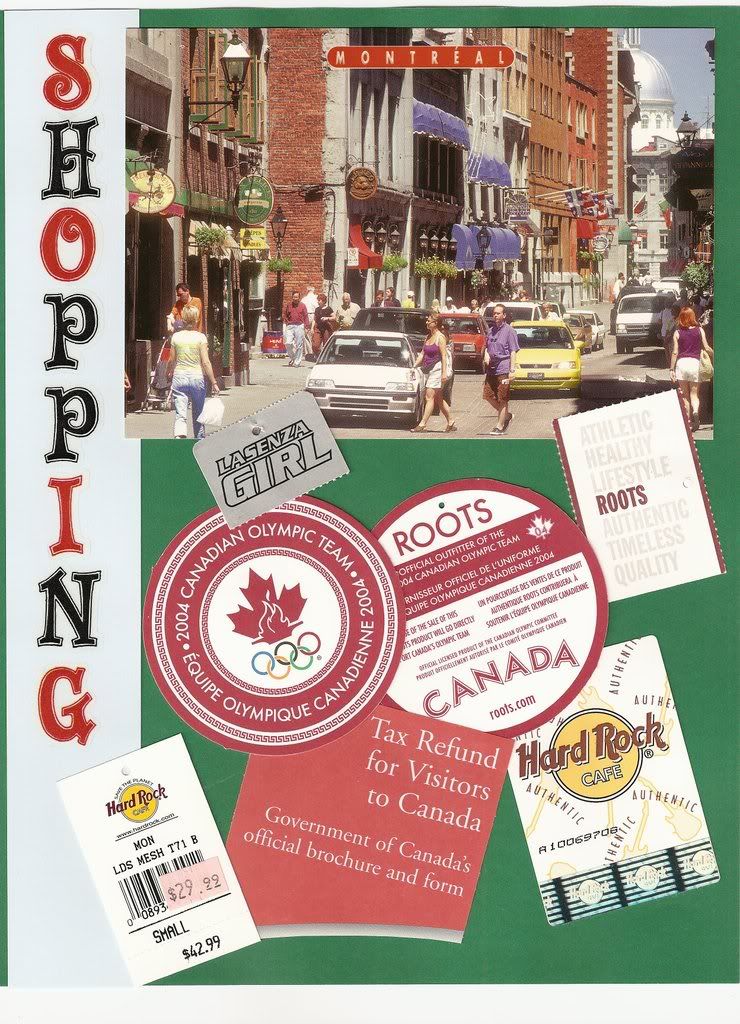
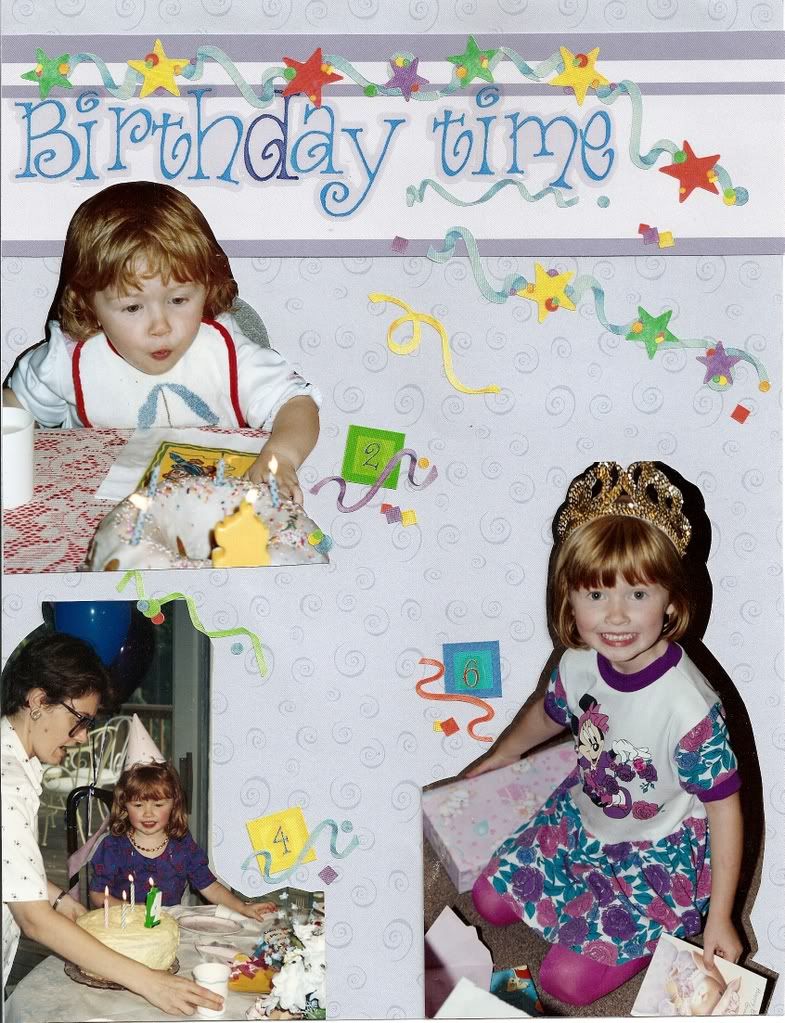
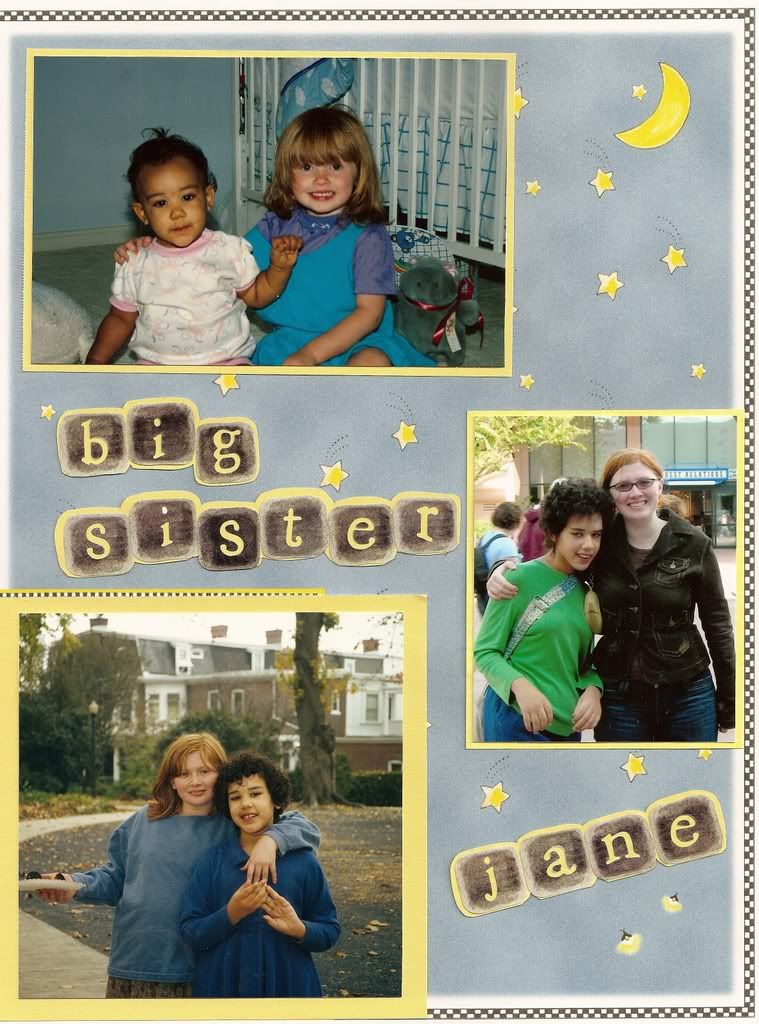
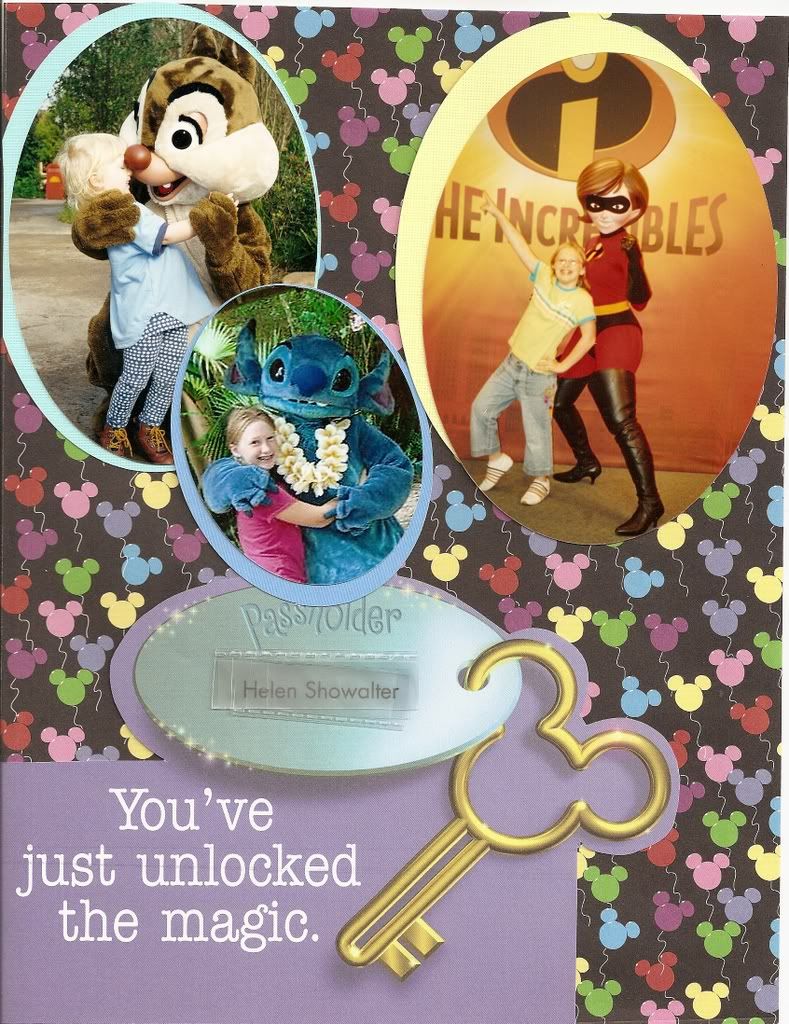
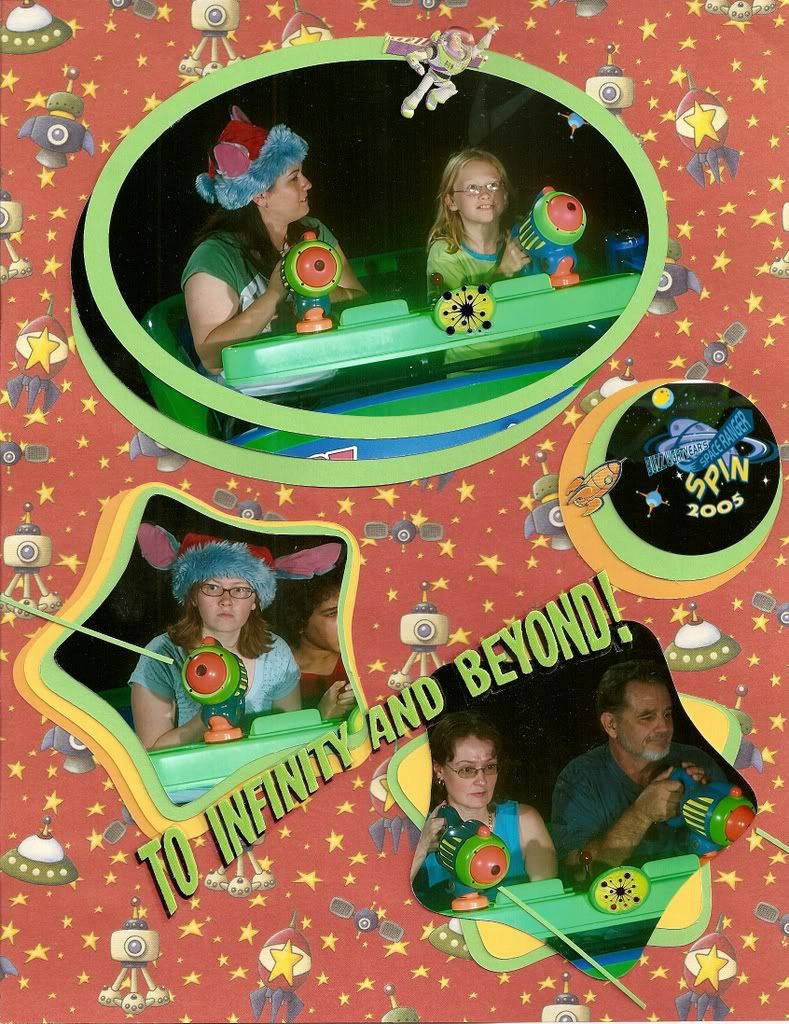
- make several photos small enough to all fit on a page.
Sometimes I group photos for a page, then crop them. Sometimes I crop a whole stack of photos and then select the groups for each page. Sometimes I flip between the two strategies.


