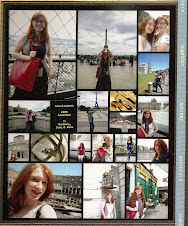
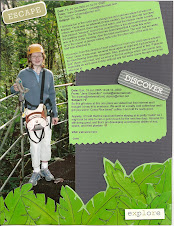
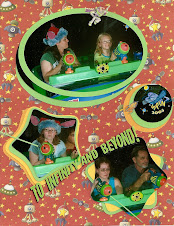
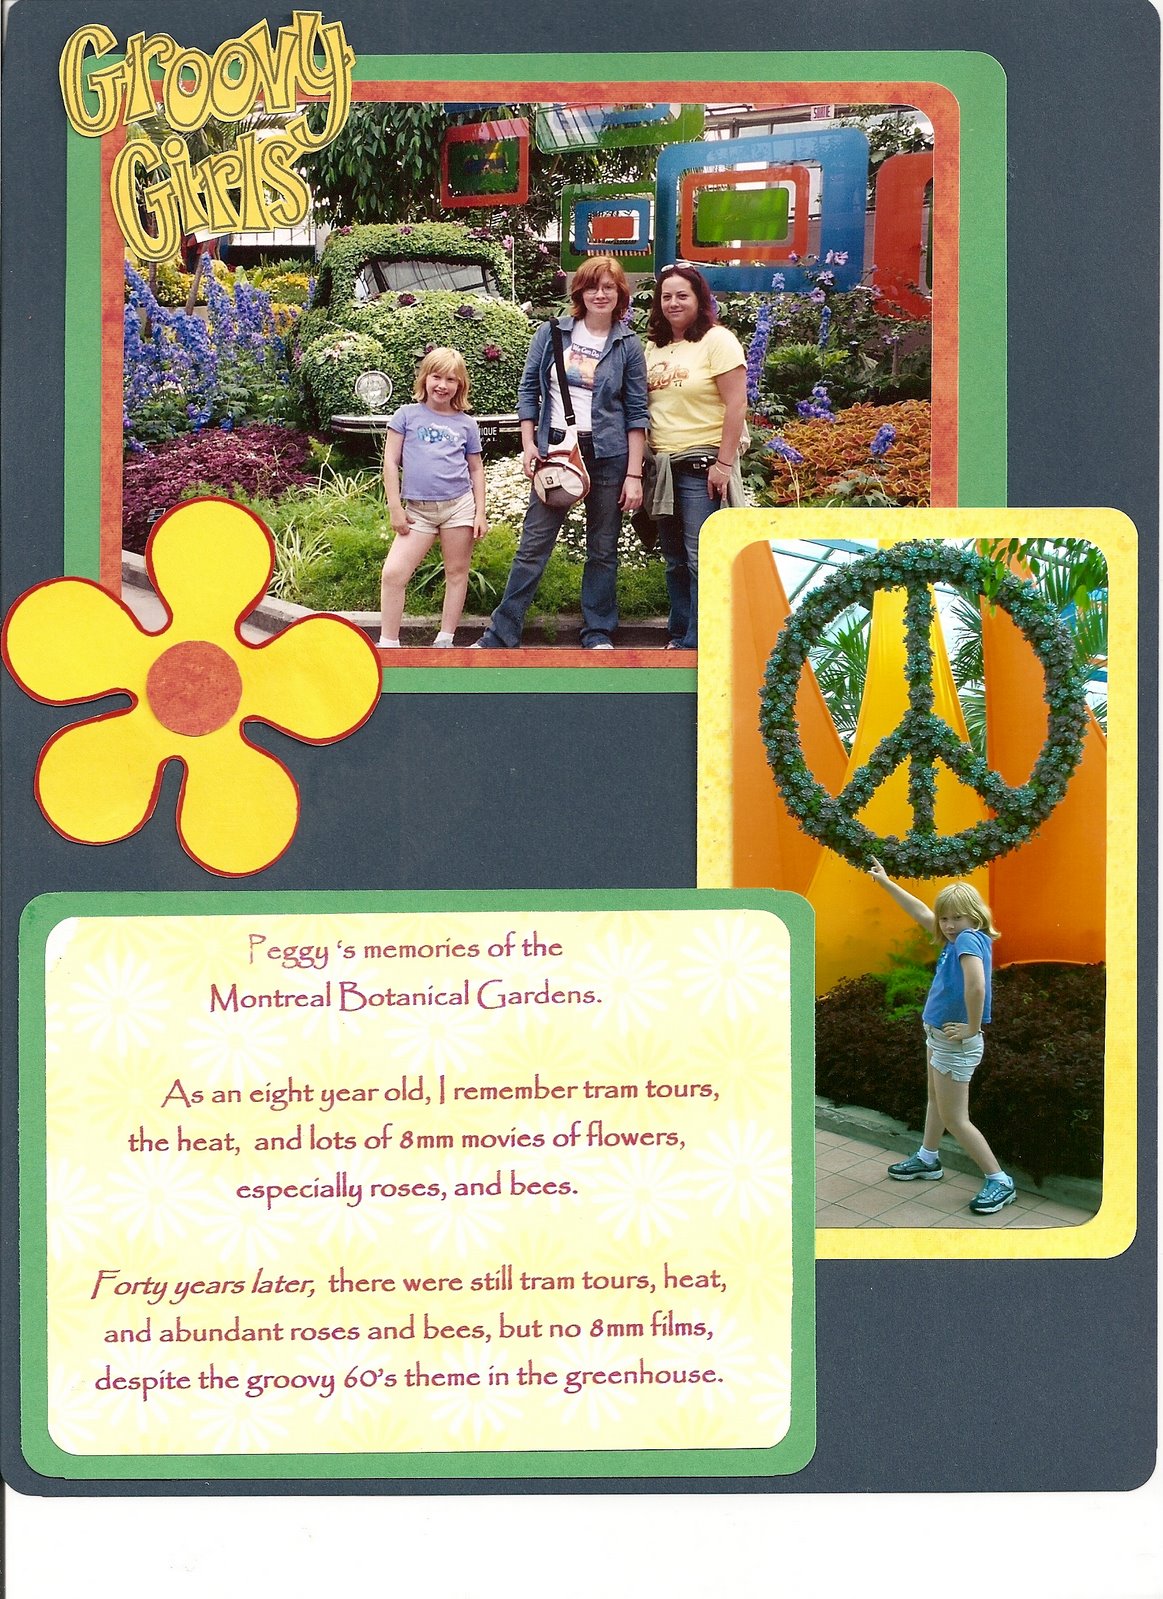
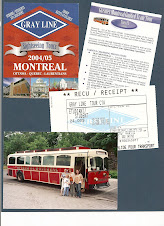
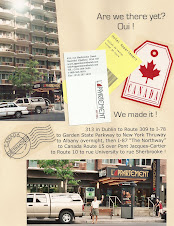
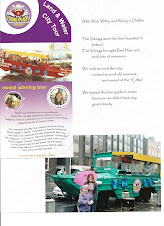
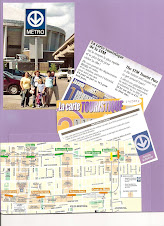
After creating some pages, the scrapbook can be assembled.
- The pages need to be put in order and slipped "back to back" into page protectors. Facing pages need to be compatible but not matching. Often shuffling is necessary. I leave some blank colored cardstock for "future pages" that I may have in mind.
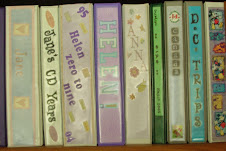
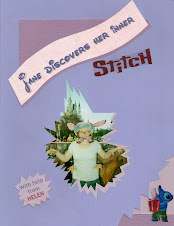
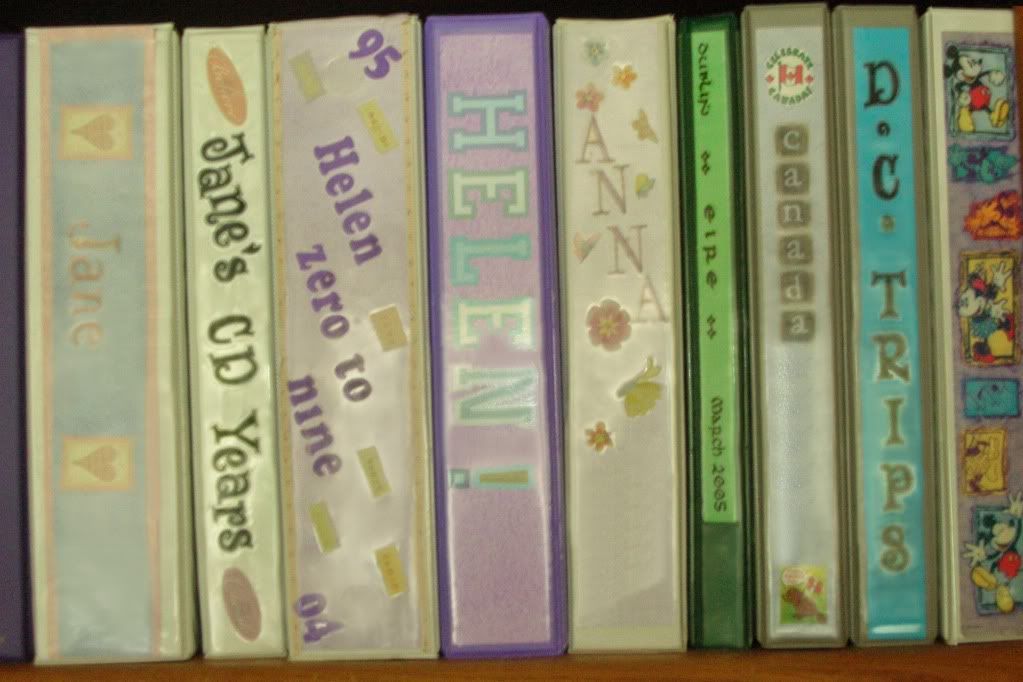
- Most of my scrapbooks are kept in 3-ring binders. The cover of the binder is larger than 8 1/2 x 12, so I trim a 12 x 12 piece of paper that will slip into the front "clear view" pocket. I create the cover and decorate the spines of the scrapbook.
You can buy 8 1/2 x 11 scrapbook albums of an expandable "post style" with pre-printed, fabric, or leather covers. I find shuffling and adding pages more difficult, so I use the post style scrapbook albums for completed projects that I do not expect to modify much in the future (but I could, and have, and will). I only did one scrapbook that was spiral bound -- too much pressure to have the pages and order correct from the start !


