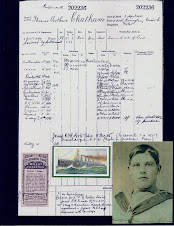
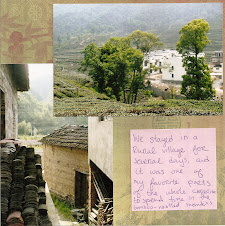
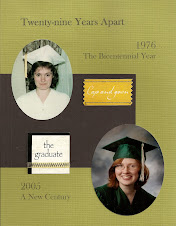
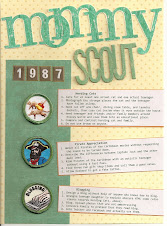
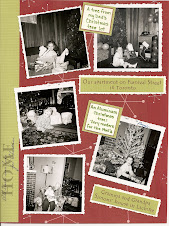
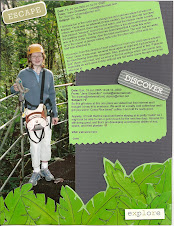
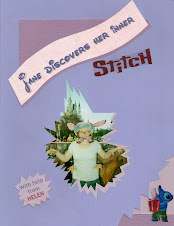
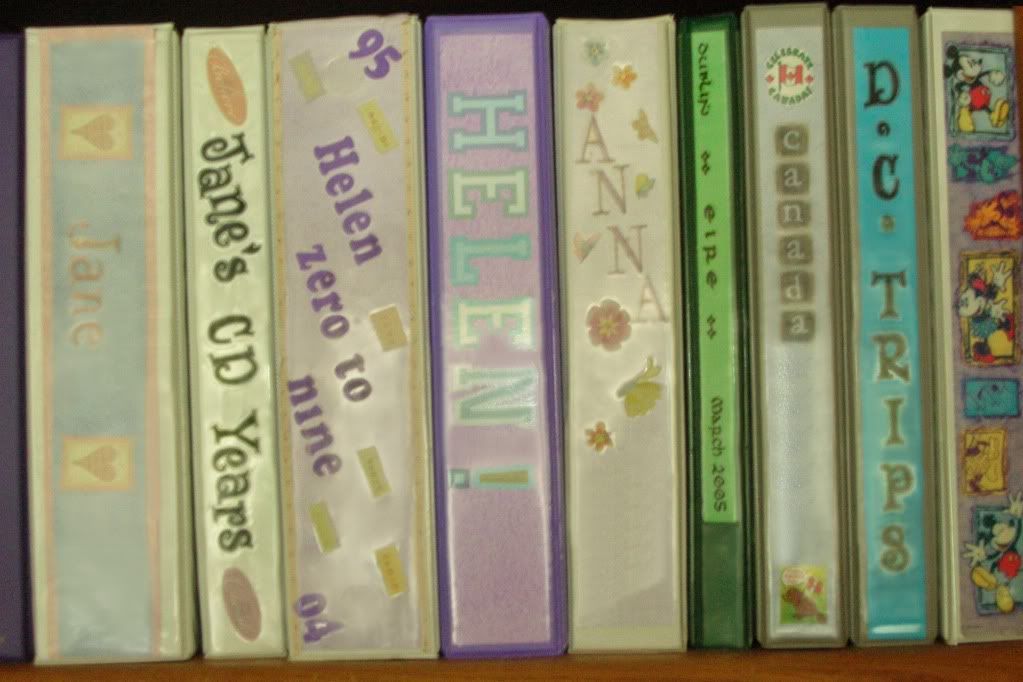
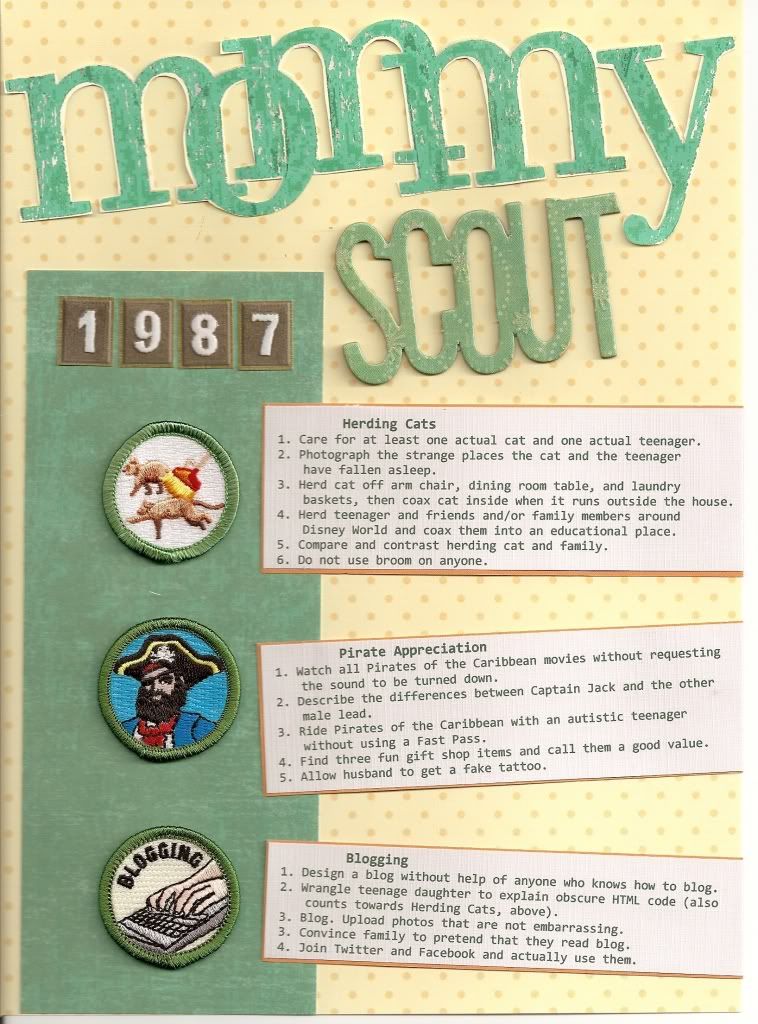
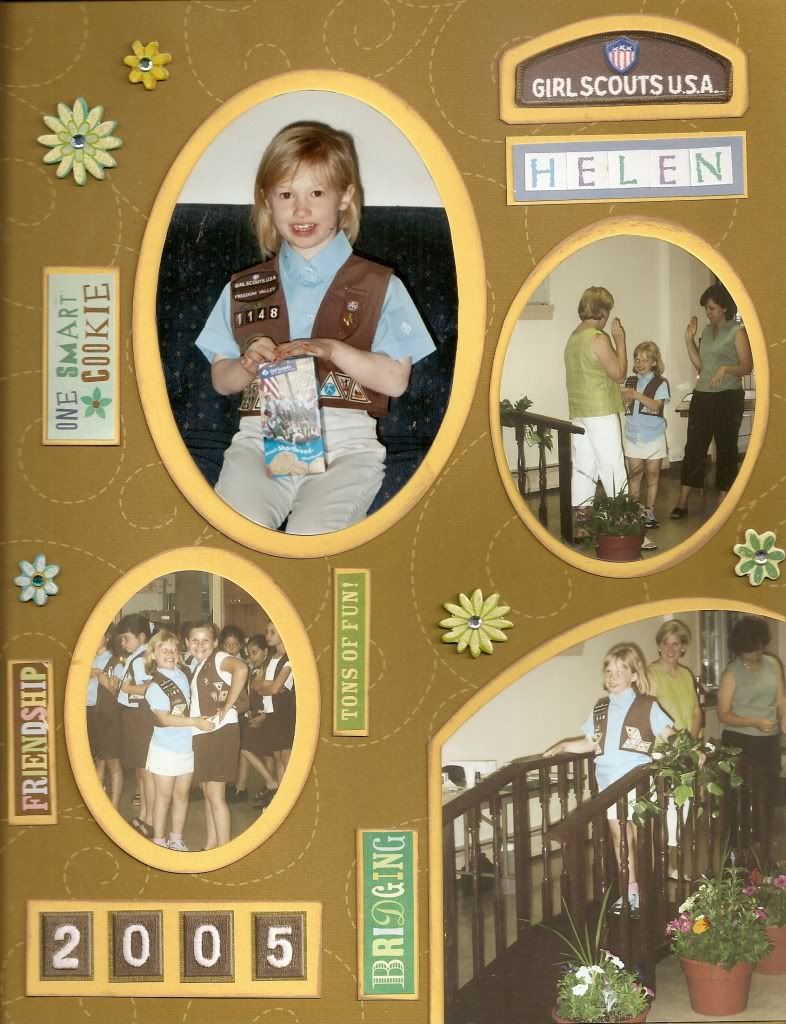
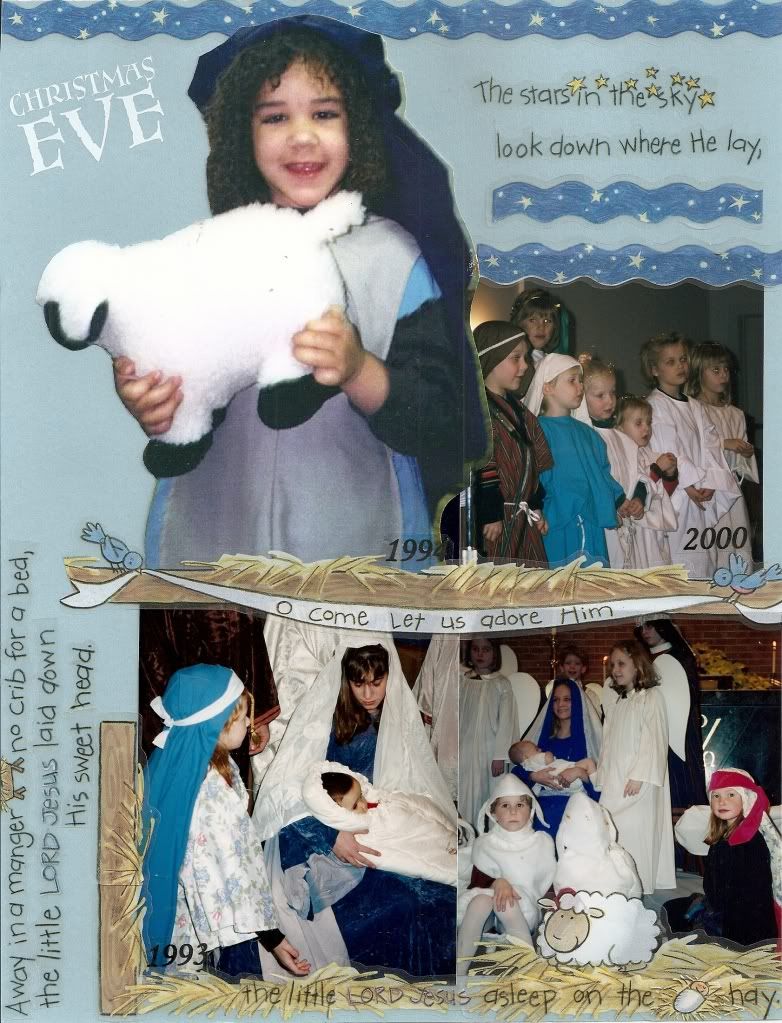
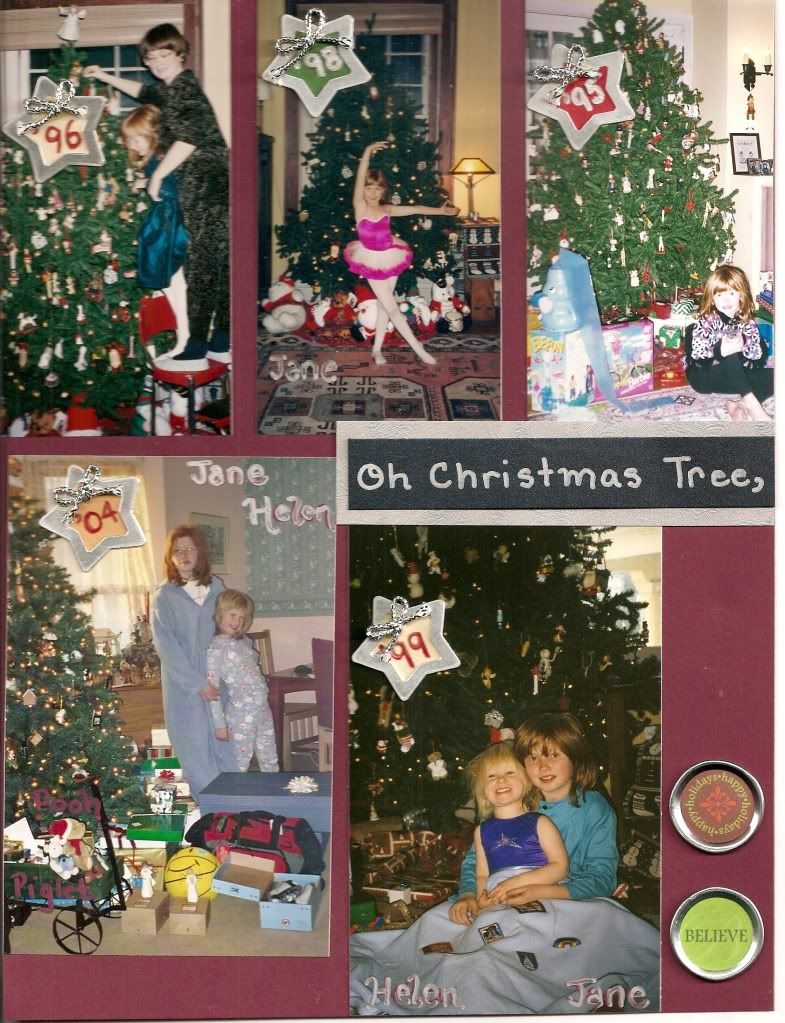
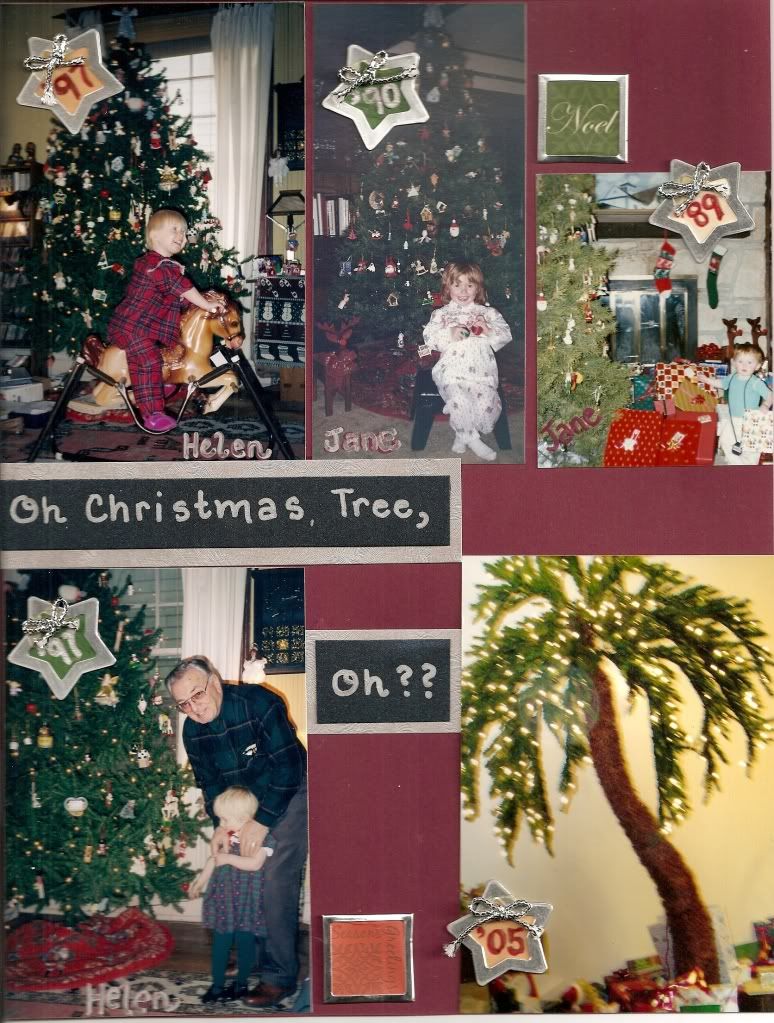
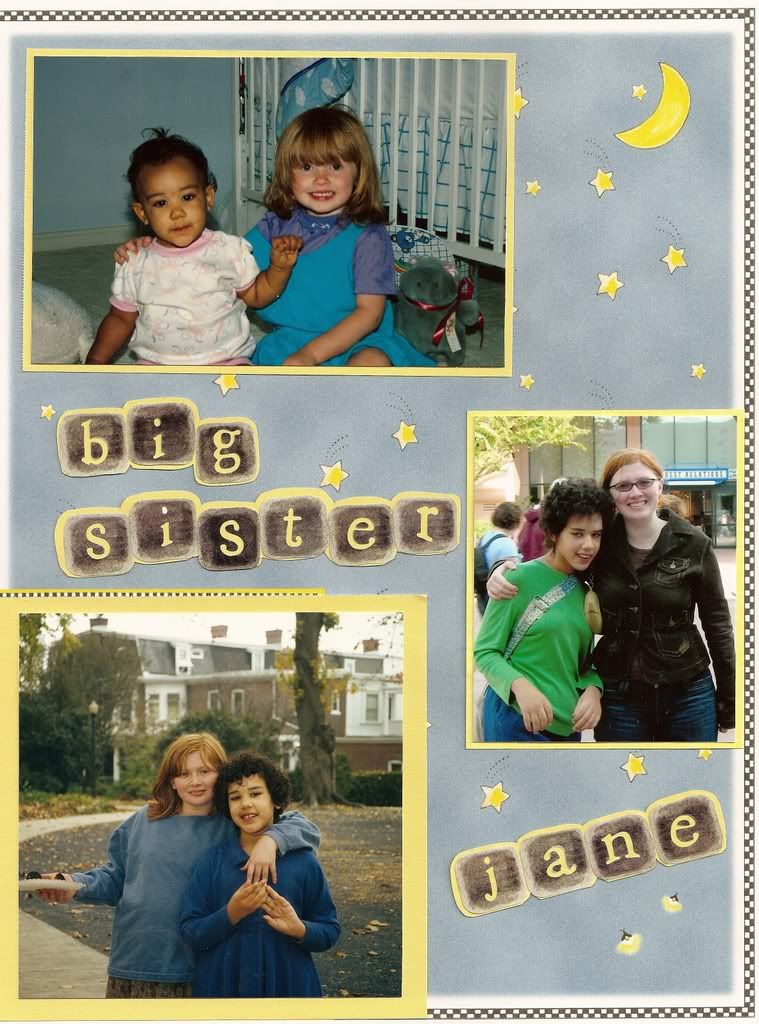
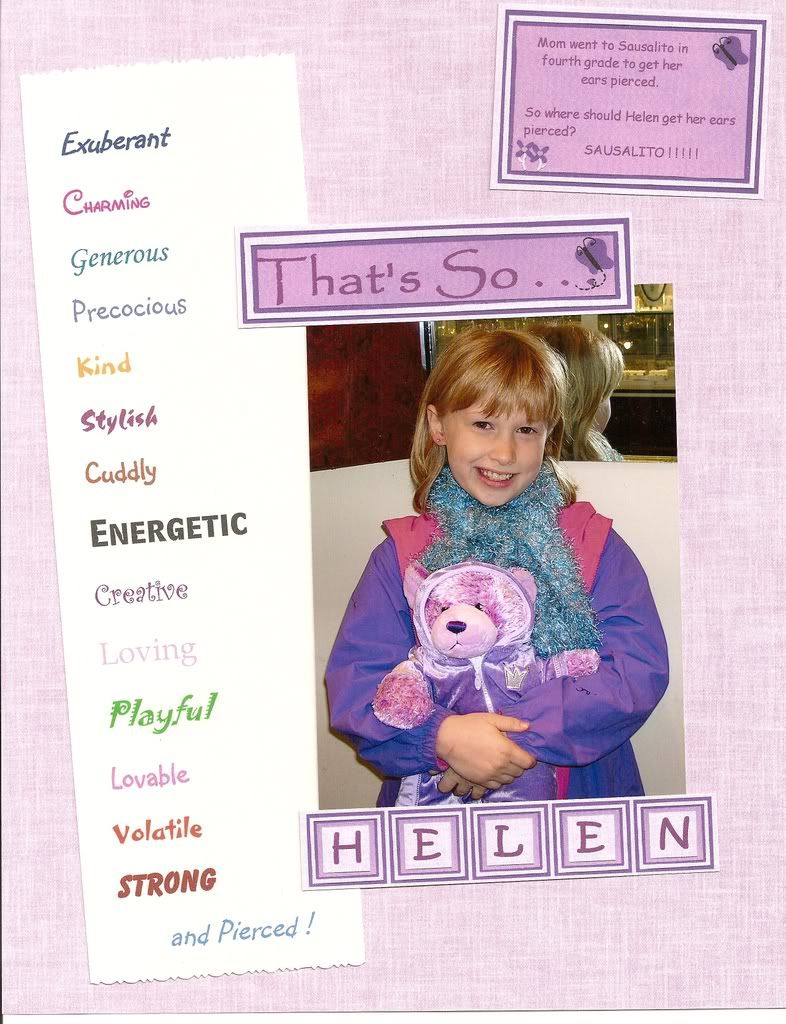
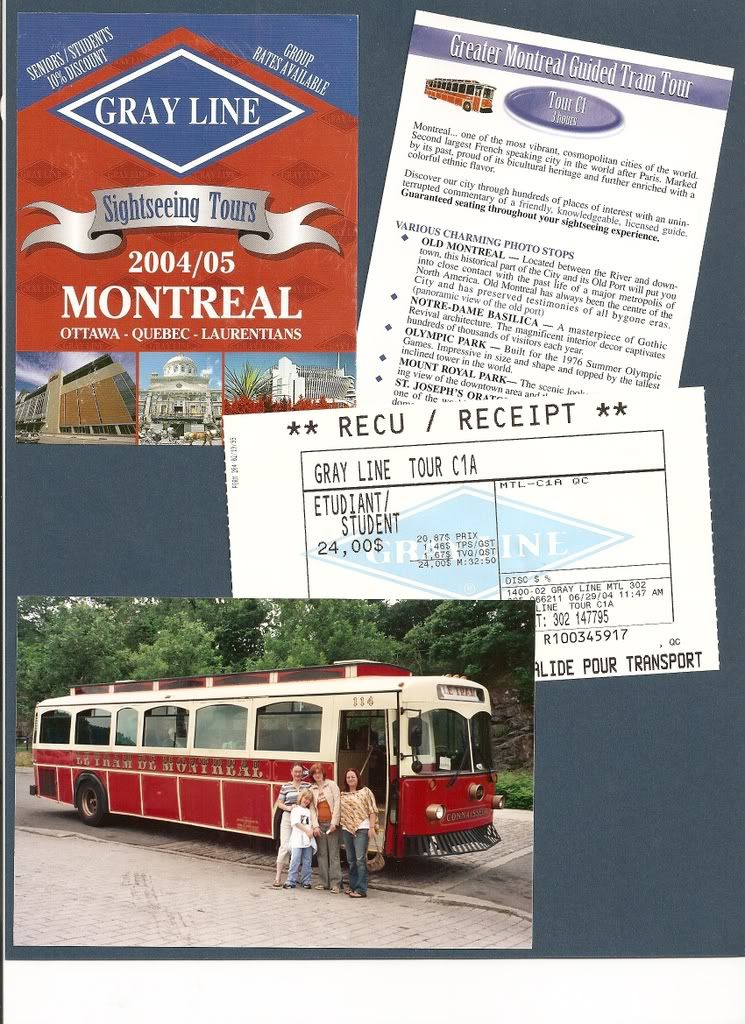
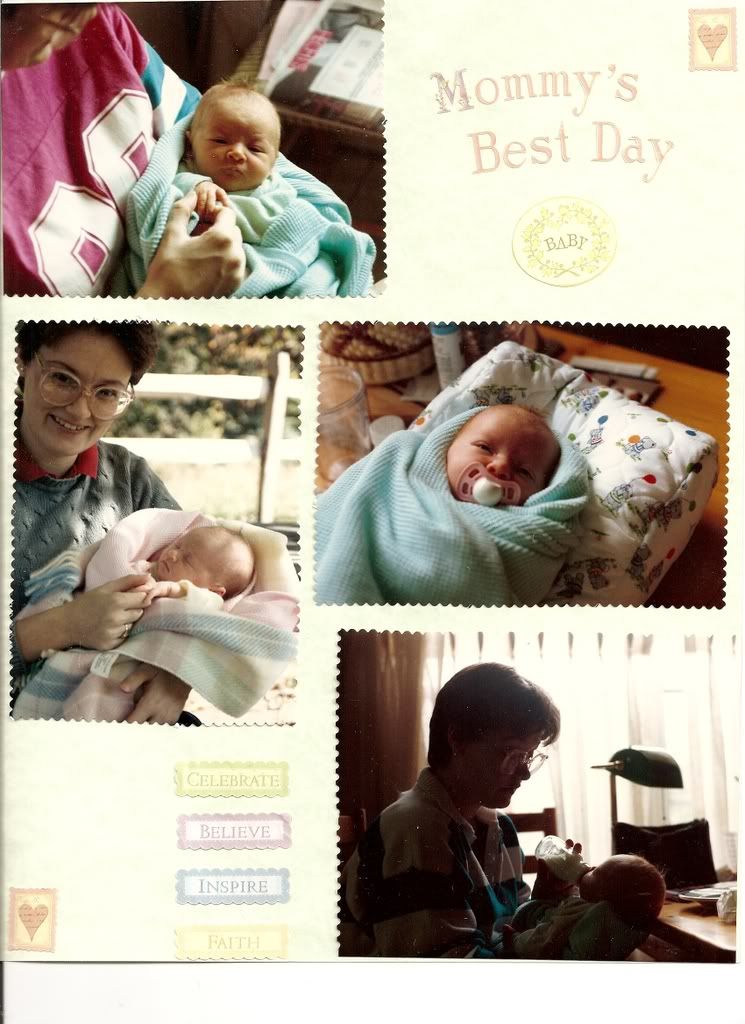
Some pages may need a lot of space for a lot of explanation or story. For some pages brief captions or dates are enough. The more text, the fewer photos will fit comfortably on the page. I rarely write long journal entries and prefer to "stick to the facts," often from a humerous perspective. Only a few pages of my pages seem to need a big title across the top. Here are some of my favorite layout basics:
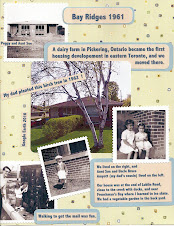
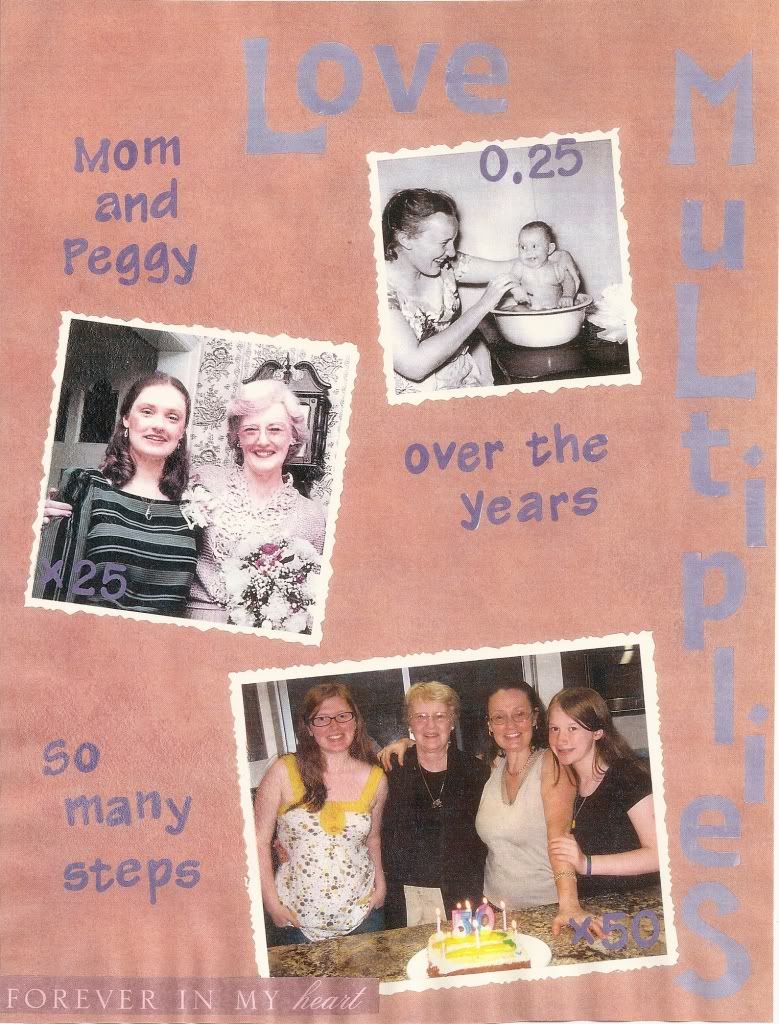
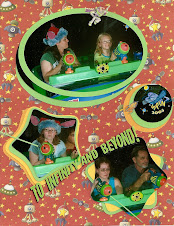
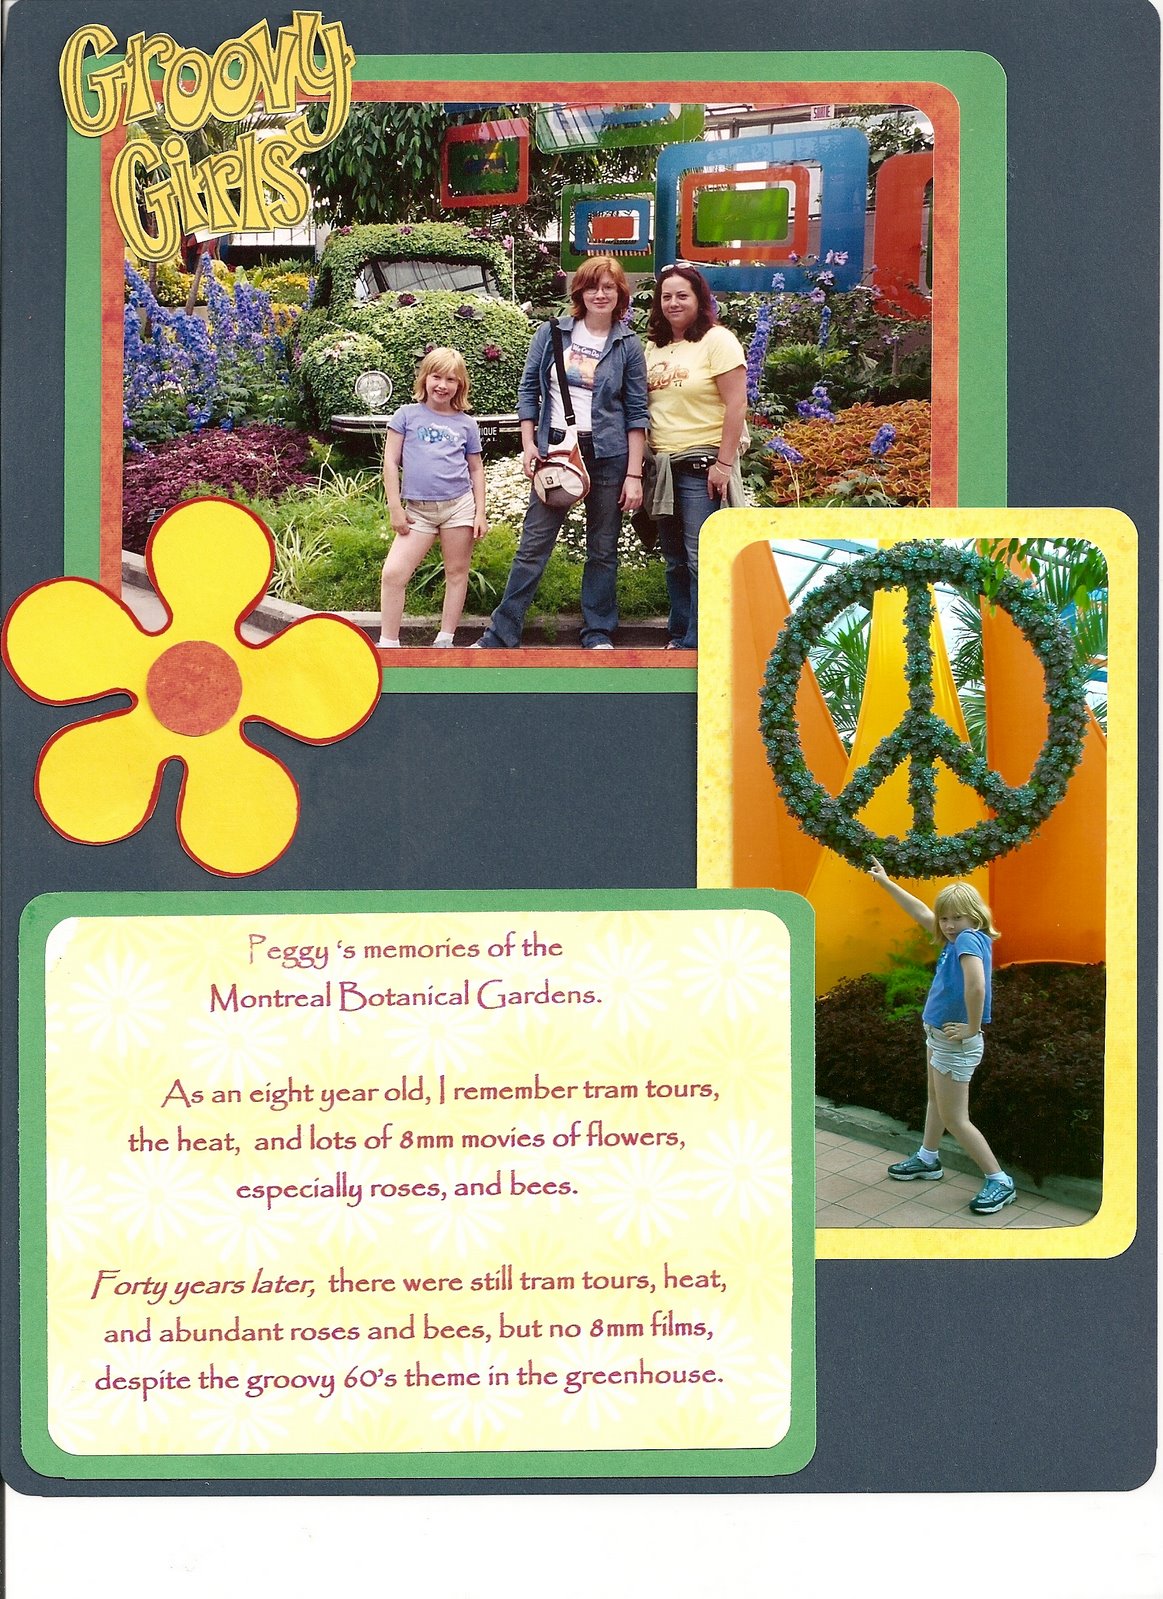
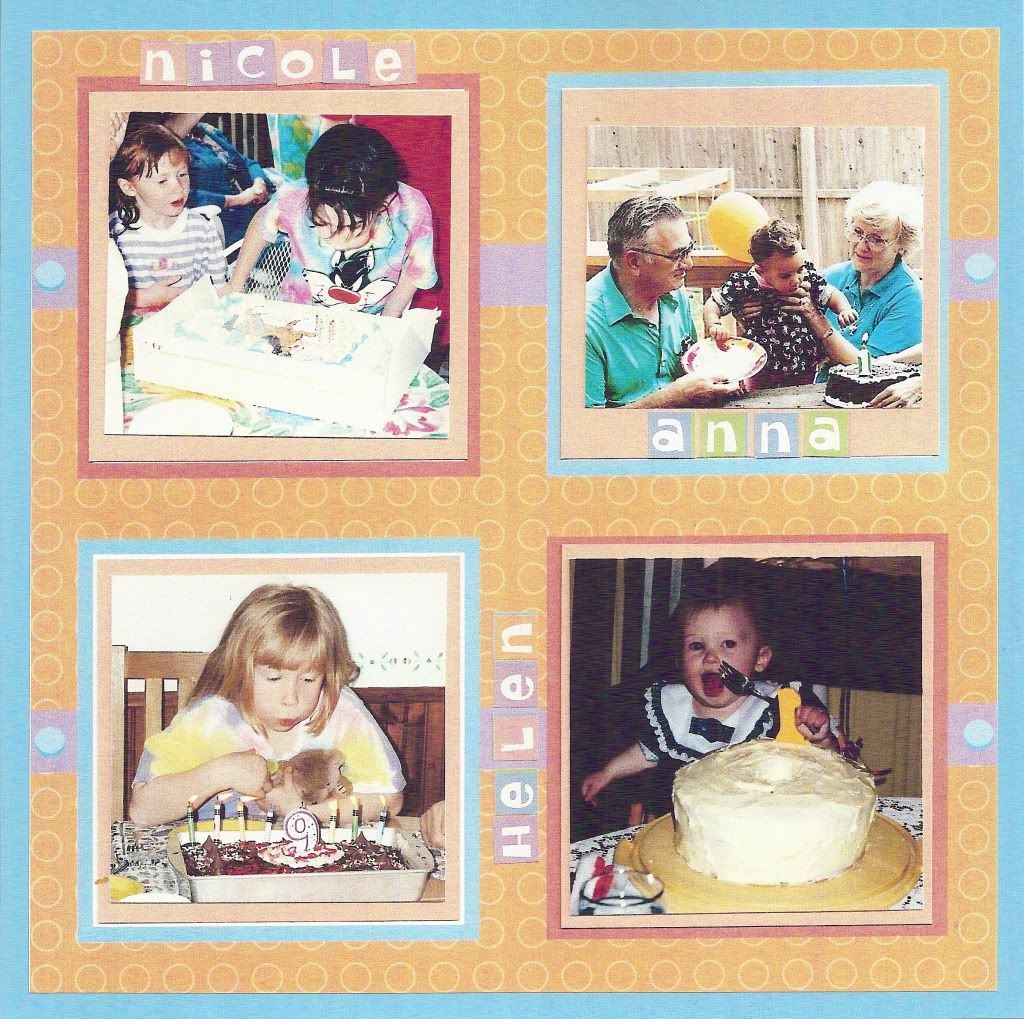
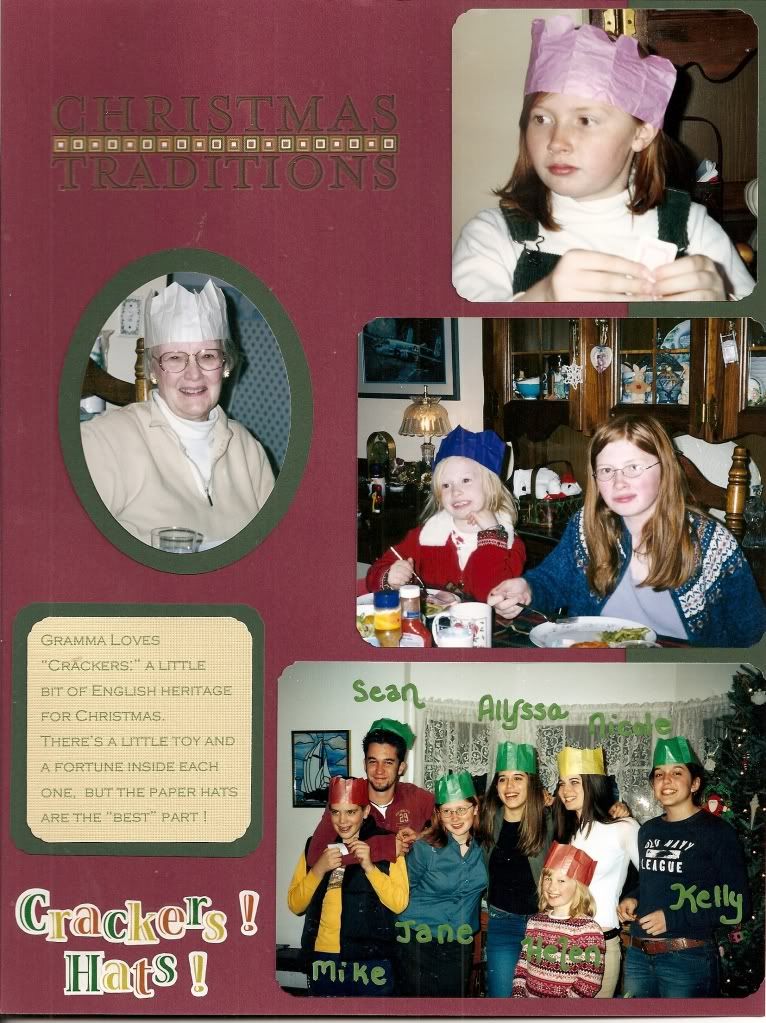
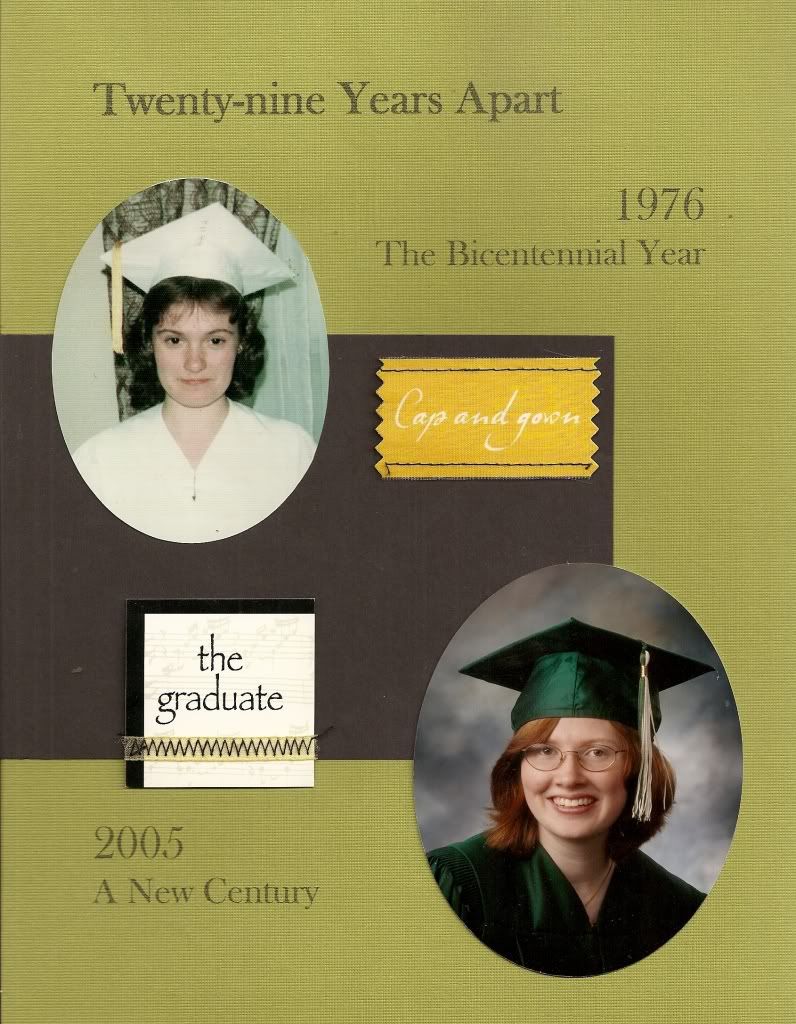
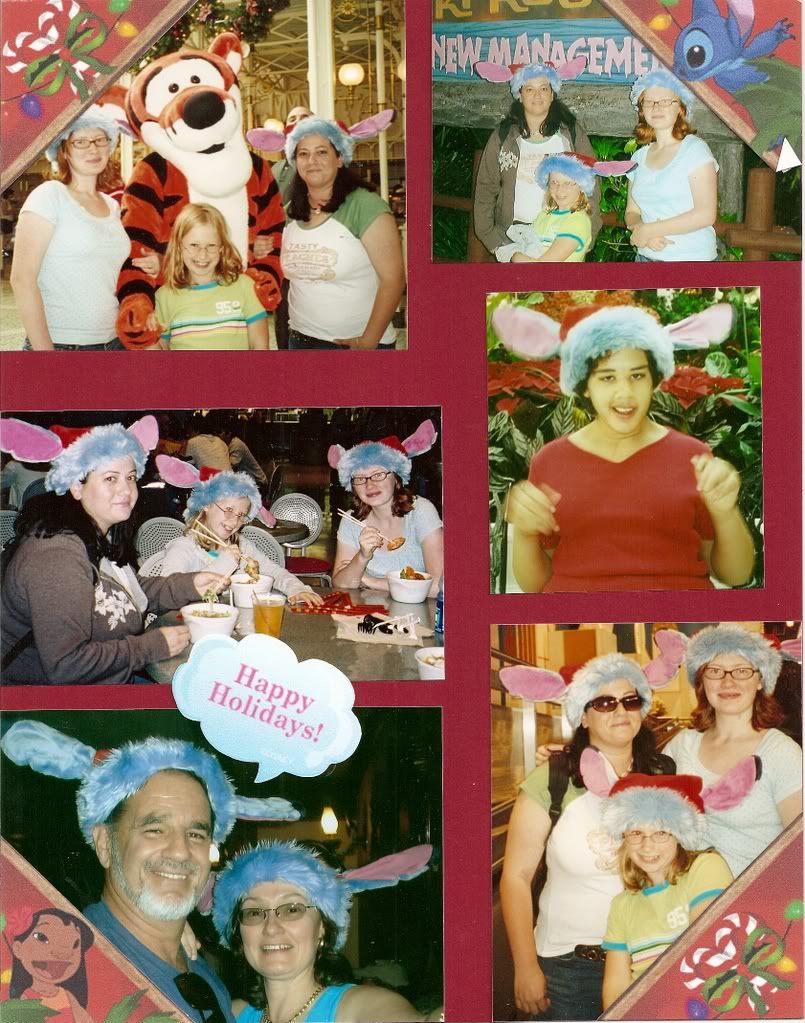
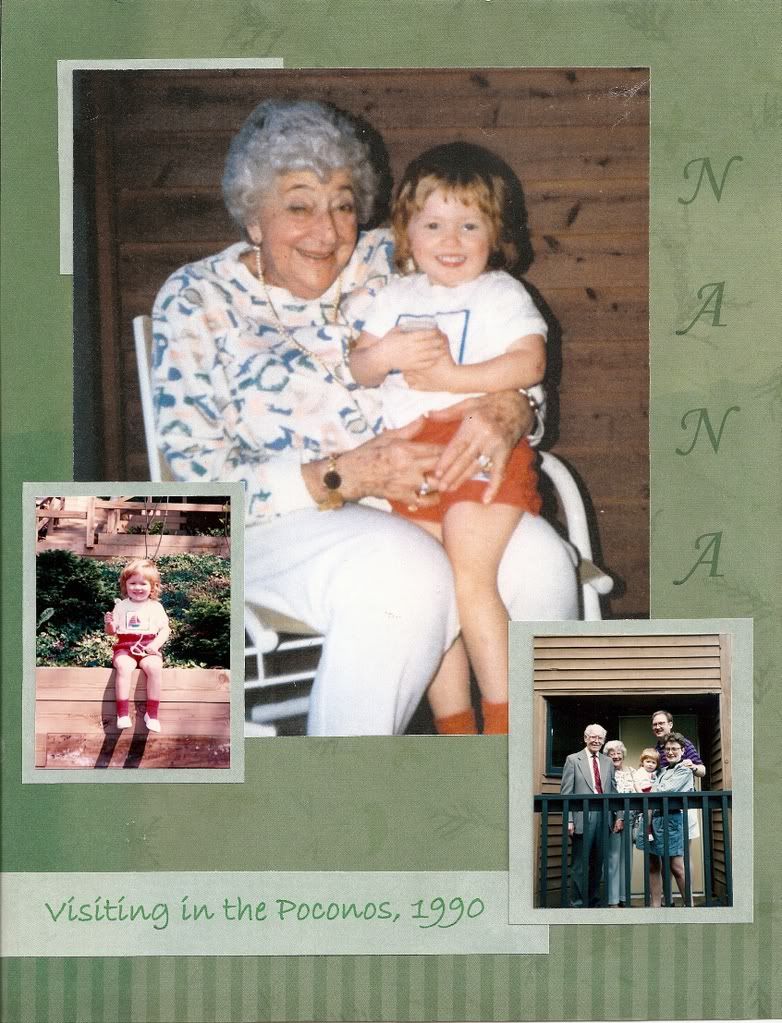
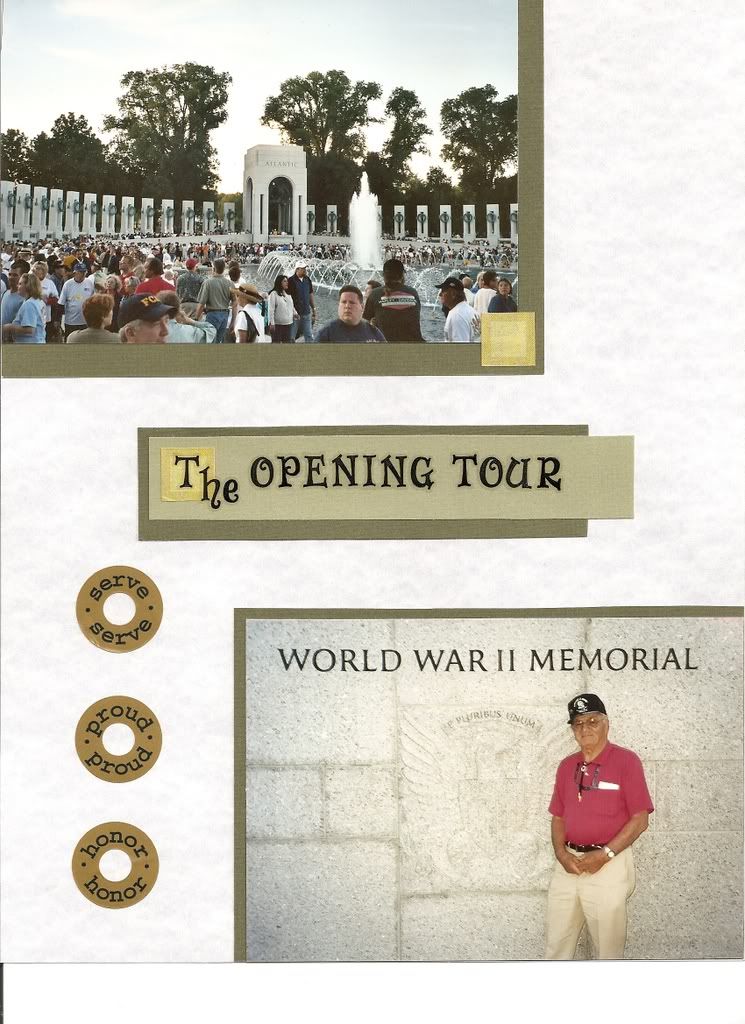
- In general a layout looks "correct" when photos seem to flow on a diagonal along the page from the upper left to the lower right. That leaves space in the upper right (and sometimes lower left) for text.
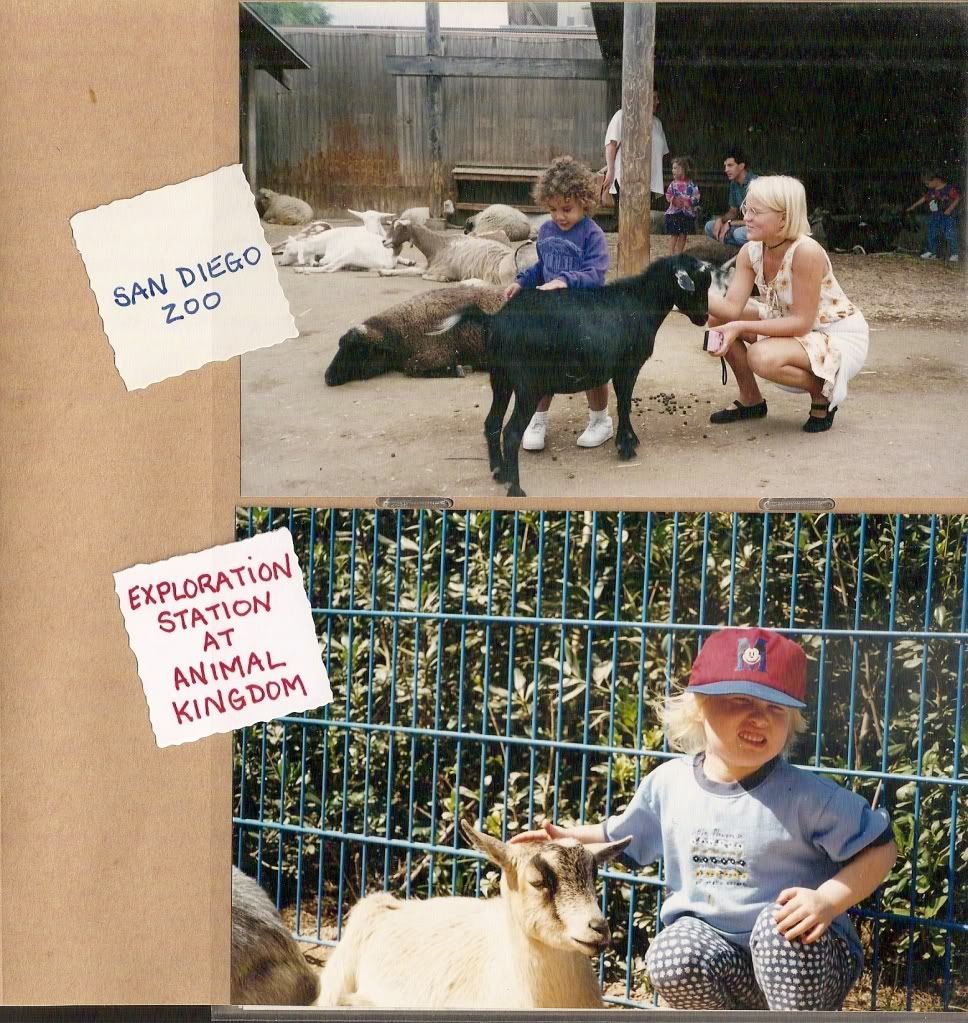
- Many photos look better against the edge of the scrapbook page, and others look better with the scrapbook page serving as a border.
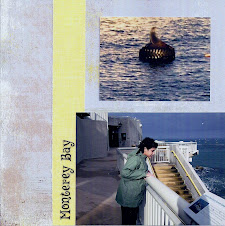
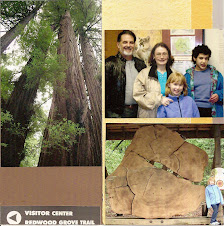
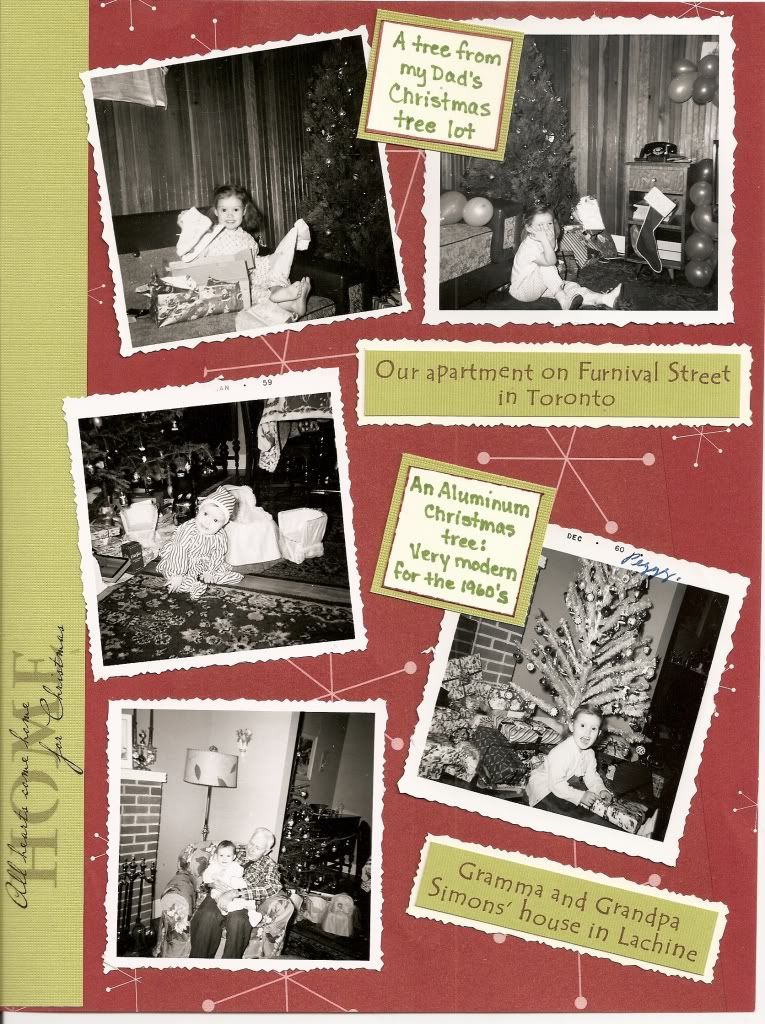
- If you have a photo with sky, it often looks best flush against the top edge of the scrapbook page, so no color shows between the edge of the sky and the edge of the page.
- Similarly, if you have a photo with half a head, tree, or building on one side, put it flush against the page edge.
- Some photos look better "grounded" against the bottom edge.
- You may need to crop some more (small slices at a time !) so the photos fit on the page and the areas around the photos be uniformly spaced.


