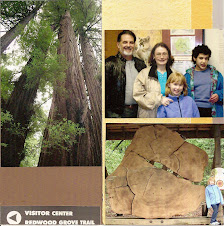
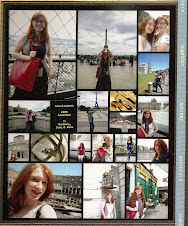
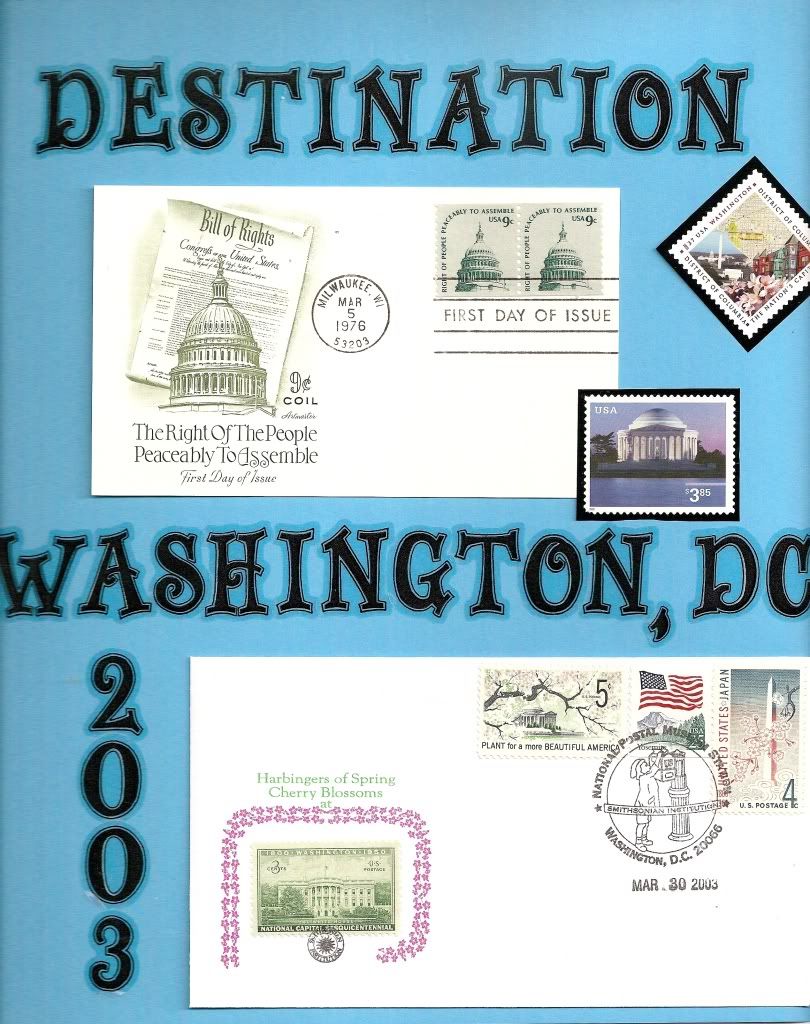
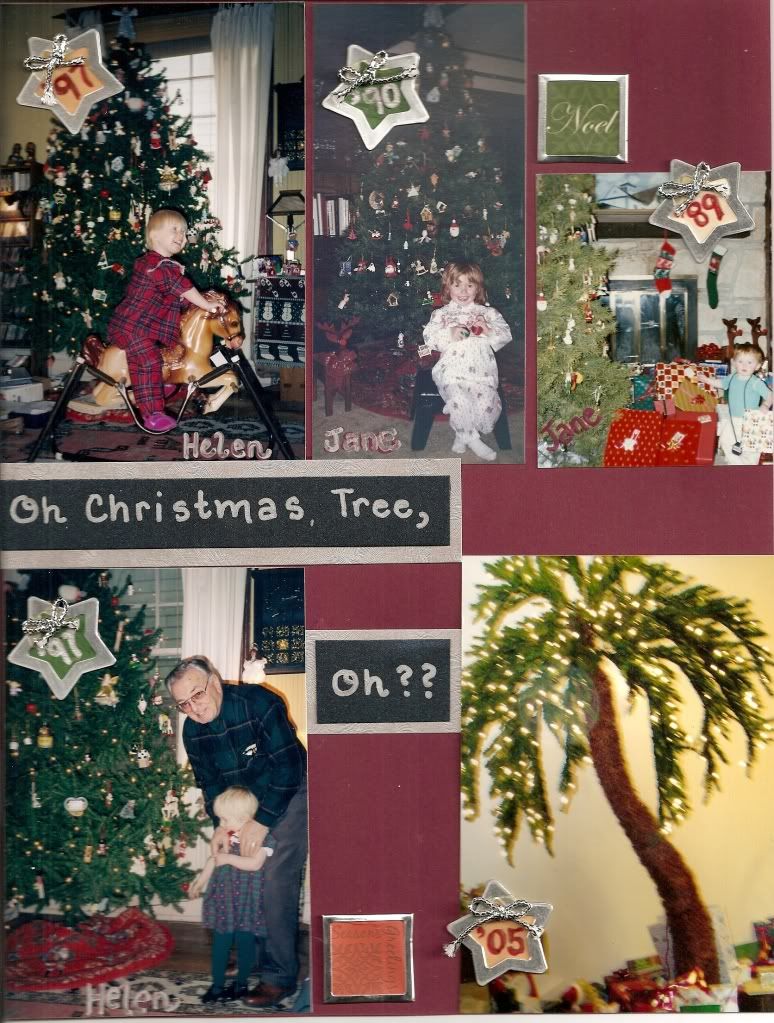
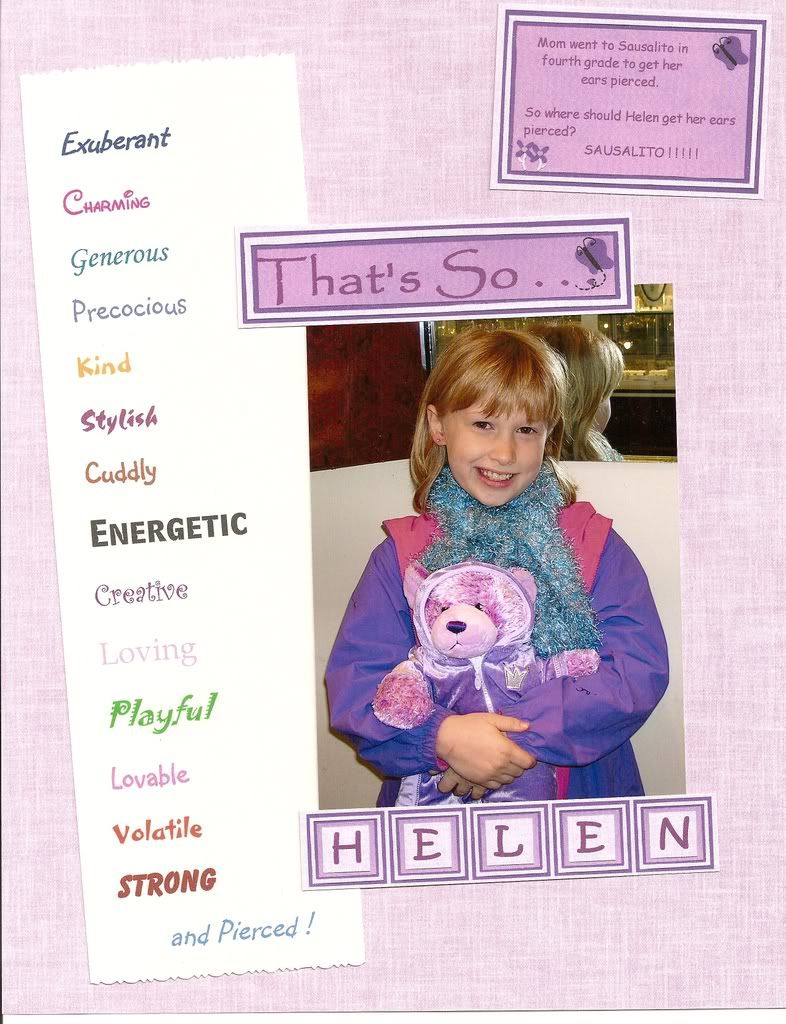
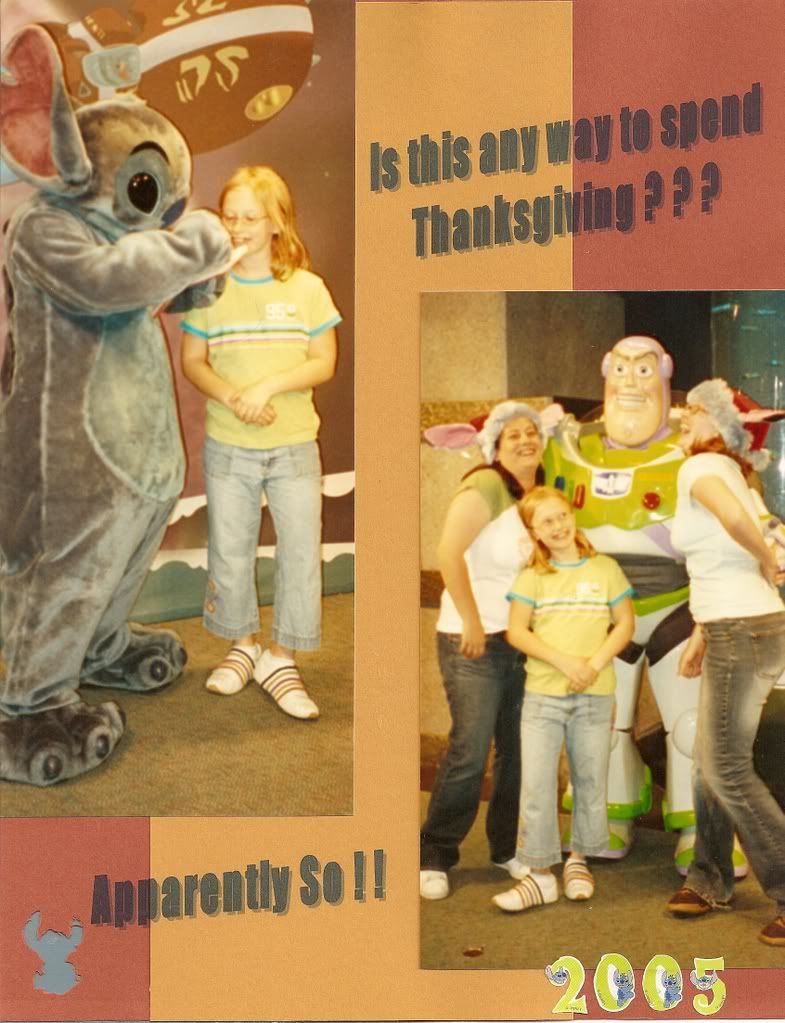
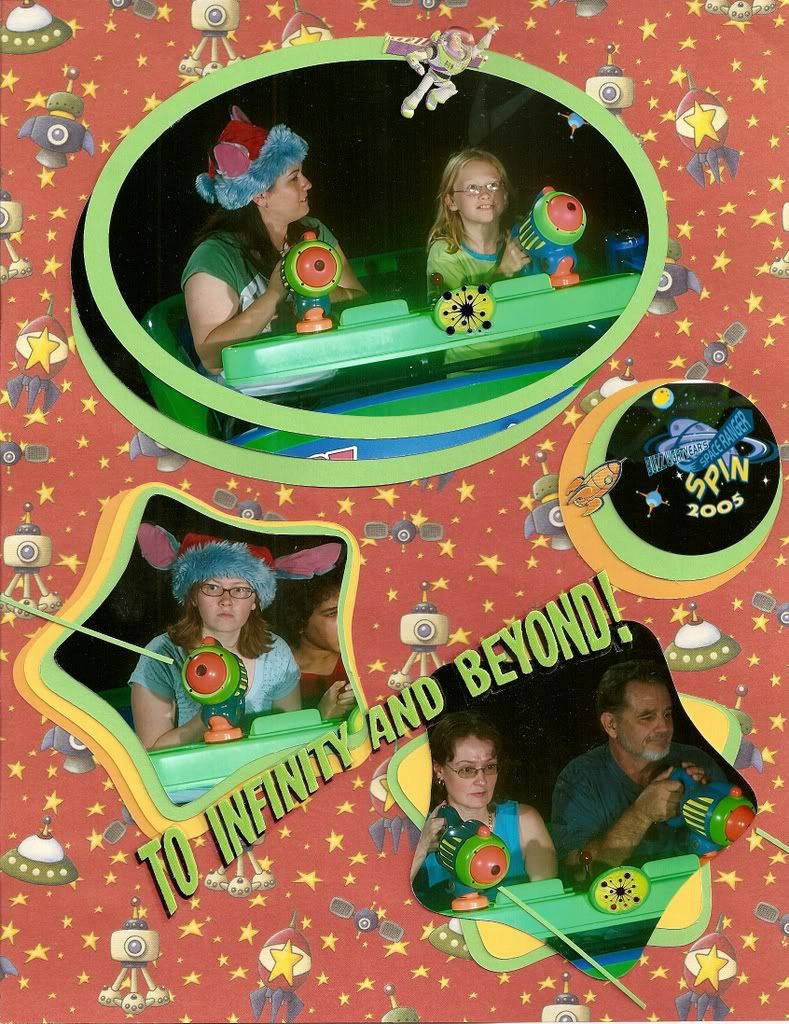
To crop / trim a photo, position it against the top of the paper cutter / trimmer to trim a thin slice off the selected side with the blade. Reposition and take thin slices off any other sides. Taking several thin slices gives you more ability to adjust your result.
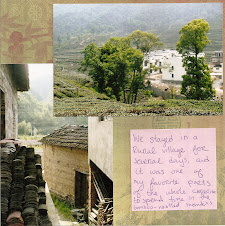
While arranging the photos on their page, some additional trims can be made.
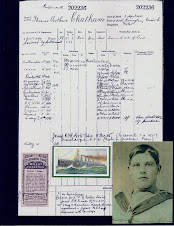
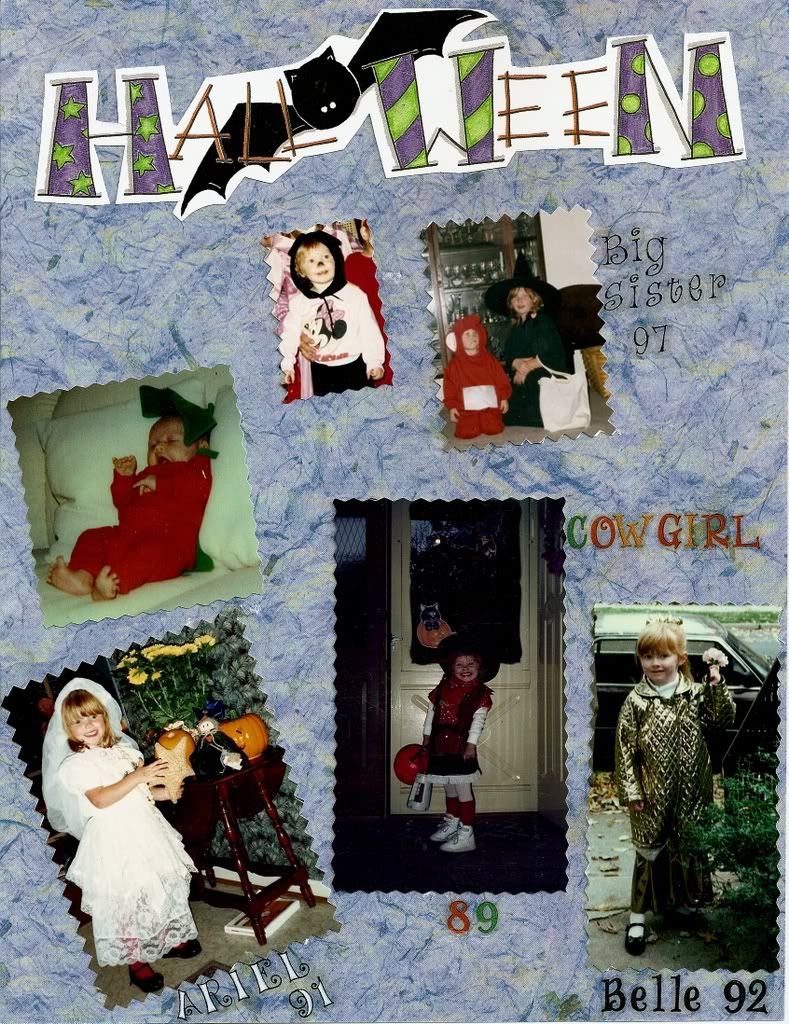
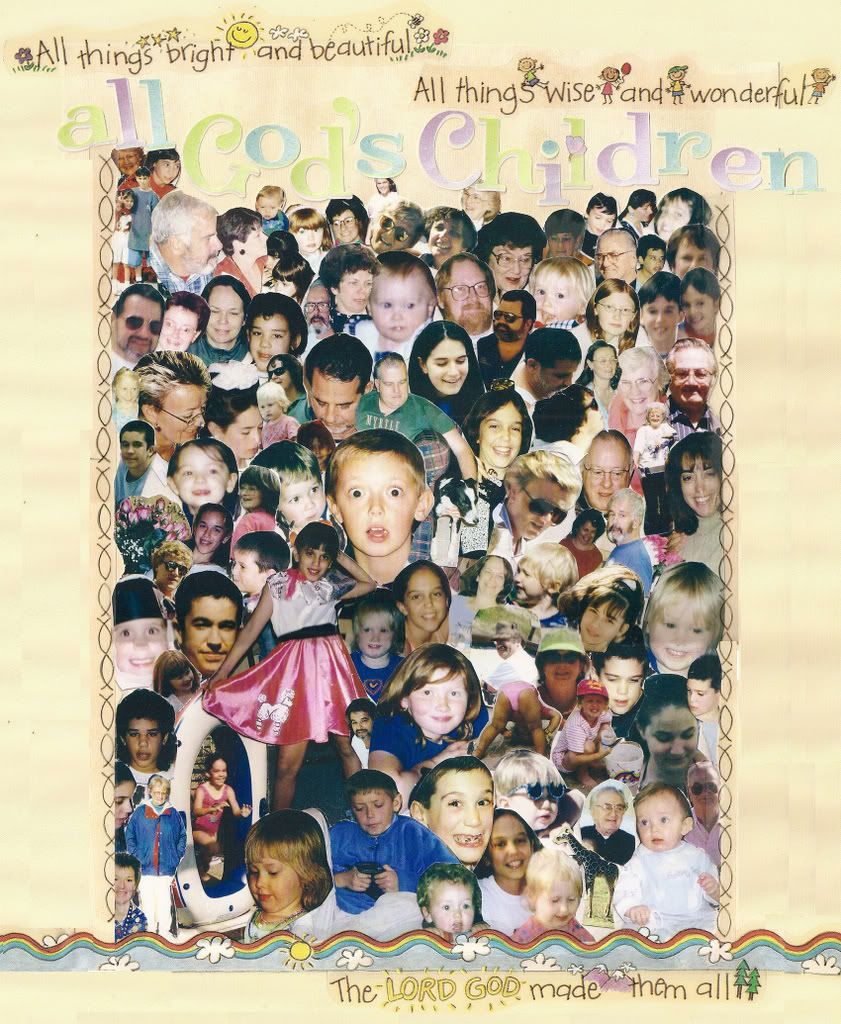
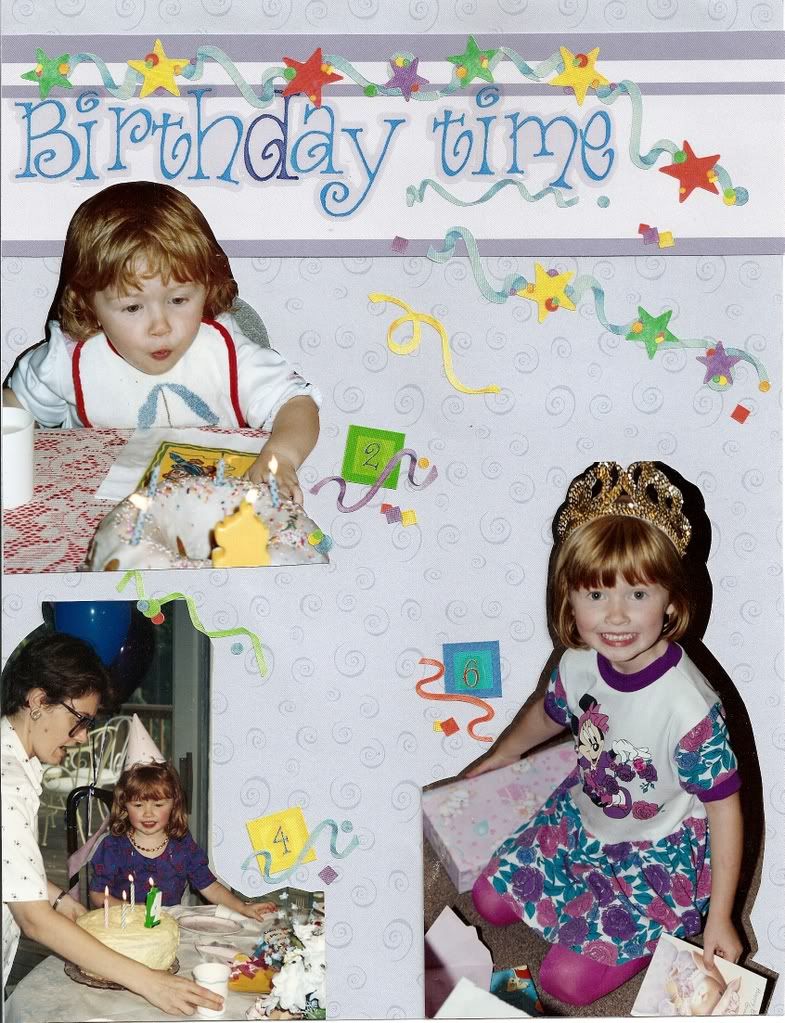
It is very easy to get too enthusiastic about cropping photos and take out too much background, chop off an important person or item, or make the photo too small. It's essential to enjoy cropping, but not get carried away.


